

Introduction: Arduino Master & ESP8266 Slave Modbus RTU (TTL)


In many occasions we have communicated our ESP8266 with Arduino via AT commands, but there are certain cases in which it is required to communicate both devices and send and/or receive large numbers of registers, almost in real time, although there are protocols such as I2c, and SPI with Libraries already implemented in arduino, we will use Modbus RTU, par excellence the communication protocol of field for devices of monitoring and control since it is easy its implementation, is safe, fast and approves of errors.
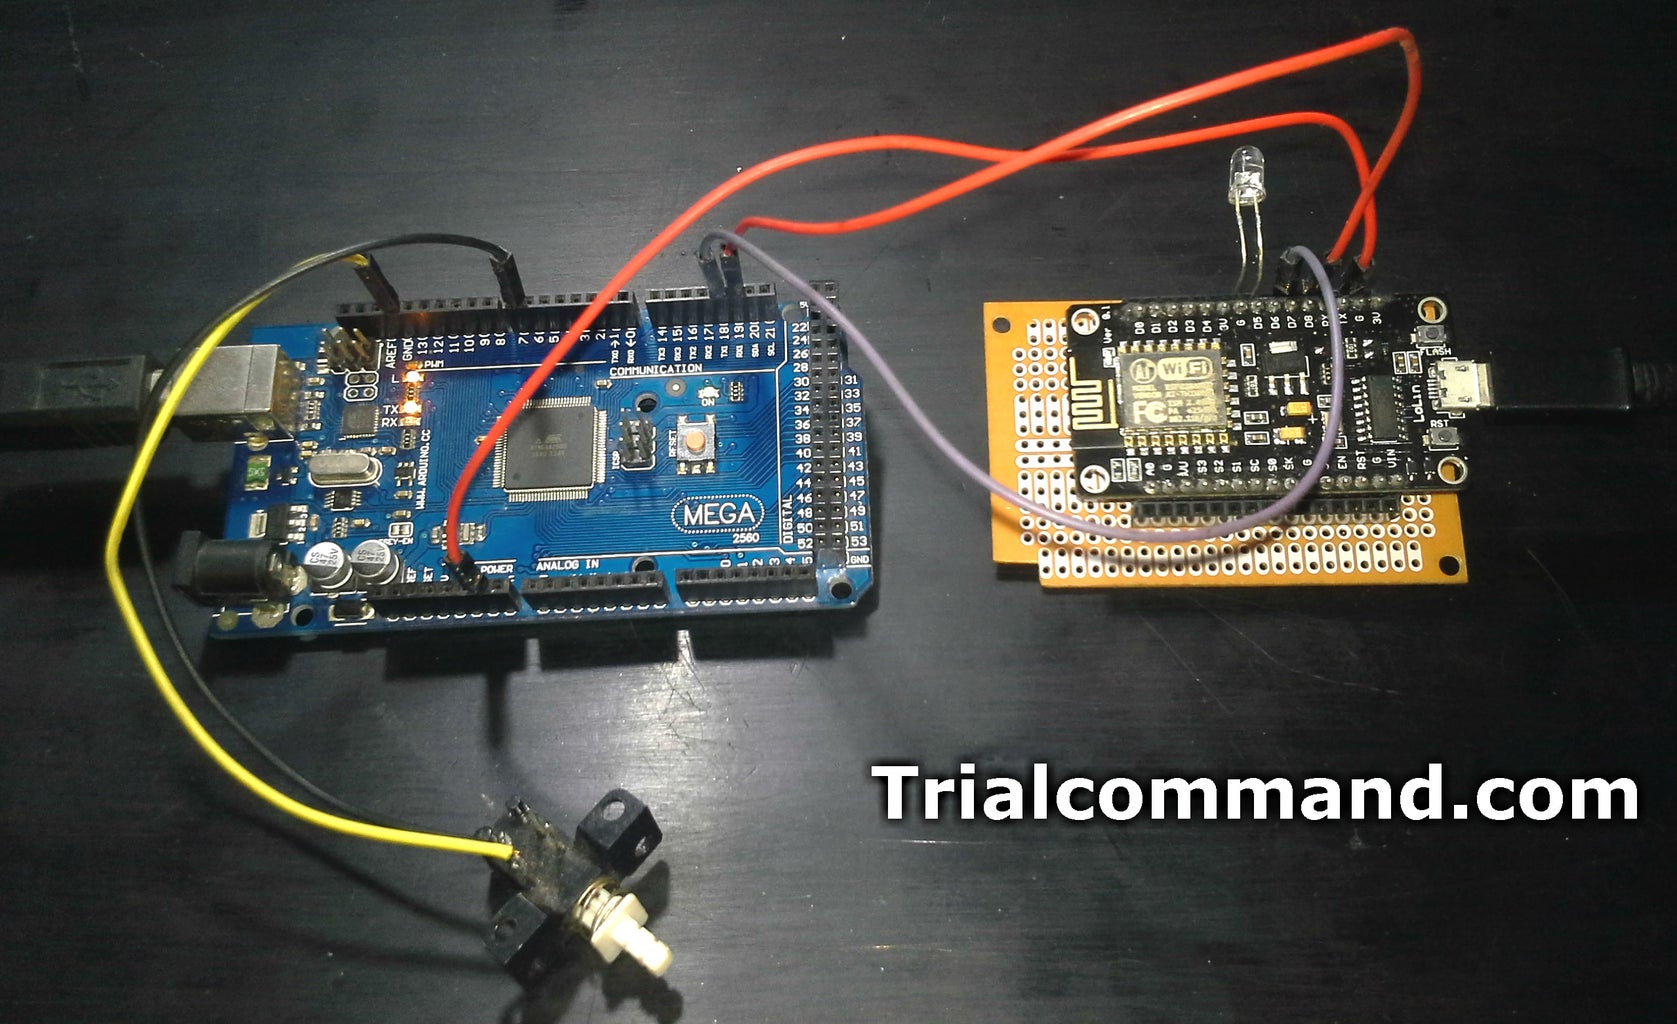
For our test we have an board Arduino MEGA 2560 R3 and Module ESP8266 12E, communicated via modbus RTU connected via direct 3-wire, TTL voltages 0 to 5v.
More Tutorials
In English : Arduino Master & ESP8266 Slave Modbus RTU (TTL)
En Español: Arduino Maestro & ESP8266 Esclavo Modbus RTU (TTL 0-5v )
Step 1: Components and Materials Required for Testing
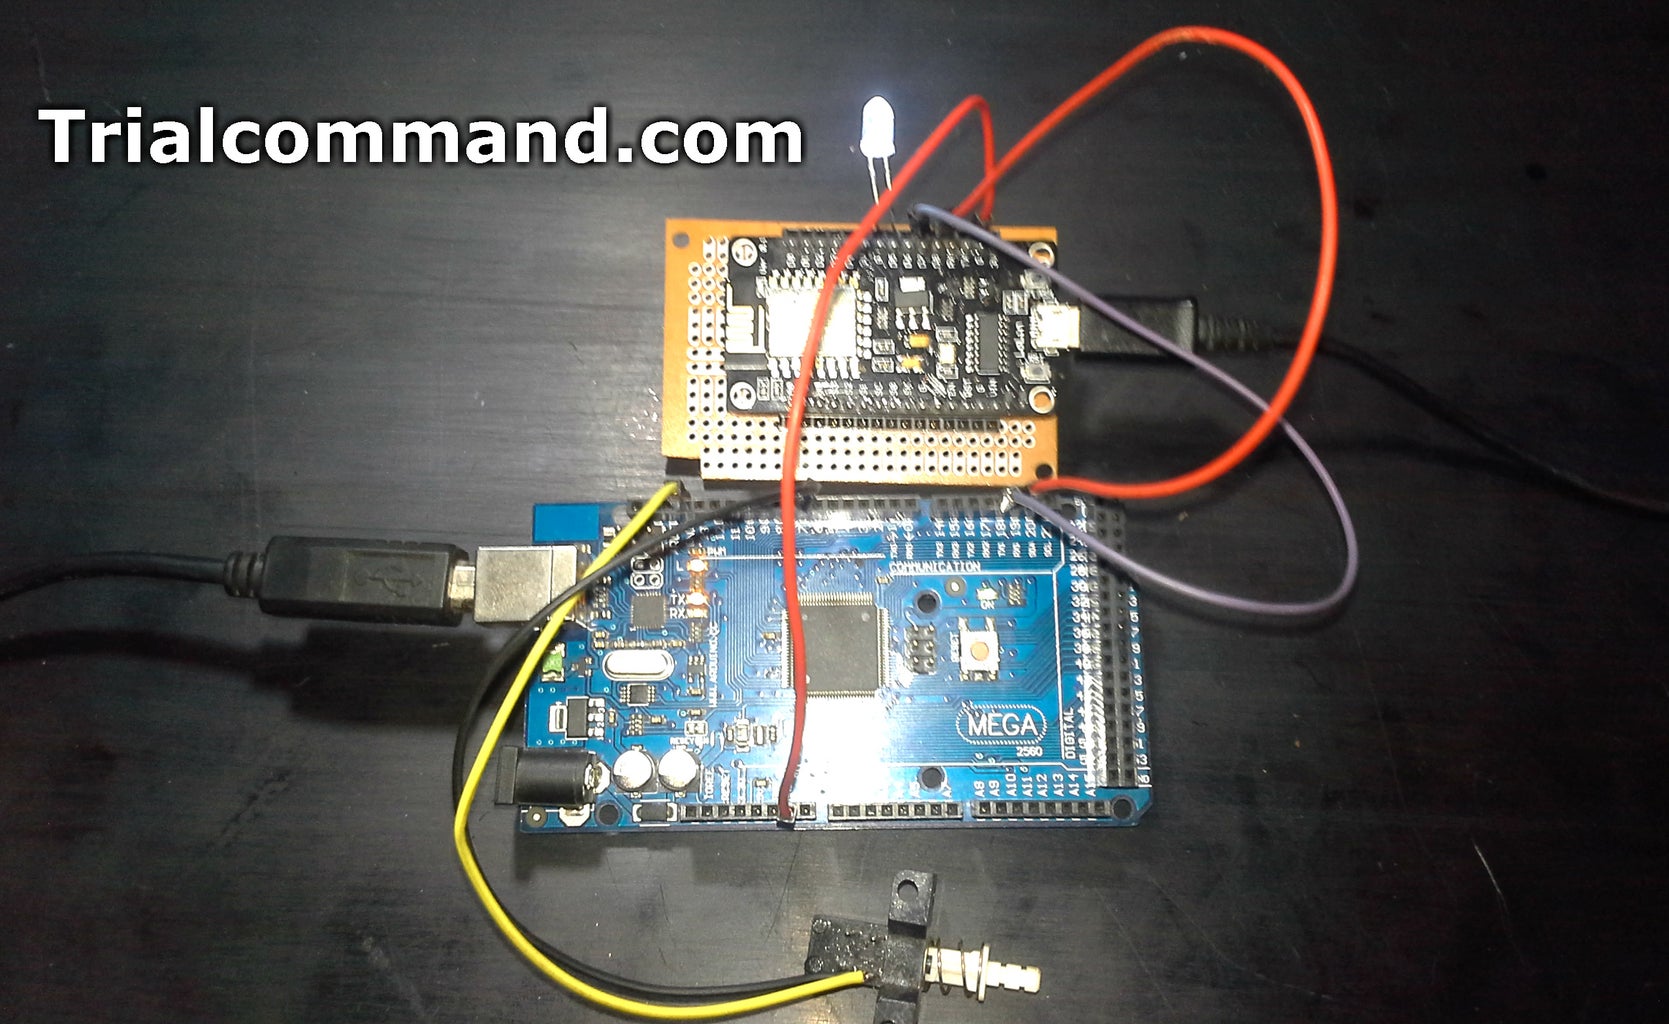
Step 2: Arduino Master & ESP8266 Slave Modbus RTU (TTL 0-5v )
Arduino Master & ESP8266 Slave Modbus RTU (TTL 0-5v )
Step 3: More Test and Tutorials
More Test and Tutorials
Website: trialcommand.com
In English : Arduino Master & ESP8266 Slave Modbus RTU (TTL)
En Español: Arduino Maestro & ESP8266 Esclavo Modbus RTU (TTL 0-5v )
