

Introduction: Arduino Midi Foot Controller for Ableton Live
I'm a geek. I know it. I like DIY'ing things. I bought a 3d printer (which is sitting in my office not working right now)... and like building drones. I usually bite off more than I can chew and often have to go to others for help. This time around, it was to build a custom Midi foot controller to use with Ableton Live for our click/loop tracks.
I'm a worship leader for a church and we use Ableton Live to play our click tracks and backing tracks in our in ear monitors. As a guitar player I need a midi pedal to send midi commands to the software to play and stop a particular track.
I have a Keith MacMillen Softstep... but its really complicated to program, and the buttons are rubber. I never knew if the thing was ever pressed or not. I wanted the "click" of a regular guitar pedal. And I don't need something that complicated. There are some other pedals you can purchase... but their footprint wasn't correct for my pedal board. And I didn't want to spend another $300-$400.So for around $70 I built my own.
Using a similar method, one could also use a different library and use a foot pedal as a keyboard input device (to scroll a page, fire a video... whatever).
Step 1: Physical Construction

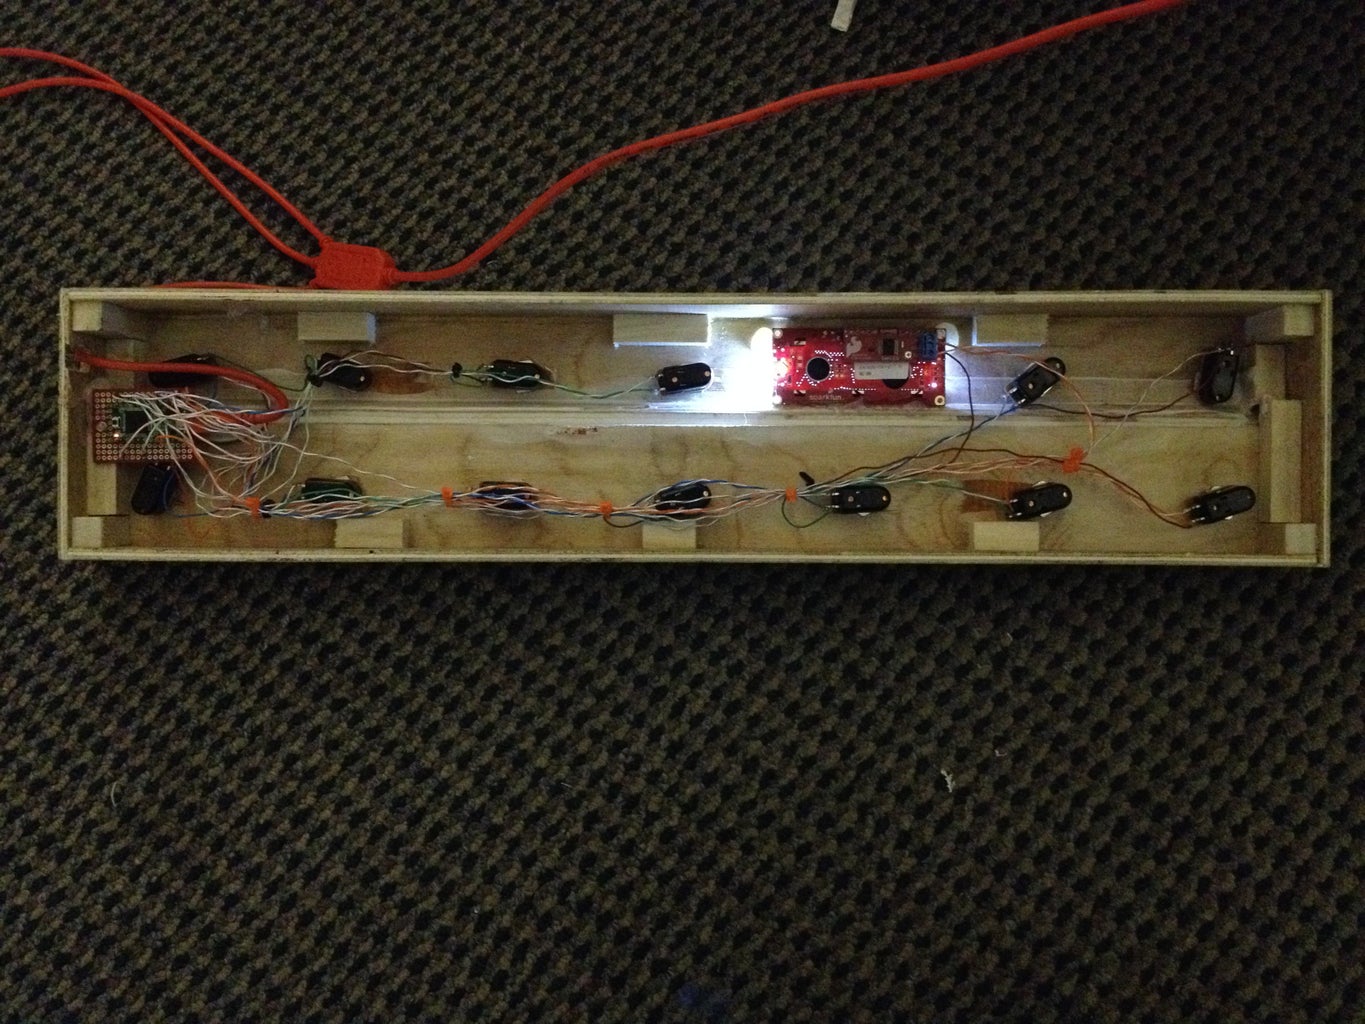
This is the beautiful part-- you can make it to fit whatever you want. You could buy a custom enclosure, or just an electrical box from the hardware store. Its up to you.
I used luan plywood and spent quite a bit of time in the woodshop to make this hoss. No doubt someone with better DIY skills, yeah verily a CNC machine, could make a real marvel.
Attached to this project is my google sketchup file.
Step 2: Electronics
Switches:
You need momentary SPST switches. I got the "silent" ones so it doesn't sound like a firecracker going off in the middle of the worship service. Something like this:
Microcontroller:
I used an arduino teensy that I bought from sparkfun. It offers a couple of important things:
• It has USB connectivity
•It's powered via USB
•It supports a native MIDI control without need for some intermediary software.
•It has a ton of digital pins
LCD Display
I bought it HERE from sparkfun. I wanted a serial rather than parallel connection so I didn't have to chew up lots of extra pins. (pins= possible switches or leds, or connectors)
Connections.
I suppose if I were really thorough I'd have some sort of fancy connection diagram. Basically,I hooked pin 1 up to the serial LCD pin. And then the switches have all the connections from there. You could in theory have 24 or so physical buttons/switches. Or if you were really good with programming could figure out a way to use multiple banks. But that's too complicated for me.
Attachments

Step 3: CODE
Code:
This was the hard part.
Disclaimer:{ I AM NOT A PROGRAMMER;()} { I AM A GUITAR PLAYER. } take that into consideration when you see the code.
I first got it working with the MIDI buttons sketch. Then got the serial LCD sketch to work. As I'm not a programmer, I had to learn to combine the two together. The arduino code is attached to the project. Tweak the pins assignments to whatever you end up using.


