

Introduction: Arduino Nano ISP Dongle

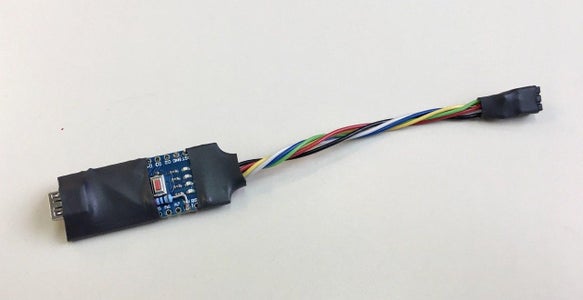


If you're coming from the Plug-n'-Play-World of the Arduino universe wishing to shrink down your current project or maybe designed your first custom PCB, you might have or might soon realize that factory fresh microcontrollers lack a so-called bootloader. To program your microcontroller you first need to burn the bootloader and this dongle helps you to do so easily and repeatedly.
This can be achieved in many ways, with different Arduinos and even on a breadboard, but I've found it nice to build a dedicated dongle for this purpose. Material cost probably doesn't even hit the 5$ mark.
Supplies
- Arduino Nano
- 10kOhm resistor
- 22uF capacitor
- 2x3 1/10" female pin header
- Heat shrink tube
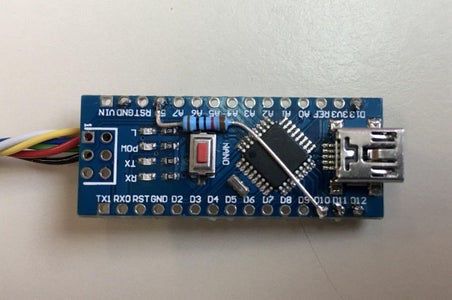
Step 1: Solder the Header


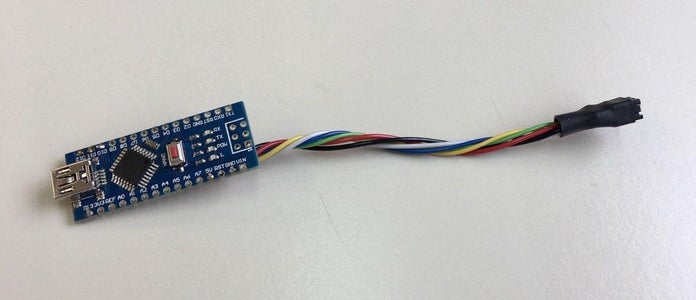
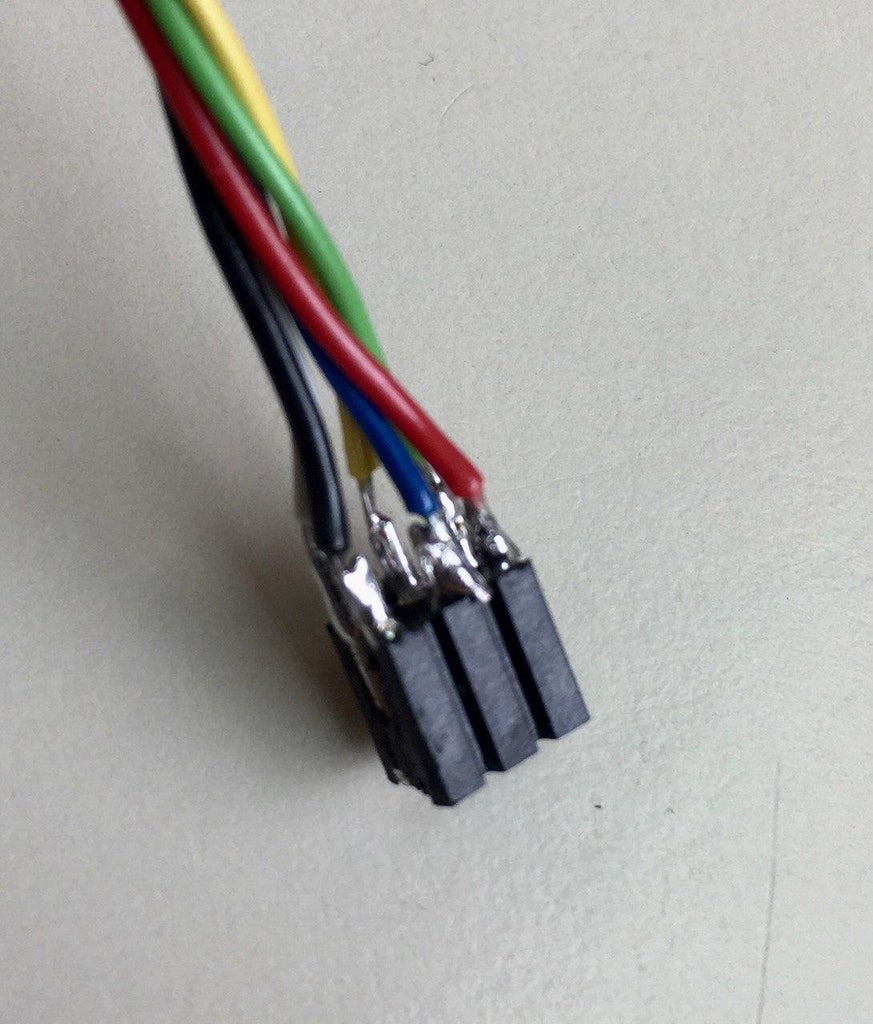
Connect the following wires accordingly:
Pin 13: SCK
Pin 12: MISO
Pin 11: MOSI
Pin 10: RESET
Pin 5V: VCC
PIN GND: GND
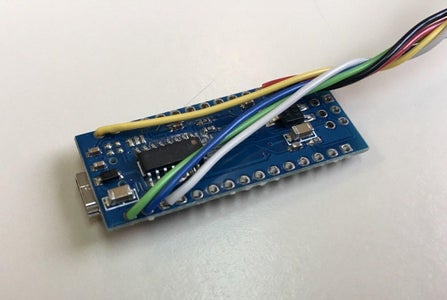
Step 2: Add 10kOhm Resistor
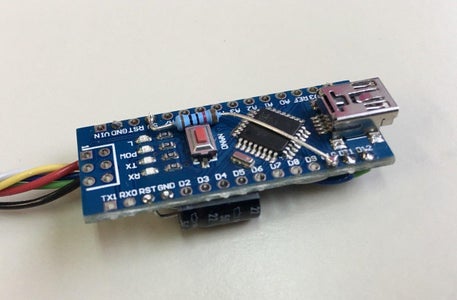
The reset pin of the to-be-programmed Arduino needs to be pulled up.
Connect the 10kOhm resistor between 5V and Pin D10 on the Arduino.
Step 3: Add 22uF Capacitor
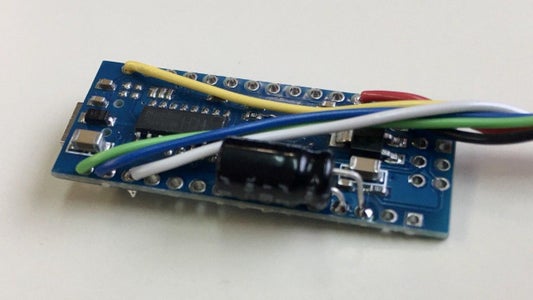

Solder a 22uF capacitor between the Reset Pin and GND on the Arduino. Make sure the polarity is right if it's an electrolytic capacitor.
Step 4: Heat Shrink
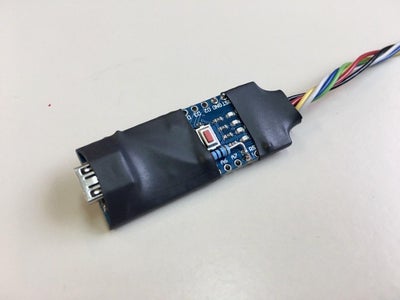

Not absolutely necessary but beneficial.
Step 5: Load Software
For the Arduino Nano to be used as an ISP programmer you need to upload the ArduinoISP sketch.
- Connect the Nano to your PC
- Open the Arduino IDE
- Tools -> Ports -> Select the COM-Port your Arduino is connected to (you can find the Port in Device Manager)
- Tools -> Boards: -> Arduino Nano
- Tools -> Processor -> ATmega328p (old bootloader)
- File -> Examples -> ArduinoISP -> ArduinoISP
- Hit upload


