

Introduction: Arduino Nano With Ethernet Shield


I recently bought an Arduino Ethernet shield designed for the Arduino Uno, and thought I could just easily hook it up to my existing Arduino Nano. I was wrong!
I couldn't find much information at all on how to do this, except that some documents listed the required IO pins.
I even tried hooking up all the wires from my Nano to the matching pins of the shield, and it still didn't work.
After giving up and buying a proper Uno online I noticed that there is a 6 pin connector named ICSP. But it wasn't clearly labelled and the connector didn't have any special shape so it could be hooked up in two possible ways.
So I had to do a bit of searching to see which pin was which on the Nano and the shield, to make sure I wouldn't be connecting it backwards.
So I thought I would add this quick little instructable to save others the effort.
And I'm sure I can find plenty of uses for another Arduino ;)
Edit: Here's a newer Instructable on how to hook up an Arduino Nano to a smaller WIZ550io module instead.
Step 1: Parts

1 Ethernet shield with SD card slot, with Wiznet w5100 chip. The w5100 is directly supported by the Arduino libraries, which could save a lot of programming pain.
5 m-m hookup wires.
1 breadboard
1 micro SD card
a couple of business cards or a piece of paper (to make sure we don't accidentally short out pins on the shield)
For software you will need the Arduino 1.0 software (from www.arduino.cc - click the download link).
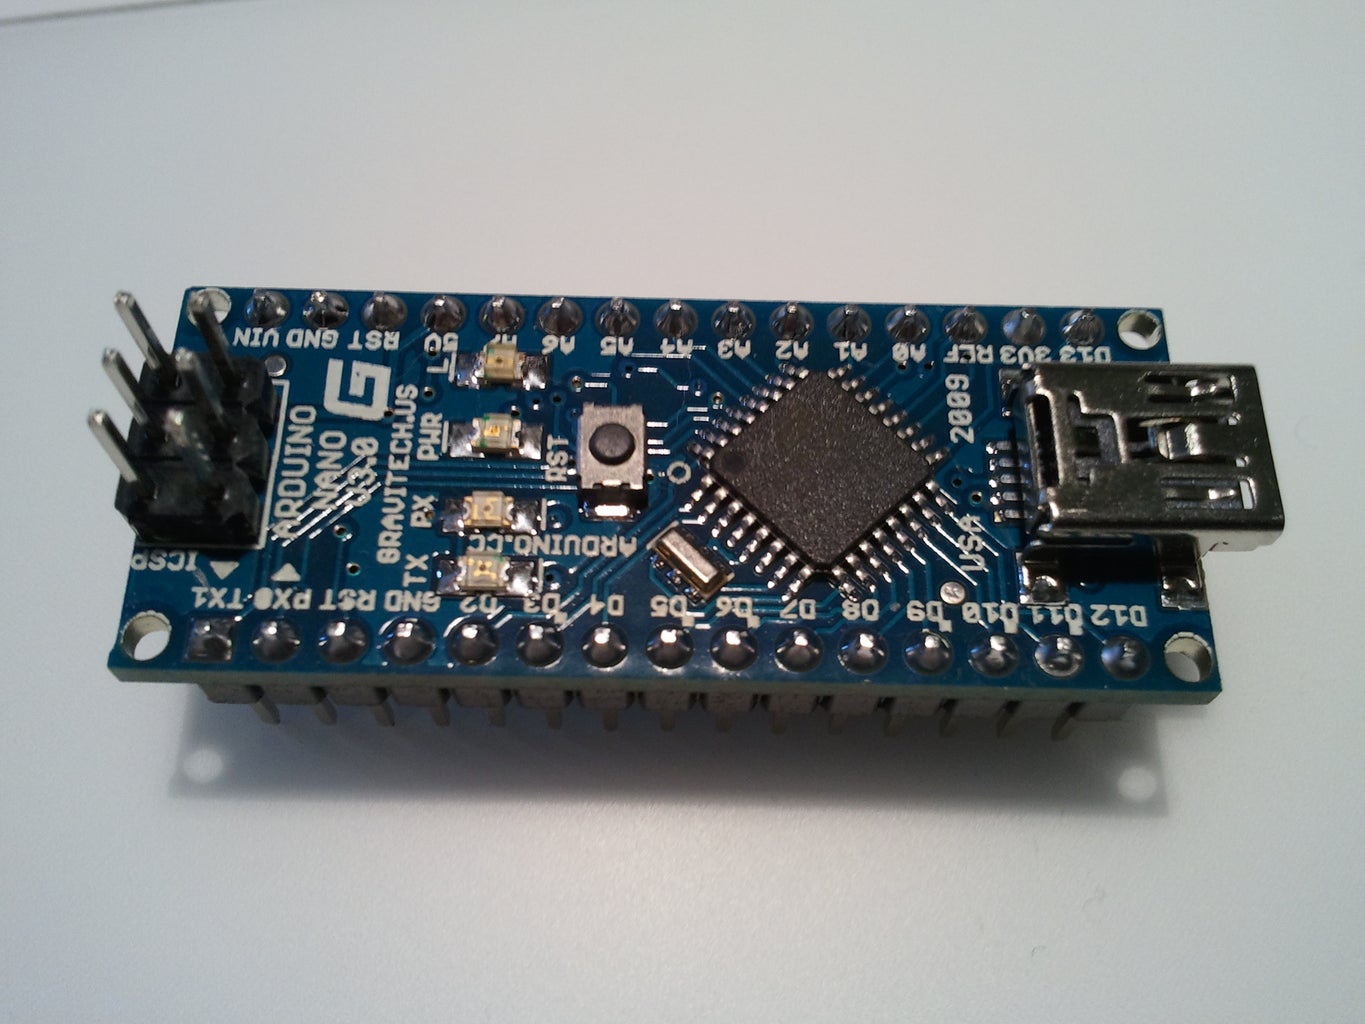
The Nano is essentially the same as a Uno except it's much smaller and has male header pins underneath it - perfect for plugging into a breadboard. You can buy ethernet shields specifically for the Nano too, as it turns out, but they may be more expensive.
When buying the shield, note that some do not have SD card support. I opted to buy one with the SD card on it - it was only a few extra dollars, and can be useful for many other projects as well (data logging, for instance). It also allows for much more advanced ethernet board examples!
Total price of everything, if starting from scratch, is less than $50 on eBay, but I'm assuming that most people looking at tutorials like this already have many of the parts like the Arduino and the breadboard and wires. I already had a Nano, breadboard, wires, and even the micro SD card (it was in my cell phone, but came from an older camera, if I recall correctly). The shield itself cost me about $15.
To put files on the SD card, you'll need some way to hook it to your computer, of course. For that you'll likely need a micro-to-regular SD card adapter. For my Macbook I also have an SD-to-USB converter (eBay $4).
Step 2: Insert Arduino Nano Into Breadboard
I usually insert my Nano right at the edge of the board, so that the USB connector hangs over the edge, and D12 and D13 are in the holes closest to the edge. The pictures on the next steps show it well.
It's a good idea to not have power to the board at this time.
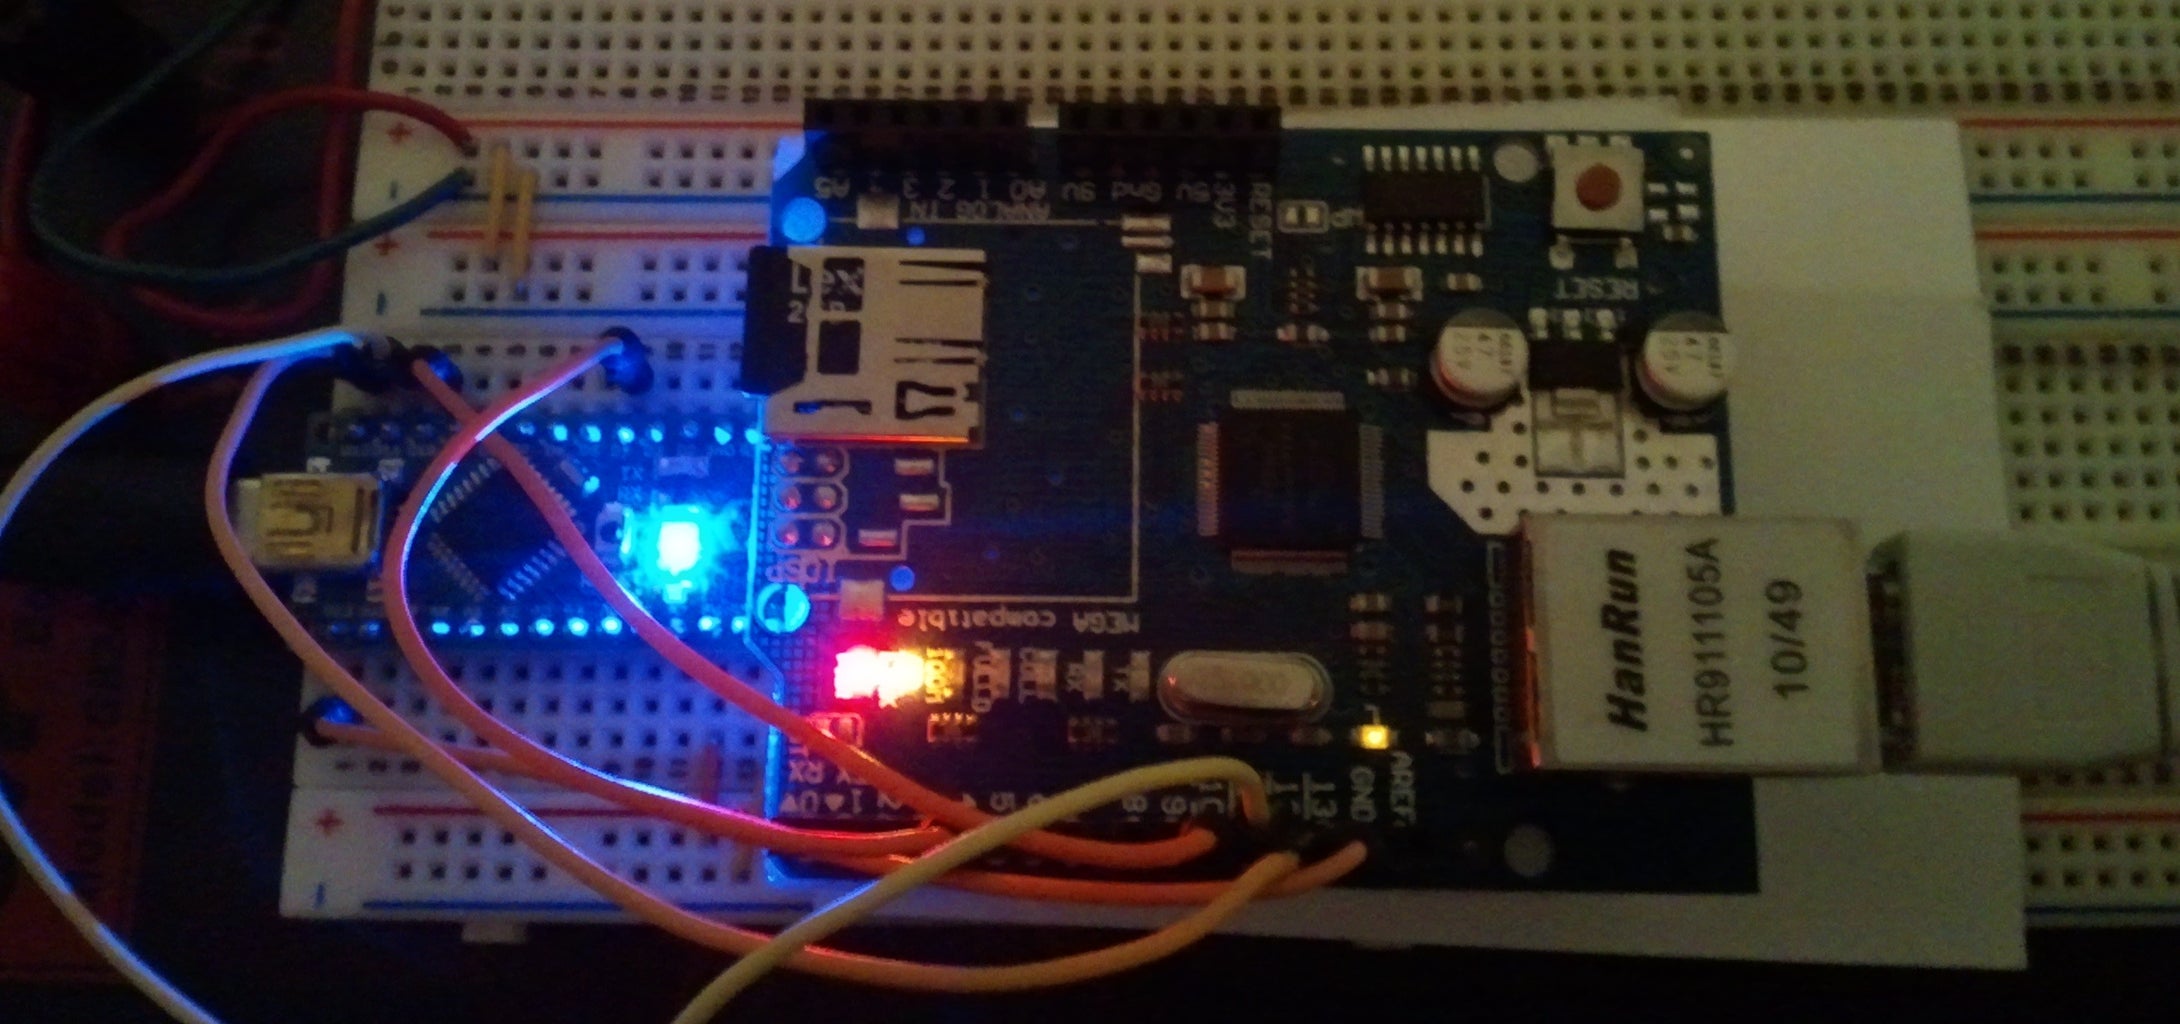
Step 3: Plug ICSP of Shield Onto the Nano

The shield could be plugged in in 2 ways. One way covers the Nano, the other doesn't. You need to plug in the shield so that most of the Nano is still visible. This turns out well, as it gives full access to the Nano connections that way.
Also make sure that you get all 6 pins plugged in.
Because the shield's pins are all exposed underneath, I put some business cards underneath to ensure that the pins cannot accidentally connect with the power bus (you can use paper or hard plastic too).
Step 4: Connect the Wires
Pins 11, 12, 13 (SPI bus)
Pin 10 selects the w5100
Pin 4 selects the SD card
Step 5: Test the Setup
To use the SD card with the file system, you will need this SDFatLib library:
http://code.google.com/p/sdfatlib/downloads/list
One thing that's a bit of a bother is that it only supports the old DOS style 8.3 filenames, not long file names.
Keep that in mind when you later serve up a website and half the pictures don't show ;)
To test both the ethernet connection and the SD card at the same time, try this LadyAda tutorial:
http://www.ladyada.net/learn/arduino/ethfiles.html
Note that this LadyAda example is using a slightly outdated version. Luckily you can just replace the outdated references to Server with EthernetServer, and Client with EthernetClient, and it all seems to work.
Many more examples exist online, including simple web servers such as the samples provided by Teslaling in this Instructable:
https://www.instructables.com/id/ServDuino-Arduino-Webserver/step7/Programming/
Note that Teslaling's instructable also uses the outdated "Client" and "Server" types that need to be updated to EthernetClient and EthernetServer.
Enjoy!
