

Introduction: Arduino Unity Racing Game
Edit: It's been two years since this project and article was made and looking back at it... my English wasn't that good. So I've been reworking the text and added some more info!
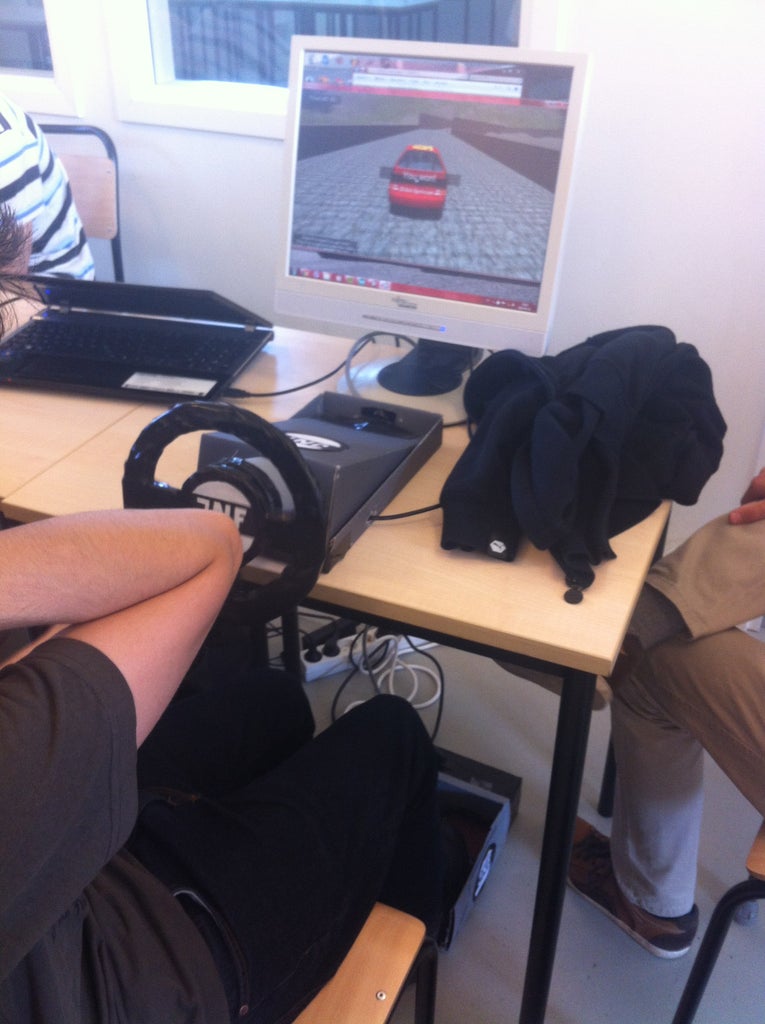
Me and two friends had to make a project for school with the Arduino, and we thought that an interactive racing game with pedals and steering wheel sounded like a good idea.
Unity was our software tool of choice to make our game in. I made one game, established a connection between Unity and the Arduino and helped with the soldering, one friend made his own game and my other friend made the pedals and steering wheel.
You need to have programming knowledge in C# (if you know other languages like Visual Basic, it's a fairly easy transition) if you want this to work smoothly.
The first thing we did was making sure a connection between the Arduino and Unity was possible. There is a serial connection between the Arduino and Unity, which means that the Arduino can only send one value at a time. That means the Arduino would for example have to send a value that says that one resistor is high, and after that send another value that says that the potentiometer is at its lowest, and so forth and then start over again. At first we were worried that it would cause some issues with the input, but it worked anyways.
Step 1: Buying and Testing the Components
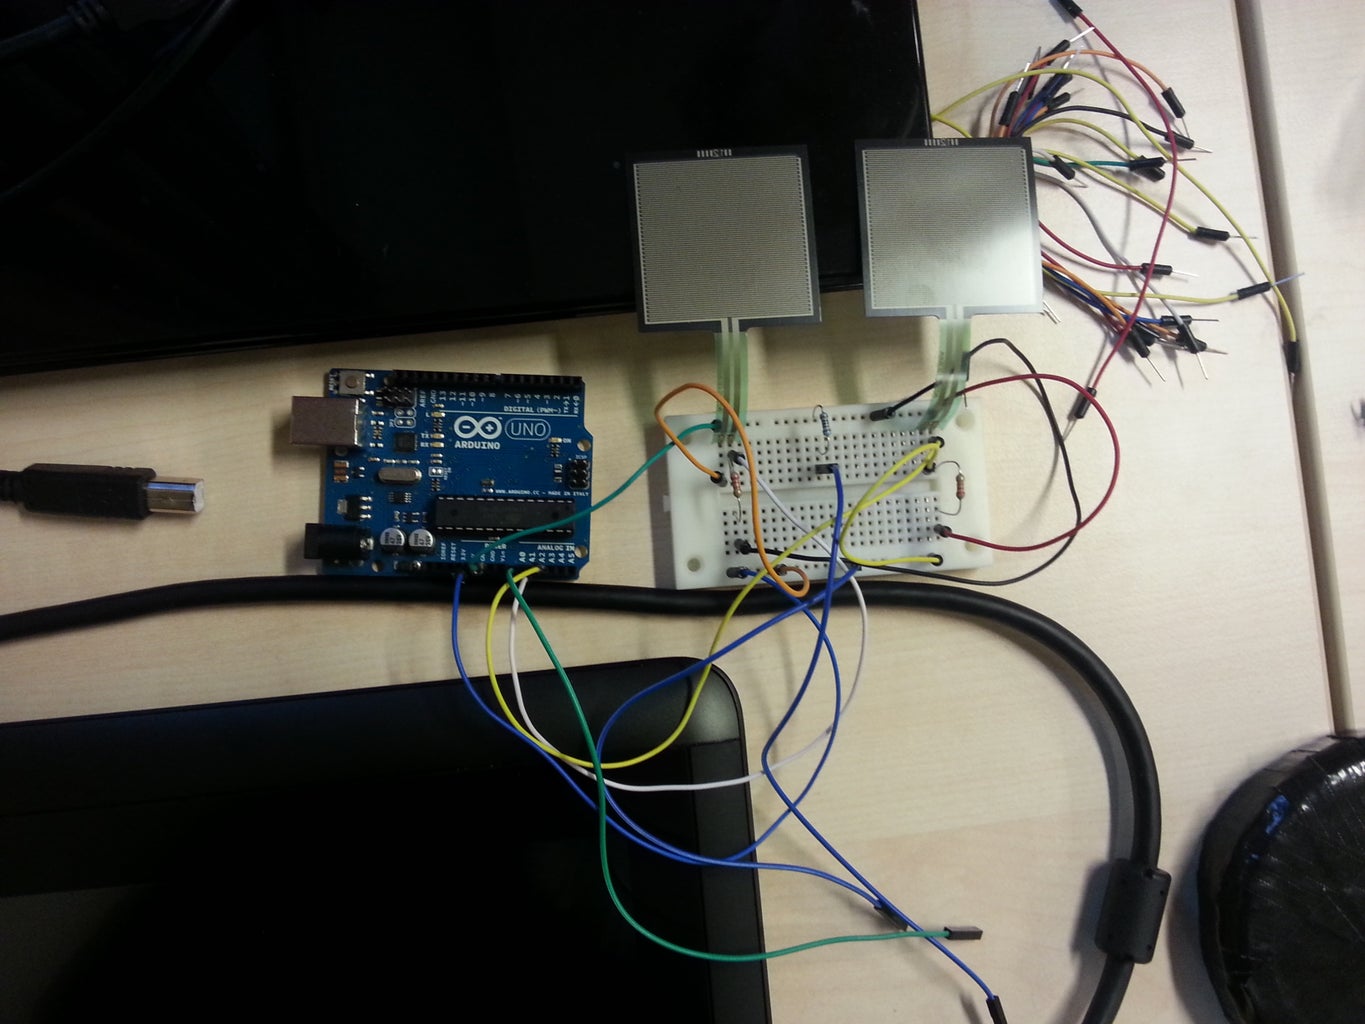

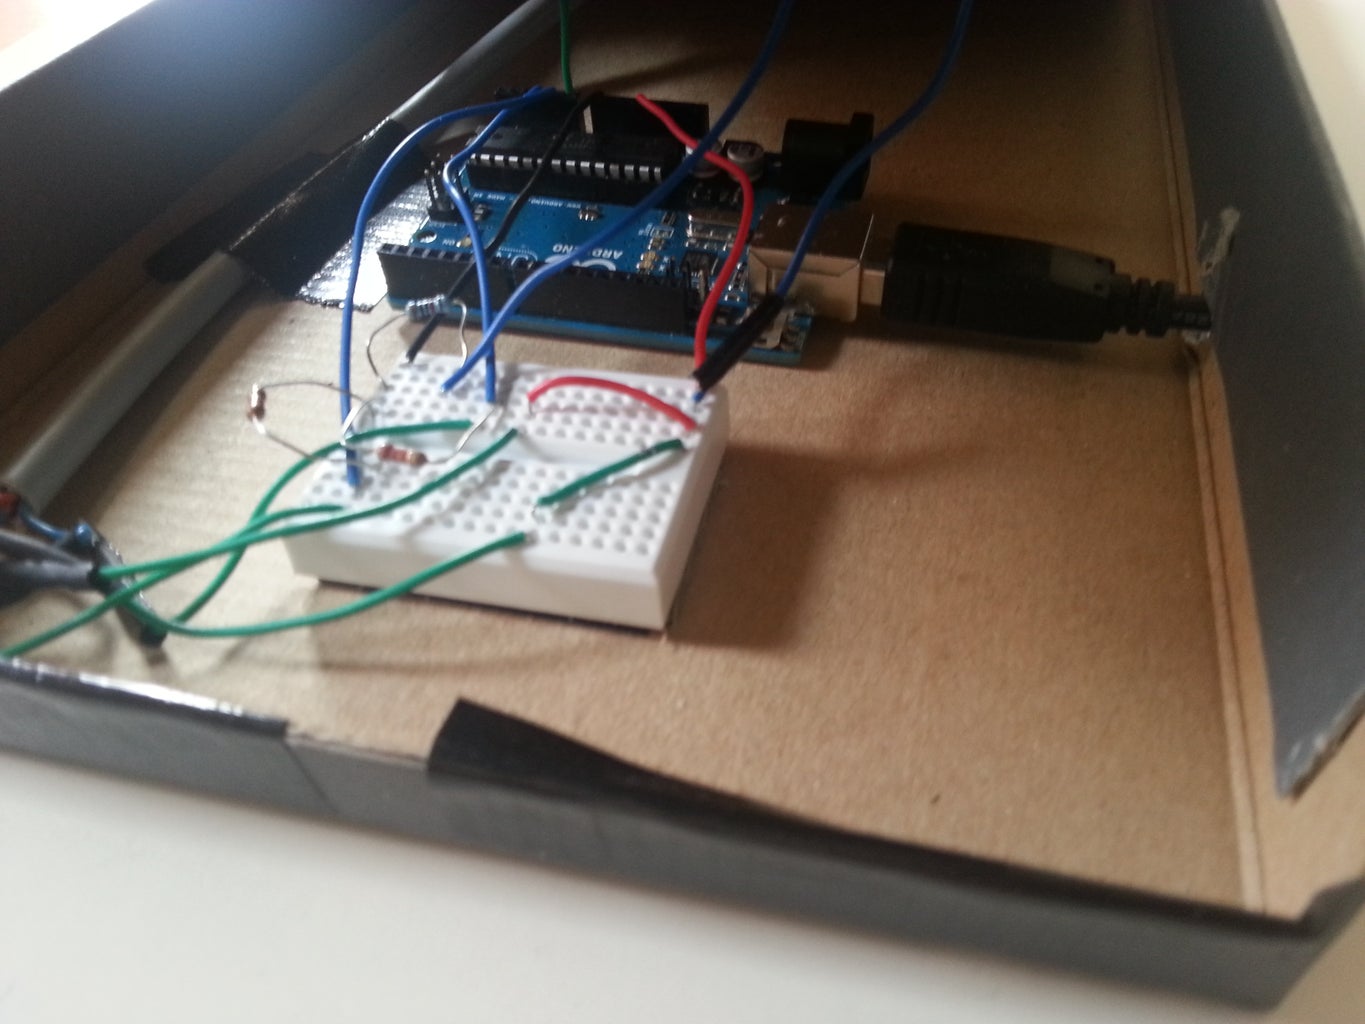
You'll need an Arduino (a Uno is sufficient!), two pressure-sensitive resistors, three 220kOhm resistors and a 10kOhm potentiometer.
A schematic will be available shortly.
Make sure that the components work by connecting the parts like in the picture.
Then you start up the Arduino program and use this code to test your parts:
Edit: This code assumes your potentiometer can output values between 0-1023.
int sensorTurn;int sensorGas;
int sensorBreak;

void setup() {
  Serial.begin(9600);
}

void loop() {

  sensorBreak = analogRead(A2);
  sensorTurn = analogRead(A0);
  sensorGas = analogRead(A1);
  if (sensorTurn < 699){
    Serial.write(2);
    delay(20);
  }
  if(sensorTurn < 800 && sensorTurn > 700){
    Serial.write(51);
    delay(20);
  }
  if (sensorTurn > 801){
    Serial.write(0);
    delay(20);
  }
  if (sensorGas > 1){
    Serial.write(3);
    delay(20);
  }

  if (sensorBreak > 1){
    Serial.write(4);
    delay(20);
  }


  if (sensorGas == 0 && sensorBreak == 0){
    Serial.write(90);
    delay(20);
  }
  else { return; }
  Serial.flush();
}
In this code, the potentiometer has three "modes"; left, straight and right will give a certain number depending on which mode it is.
If you have connected correctly, you should see random symbols appearing in the serial monitor (the button at the top right in the program) whenever you press down on the pedals or change the direction of the pot. This is because it is Serial.write and not Serial.print .
Step 2: Developing the Game
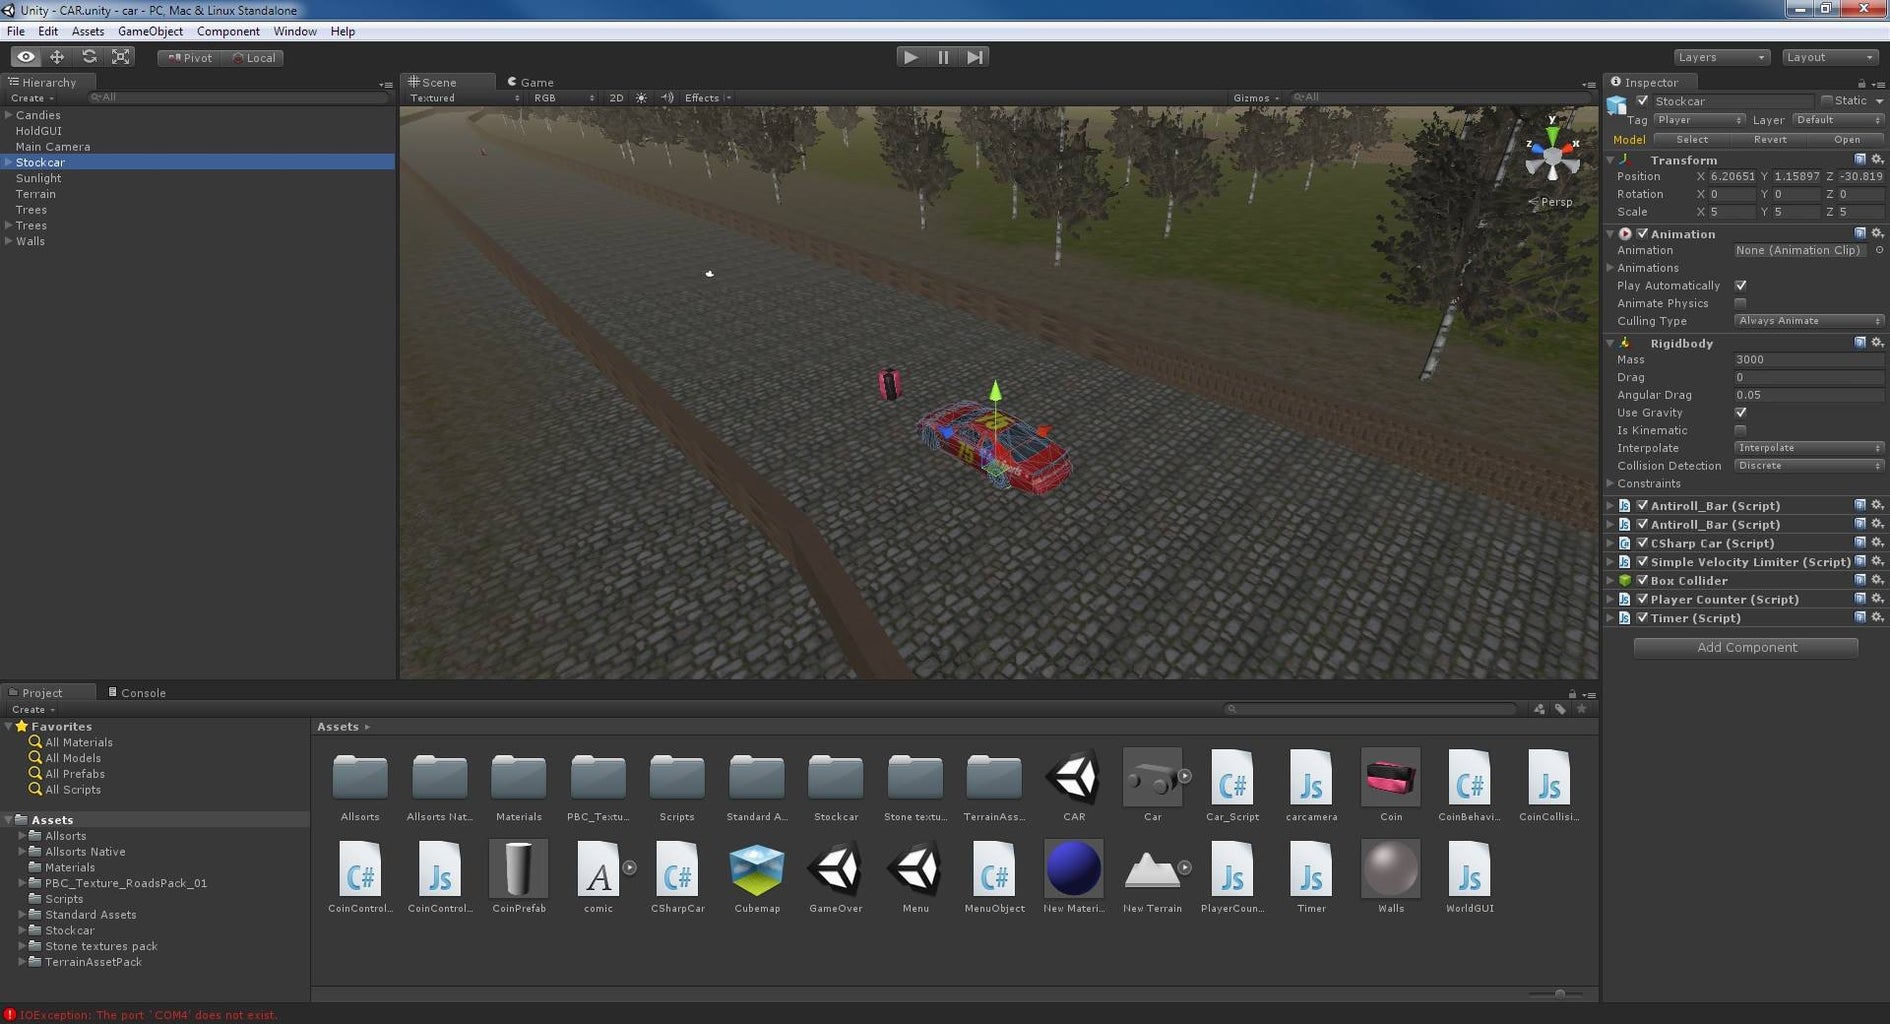
This is the part where we got to develop the games for the Arduino to communicate with. Therefore, I advise you to use these tutorials, but feel free to do whatever you want to your code and game.
Edit: A good tip is to start out with placing a cube on the stage in your Unity project and write a code to make this cube move by using your pedals/potentiometer. It's very simple but incredibly fun/rewarding when you get it to work! Then you can continue on from there, like an Agile software!
However, Unity is in JavaScript and C#, but "Arduino connection with Unity" is not possible with Javascript. In order to make your car work with Arduino input, your code needs to be written in C#.
Here are the basic tutorials we used (we also made our own solutions):
How to make a car game (a whole series of making your car) The author writes his code in Java, so you need to translate it to C# (not very difficult)
Basic Unity Arduino input
Edit: If it wasn't clear, with the car tutorial series, you need to replace the keyboard events in the code with what you want the Arduino serial output to be. Example pseudo code - if Arduino.output = 51 then Turnleft()
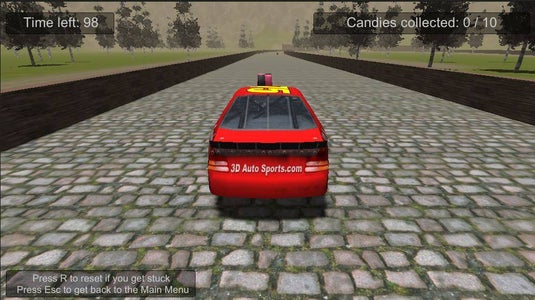
Websites like http://tf3dm.com/ have free 3d models for you to download to your game, like cars.
Step 3: Putting It All Together

What's important is that the communication with the Arduino and Unity works, and that your components aren't acting funny when it's all finished. When we have a functional game and working Arduino components, then it's time to put the steering wheel, pedals etc on! And there might be some unexpected problems...
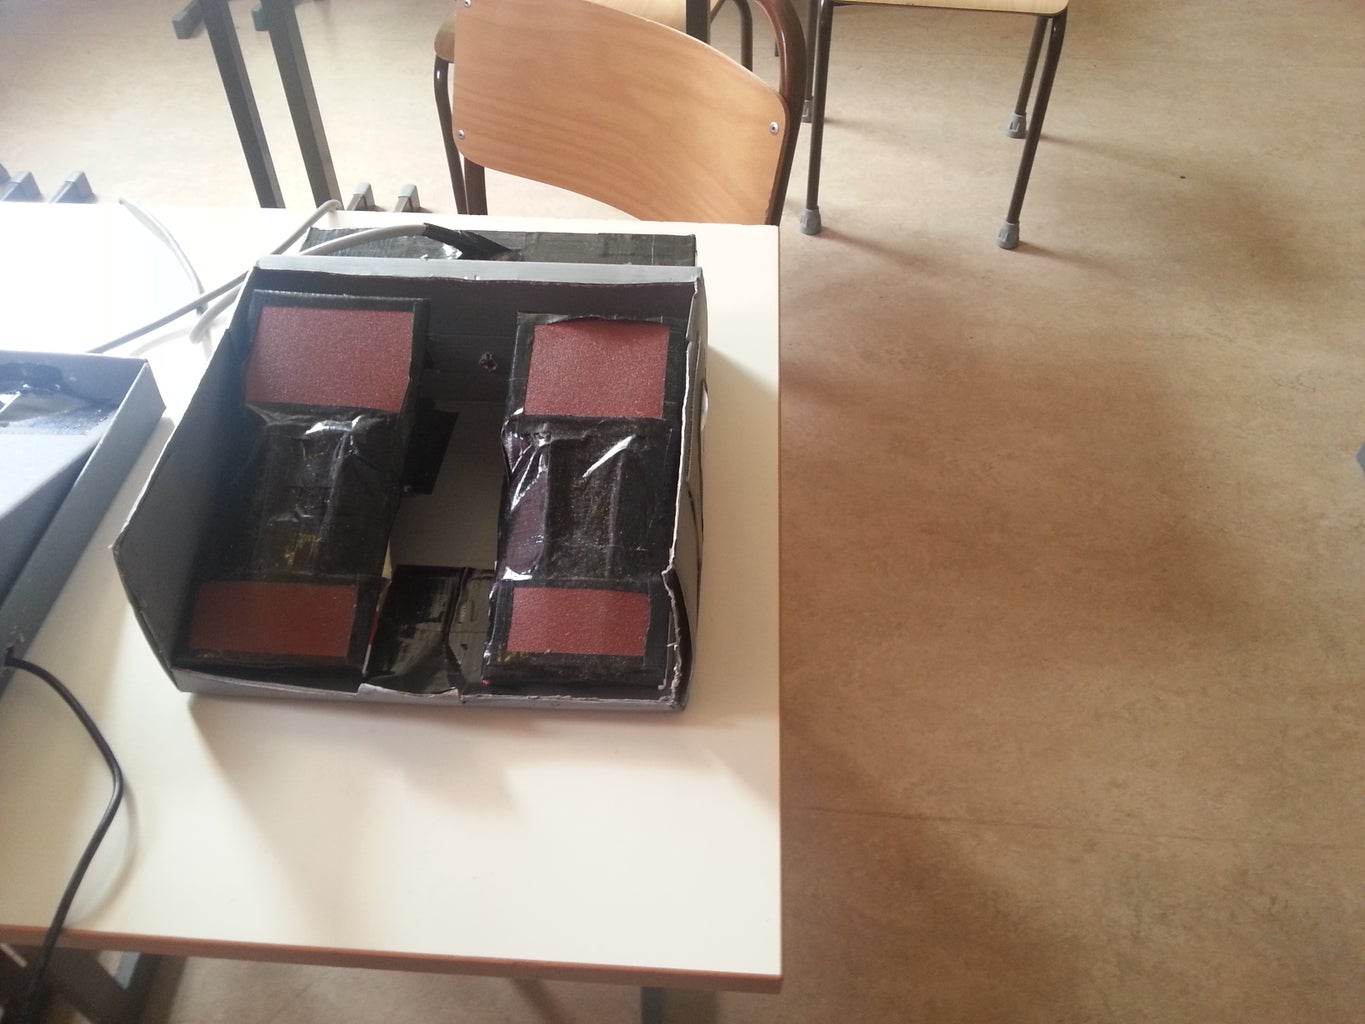
For example, when we taped the pressure-sensitive resistors underneath the pedals, the resistors started giving high values when there was no pressure on it. It turned out the tape caused that, so we just changed in the code to make it work.
My friend then built the pedals and the steering wheel with cardboard and tape. The Arduino and breadboard was taped to under the cardboard. You'll have to do some soldering with the pressure sensitive resistors and a long cable from the steering wheel to the pedals.
Make sure that your steering wheel is correctly aligned with the potentiometer. Find the straight direction on the potentiometer with the Arduino code on the second step (if for example, low is 700 and high is 1023, then middle is:
1023-700 = 323 / 2 = 161.5 + 700 (the minimum) = 862 (the middle)
and glue the steering wheel to the potentiometer in that position.
Based on the Basic Arduino to Unity video, the Arduino is going to send values if one or both pedals are down and send a value depending on the pot's angle (far left = 1, left = 2, straight = 3, right = 4, far right = 5).
Step 4: Finishing the Game
At this point everything should work just fine. We experienced some minor delay (the game reacted a little slow to the arduino input) but overall it does the job!
Now it's time to make your game look nice. Add props, trees, coins to pick up, whatever. It's your game now. Unity is an easy program to learn, and with its large community and hundreds of tutorials on Youtube for example, you can expect help from there if you need it.
You can make your own main menu, and game over screen like we did. Find tutorials online to make that work.
When you're ready to build your game, follow this tutorial if you want, there are others out there.
Hopefully everything works now, but I'm pretty you're stuck somewhere since this was vaguely written (hopefully not as much anymore). If you do need help, write a comment and I'll see what I can do!
I apologize for any errors with my grammar, I'm not a native English speaker.
Scripts for you to tweak with in Unity are downloadable here.
Final Arduino Code (added more branches to see if you're turning gently or veering!):
//Declare sensors

int sensorGas;
int sensorBrake;
int sensorWheel;

void setup(){
//Start serial communication
Serial.begin(9600);
}
void loop(){
//Brake pedal: A2, Gas pedal: A1, Steering wheel: A0
sensorGas = analogRead(A1);
sensorBrake = analogRead(A2);
sensorWheel = analogRead(A0);
if(sensorWheel > 996 && sensorWheel < 1007){//Is steering wheel idle?
	//Write value 5
	Serial.write(5);
	delay(20);
}
if(sensorWheel < 995 && sensorWheel > 980){//Is steering wheel to the left?
	//Write value 6
	Serial.write(6);
	delay(20);
}
if(sensorWheel < 979){//Is steering wheel all the way to the left?
	//Write value 7
	Serial.write(7);
	delay(20);
}
if(sensorWheel > 1008 && sensorWheel < 1015){//Is steering wheel to the right?
	//Write value 4
	Serial.write(4);
	delay(20);
}
if(sensorWheel > 1016){//Is steering wheel all the way to the right?
	//Write value 3
	Serial.write(3);
	delay(20);
}
if(sensorBrake > 950){//Is brake pedal down?
	//Write value 2
	if(sensorGas < 950){
	Serial.write(2);
	delay(20);
}
}
if(sensorGas > 950){//Is gas pedal down?
	//Write value 1
	if(sensorBrake < 950){
	Serial.write(1);
	delay(20);
}
}
if(sensorGas > 950 && sensorBrake > 950){//Are all pedals down?
	//Write value 90
	Serial.write(90);
	delay(20);
}if(sensorGas < 950 && sensorBrake < 950){//Are none of the pedals down?
	//Write value 0
	Serial.write(0);
	delay(20);
}
//Wait for the transmission of outgoing serial data to complete
Serial.flush();
}

