

Introduction: Asthma Inhaler Case


I love having pretty things made from fabric I love, and my inhaler case is no exception. I really wanted something with stiff sides to protect the inhaler as much as possible, and this case was the result of my testing.
With the method outlined here, you too can make multiple inhaler pouches to suit your needs, and make them as individual as the person carrying them.
The inhaler I made this for measures 9.5cm x 6cm x 4cm. If yours is larger or smaller, then obviously scale the dimensions as required.
Step 1: Preparation of Materials
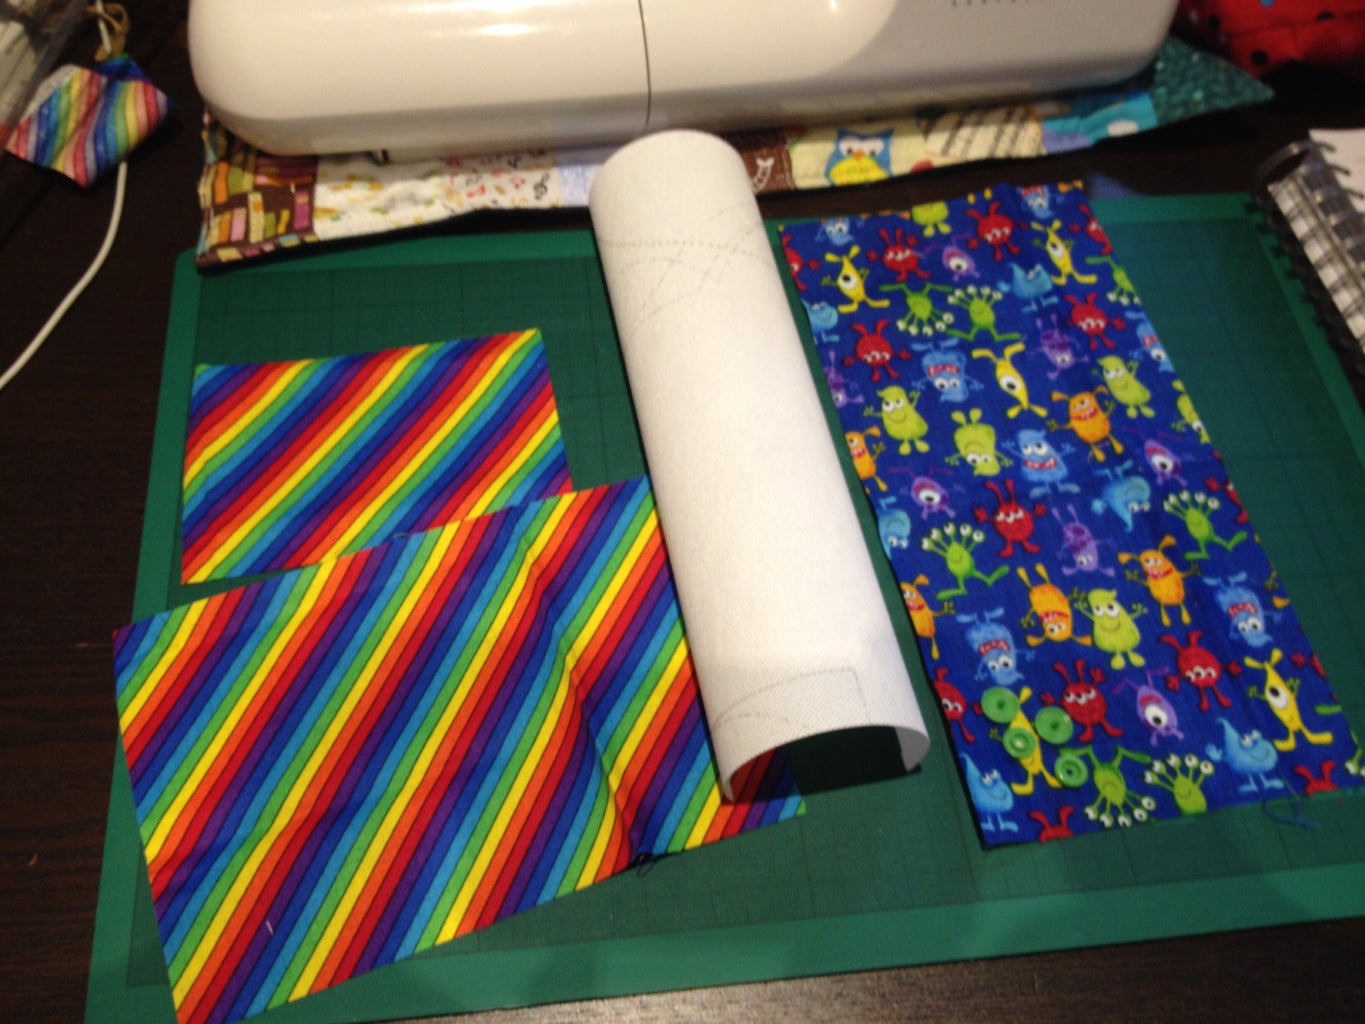
You need a firm fusible interfacing such as Vilene pelmet or extra firm, interior fabric, exterior fabric, and a fastening.
Exterior fabric:
- 1 piece 13.5cm x 27cm
Interior fabric:
- 1 piece 13.5cm x 9cm
- 1 piece 13.5cm x 20cm
Fusible interfacing:
- 1 piece 11.5cm x 25cm
Fastening:
- 1 snap, strip of Velcro, button, or other fastening as desired
Step 2: Preparing the Interfacing


Draw a line across the interfacing 7 cm down from one short edge, and 14cm down from the other short edge. There should be a space between these lines which measures 4cm (2a).
After this, draw 2 lines along the long edges, 2cm from these edges (2b).
Now you should have a series of boxes on the interfacing. You need to cut out the two which measure 2cm x 4cm (2c).
Step 3: Adding the Interfacing, Preparing the Fabric


On your exterior piece mark a line 1cm in from each edge (3a). These lines are to help you line up the interfacing.
Iron on the interfacing to the exterior piece (3b), then fold over the short edge nearest the notches you cut into the interfacing 1cm and iron in place (3c).
Take the long interior piece and fold it in half with right sides touching (3d). Once the fold is in place the fabric should measure 13.5cm x 10cm. Iron fold in place. Fold over the top edges wrong side to wrong side by 1cm and iron in place (3e & 3f).
Step 4: Sewing the Exterior Piece


Take the exterior piece. Fold the fabric 9cm from the folded short edge, right sides together (4a).
Place the smaller (unfolded) interior piece, and place it over the unfolded exterior end, right sides to right sides (4b). The interior piece should overlap the small folded lip of the exterior piece slightly (4c). This will make the flap.
Pin in place (4d & 4e).
Sew around the three open edges using a 1cm seam (4f & 4g).
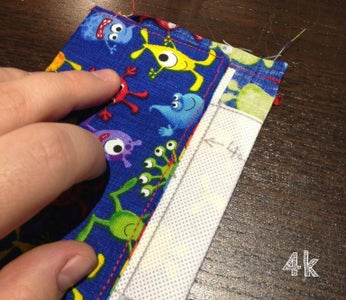
Around the flap trim seam allowances to about 0.5cm and clip the corners (4h). Turn the flap right side out, press, and top stitch the edge if desired (4i & 4j). At this point you may also find it useful to fold in a crease to your flap (4k).
Step 5: Making the Flat Bottom (exterior)


Fold along the two short pencil lines who should now be along both sides of your bottom (5a).
This should have created a small triangle with the seam at it's apex (5b).
Pinch this together with the side seam that should be on the other side of this triangle and pin across (5c).
Sew across the bottom of the triangle you have created (5d). Repeat for other side.
Trim the triangles off (5e).
You should now have something that looks like a box bottom (5f).
Put this to one side for a moment, until step 6 is complete.
Step 6: Interior (including Flat Bottom)


Sew along the two unfolded edges of the interior fabric (6a).
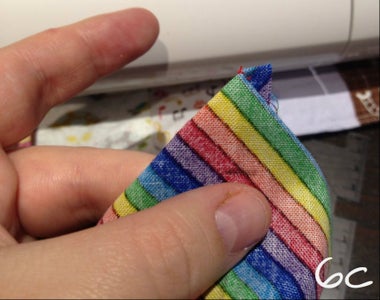
With your fingers, line up the crease along the bottom edge with the side seam next to it. You're aiming to make a small triangle as you did with step 5 (6b).
Once you have your triangle, measure 2cm down the bottom crease and make a line. You will be sewing straight across this to make the flat bottom (6c). Pin this small triangle in place. The side seam and the bottom crease should be touching when you do this (6d).
Sew along the line that you marked (6e). Once it has been done, the base of the little triangle should measure 4cm (6f). If it doesn't, unpick and sew again. If it does, then trim the triangles down to a small seam allowance (6g).
Repeat for the other side. Turn it right side out, and it should look like a small box (6h & 6i).
Step 7: Joining the Exterior and Interior Together


Place the exterior made in step 5, inside the interior made in step 6. The wrong sides of both should be touching (7a). It will probably be quite a snug fit, so if you have to pull or push a bit to get it in correctly don't worry. It will all work out.
Once the exterior bag is properly inside the interior bag, make sure that all the edges and seams line up properly and pin in place (7b).
Now comes the tricky part. You need to sew around the top of the exterior bag to secure both together (7c & 7d). Because of the ultra firm interfacing this is quite a lot of effort, and you will need to squash the bag somewhat to make it work. Don't worry if it all seems to be going horribly wrong, the bag can be pressed afterwards.
Step 8: Finishing


Once you have one complete pouch where exterior and interior are completely joined (8a), you need to turn it right side out and press it. The sewing and turning out process will have left it very rumpled looking, so where possible, pressing is a step that can't be skipped in this case.
This is a really awkward size and shape to press, and as I had no specialist equipment I used an oven mitt to protect my hand while I held the pouch to press (8b). If you decide to do this be extremely careful. This project is not worth getting burned over.
Once pressed, it's time to insert the fastenings (8c). This is best done with the inhaler in the pouch, so you can see exactly where the snaps are best placed (8d). This finishes the pouch quite nicely (8e & 8f).
Step 9: Soft Pouches & Completed Pouches


If you want to make a soft pouch for an inhaler (9a & 9b), then go through the process leaving out only the fusible interfacing.
When complete, they look really quite smart! (9b, 9c, & 9d).


