

Introduction: Bluetooth Communication Between Arduino, HTML and Android


This tutorial is outdated and depreciated because of many changes in framework and switching to node-webkit.
Hello again! First of all, thanks to everyone who use my project - DIY/makers, designers, and students especially people who supports me by giving regular feedback. Since my last tutorial, as I promised, I made significant updates in Involt including fixing some bugs. For people who heard about it for first time - it's a framework containing hardware interactions with Arduino within CSS classes and HTML UI elements. It's something fast and easy to learn.
The new version supports Android and Classic Bluetooth thanks to Cordova/Phonegap. What is more - the same app developed on desktop will work on mobile without any changes in code, so in some cases it can really boost your creation process. This tutorial is about mobile way of communication.
You can read more about the project and how does it work on Involt website.
Step 1: Preparations

Previously, Involt had to be installed as Chrome Packaged App, of course you can do this if you want to test your project before deploying to mobile but this time I'm focusing only on mobile part. For more details read the getting started page.
This time installation will be described later.
Download the framework from github: https://github.com/Involt/Involt
For this tutorial you need:
- HC-05 Bluetooth 2.0 device
- Arduino or its derivatives
- 10K Potentiometer or anything to read data
- LED with 220 ohm resistor
- Android device (I'm testing with Samsung Galaxy S5 with android 5.1.1, if project is not working on other device please inform me).
There are no complicated things to do so just connect the LED with resistor (to PWM pin 6), potentiometer and Bluetooth to arduino (to hardware serial).
However, before doing this you need to set in AT mode (there are plenty of tutorials on how to do this on Instructables) your HC-05 to slave, change its speed and name to easily find the device.
AT+ROLE=0
AT+UART=57600,0,0
AT+NAME=INVOLT
Step 2: HTML App

It's nice to know that HTML based app can communicate directly with hardware by knowing only how to add CSS classes to each UI element, of course without any IoT based service. This fresh method is in my opinion innovative and has a huge potential to become great prototyping tool.
For one UI element you need to add exactly one line of code in index.html and one in Arduino sketch (described in next step).
Technically classes and their syntax looks like this, you can also add your own class after them to have more control over your layout. Every Involt element requires the ard class, element name to define what it's going to be, its target pin and value to send or additional parameters.
ard [elementName] [pin] [value] [parameters]
For HTML part add these two lines of code to read the data and control the LED:
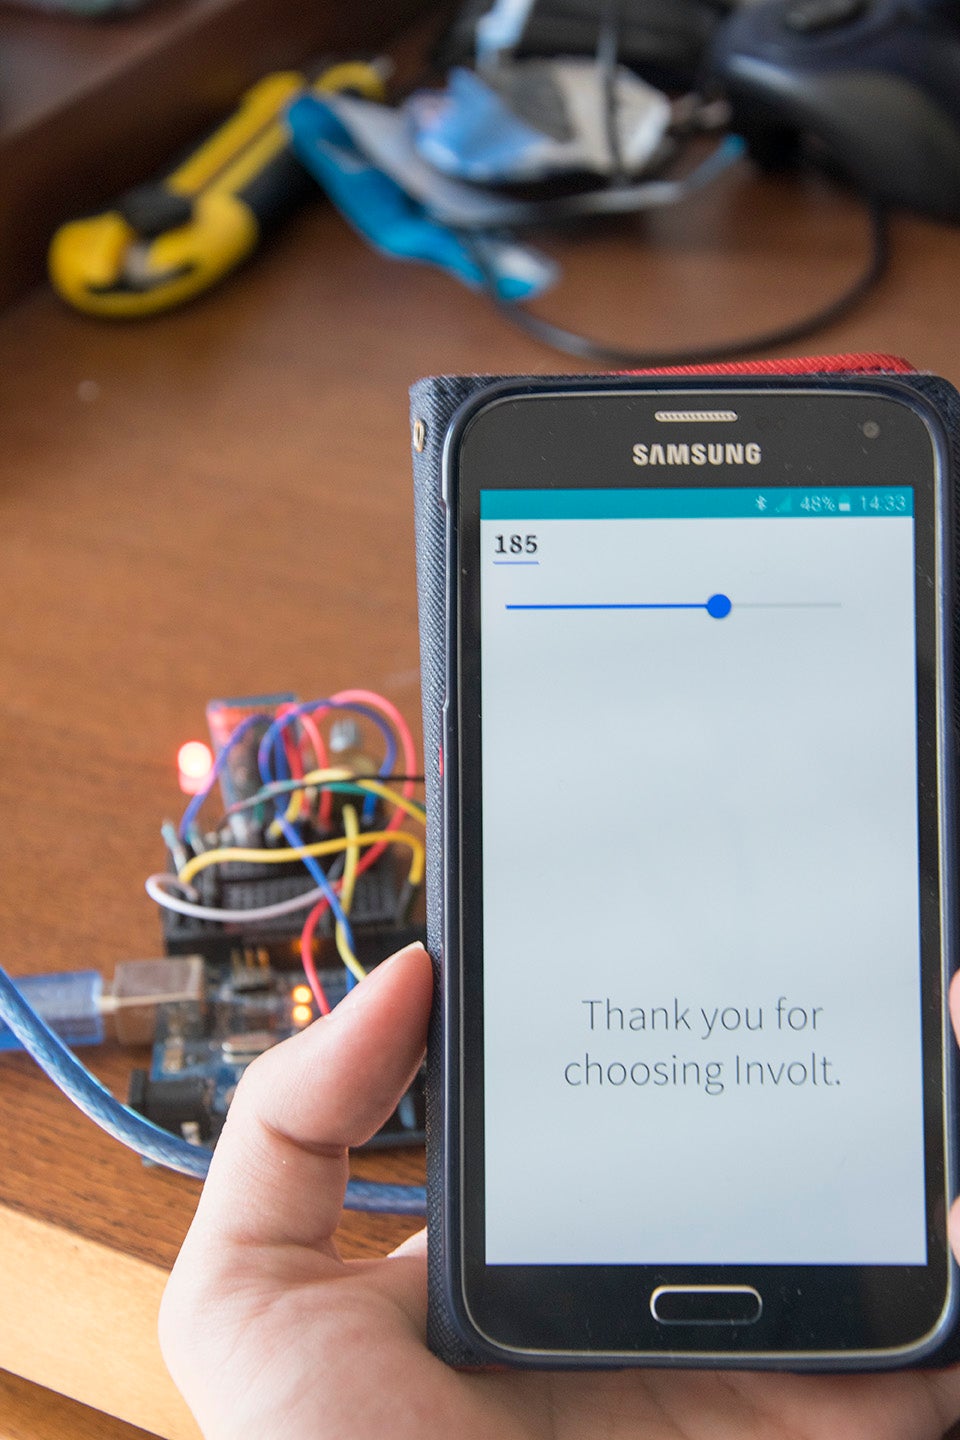
<div class="ard show A0"></div>
<div class="ard rangeslider P6 value-0 range-0-255 step-1"></div>
The show element will show the value and rangeslider allows you to change the brightness of LED.
There are many more UI elements on reference page.
Step 3: Arduino Sketch
Involt comes with prepared sketch in arduino folder, you must use it to make the framework work.
For the purpose of this tutorial you need to send the value of sensor and set the brightness of LED. You need to add two lines of code (or three, including delay) for communication to app.
Each numeric value is stored and updated automatically in involtPin[index] array where index is corresponding to pin index in UI element. Just use this with analogWrite. I connected the LED to PWM pin 6.
For sending value to app, use involtSend function where you need to define Pin for app and value to send. Pins in app and hardware should be consistent for better readability.
Add this to void loop section:
void loop(){
	involtReceive();


	analogWrite(6, involtPin[6]);
	involtSend(0,analogRead(A0));
	delay(2);


	fname="";
};
Step 4: Publish to Phonegap Build (and Install)

After preparation of hardware and software part it's time to make it work on mobile. Because Involt for mobile is Cordova/Phonegap based in my personal opinion the easiest way is to usePhonegap Build which is Adobe tool for deploying mobile apps in cloud. With free account it's possible to upload multiple public github repo or single .zip file.
Before doing this, open the settings.js and set isSerial to false and isBluetooth to true so the framework will use Bluetooth communication.
Upload the zip file where config and www folder are on top of archive. If everything is correct then you should see Icon and Involt for mobile name. Click the ready to build button and wait to complete the build.
There are other settings you can read about in Phonegap documentation but for the purpose of this tutorial that's everything for now.
If everything is correct you can use QR code scanner to download and install your app. You can also do this manually but why wasting your time?
Step 5: Test on the Device
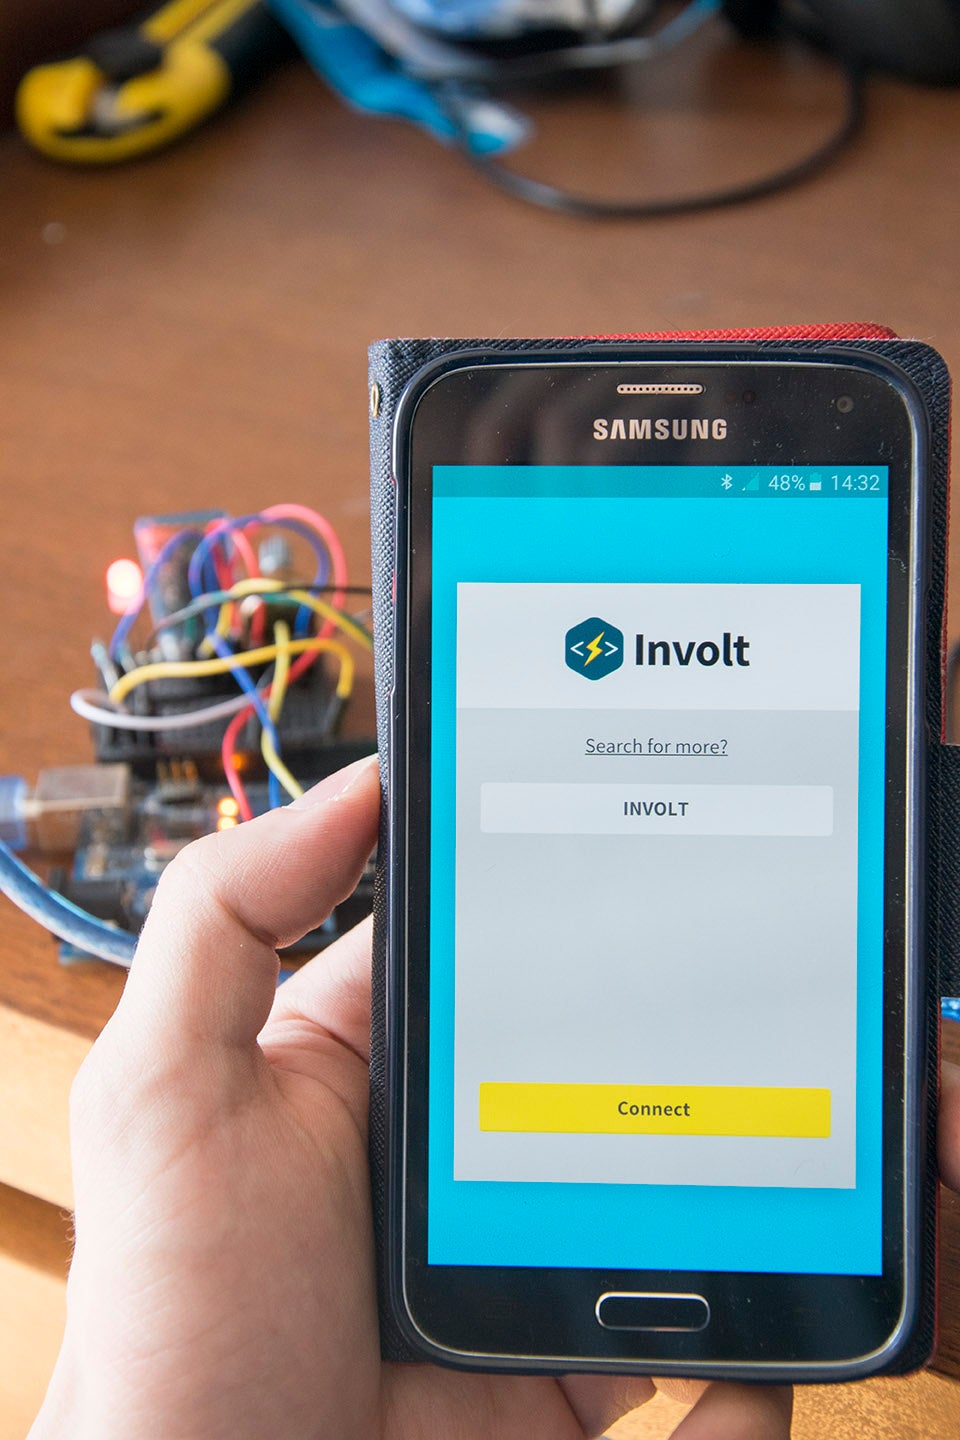
Now you should be able to use the app on your android device. Great isn't it? What is more interesting, the same app will work on desktop, installed as Chrome packaged app giving you many new possibilities without even programming. However, thanks to JQuery support you can actually do anything you want.
When launched, select your device port and you should see the value and rangeslider.
Thank you for reading this tutorial!
If you wish you can download the ready to use files in attached archive.


