

Introduction: Burning Arduino Bootloader to Atmega 32A-PU Using Arduino As ISP

To burn the bootloader onto this chip I used Mighty Core; this is an Arduino core for non Arduino AVR microcontrollers. So head over to the site below and install Mighty Core onto your computer, there are also instructions on how to install this -> https://github.com/MCUdude/MightyCore
With a bit of work I got this to function like an Arduino
Step 1: Materials


Things you'll need:
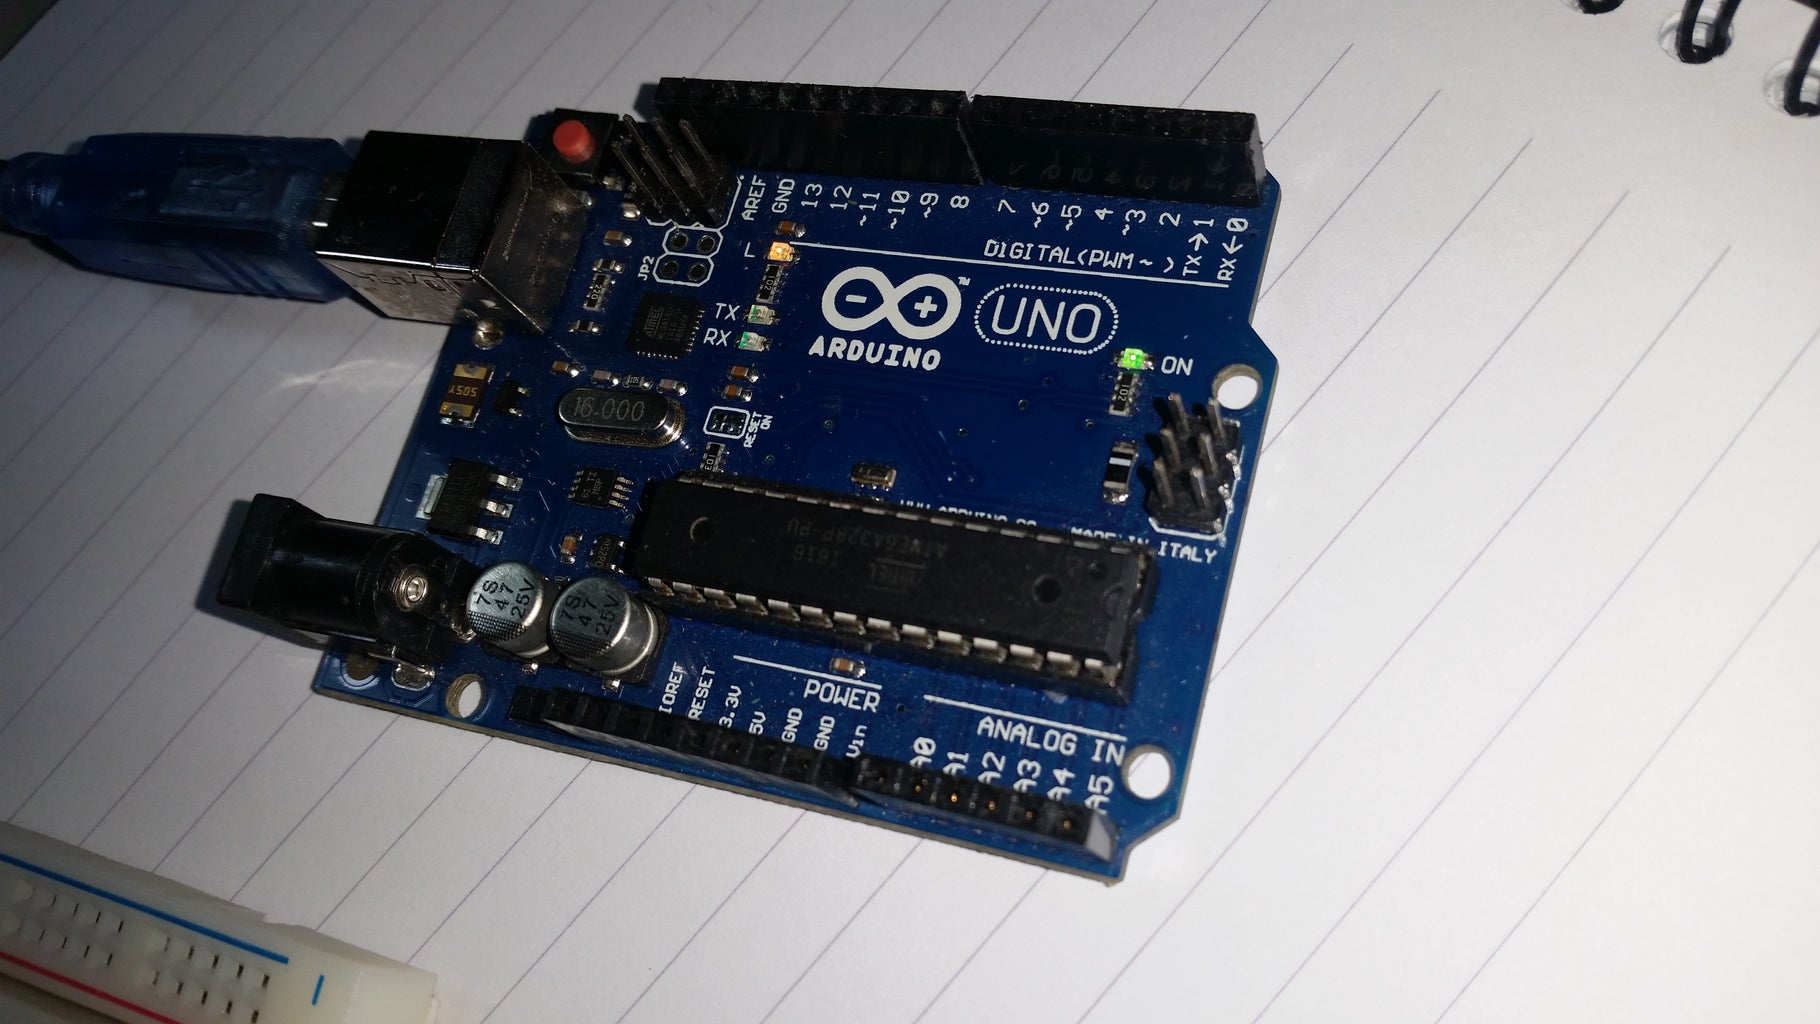
1) 1 Arduino Uno
2) A breadboard
3) LED(This is optional, only necessary if you want to test out a sketch)
4) 220 ohm resistor
4) Male to Male Jumper Wires
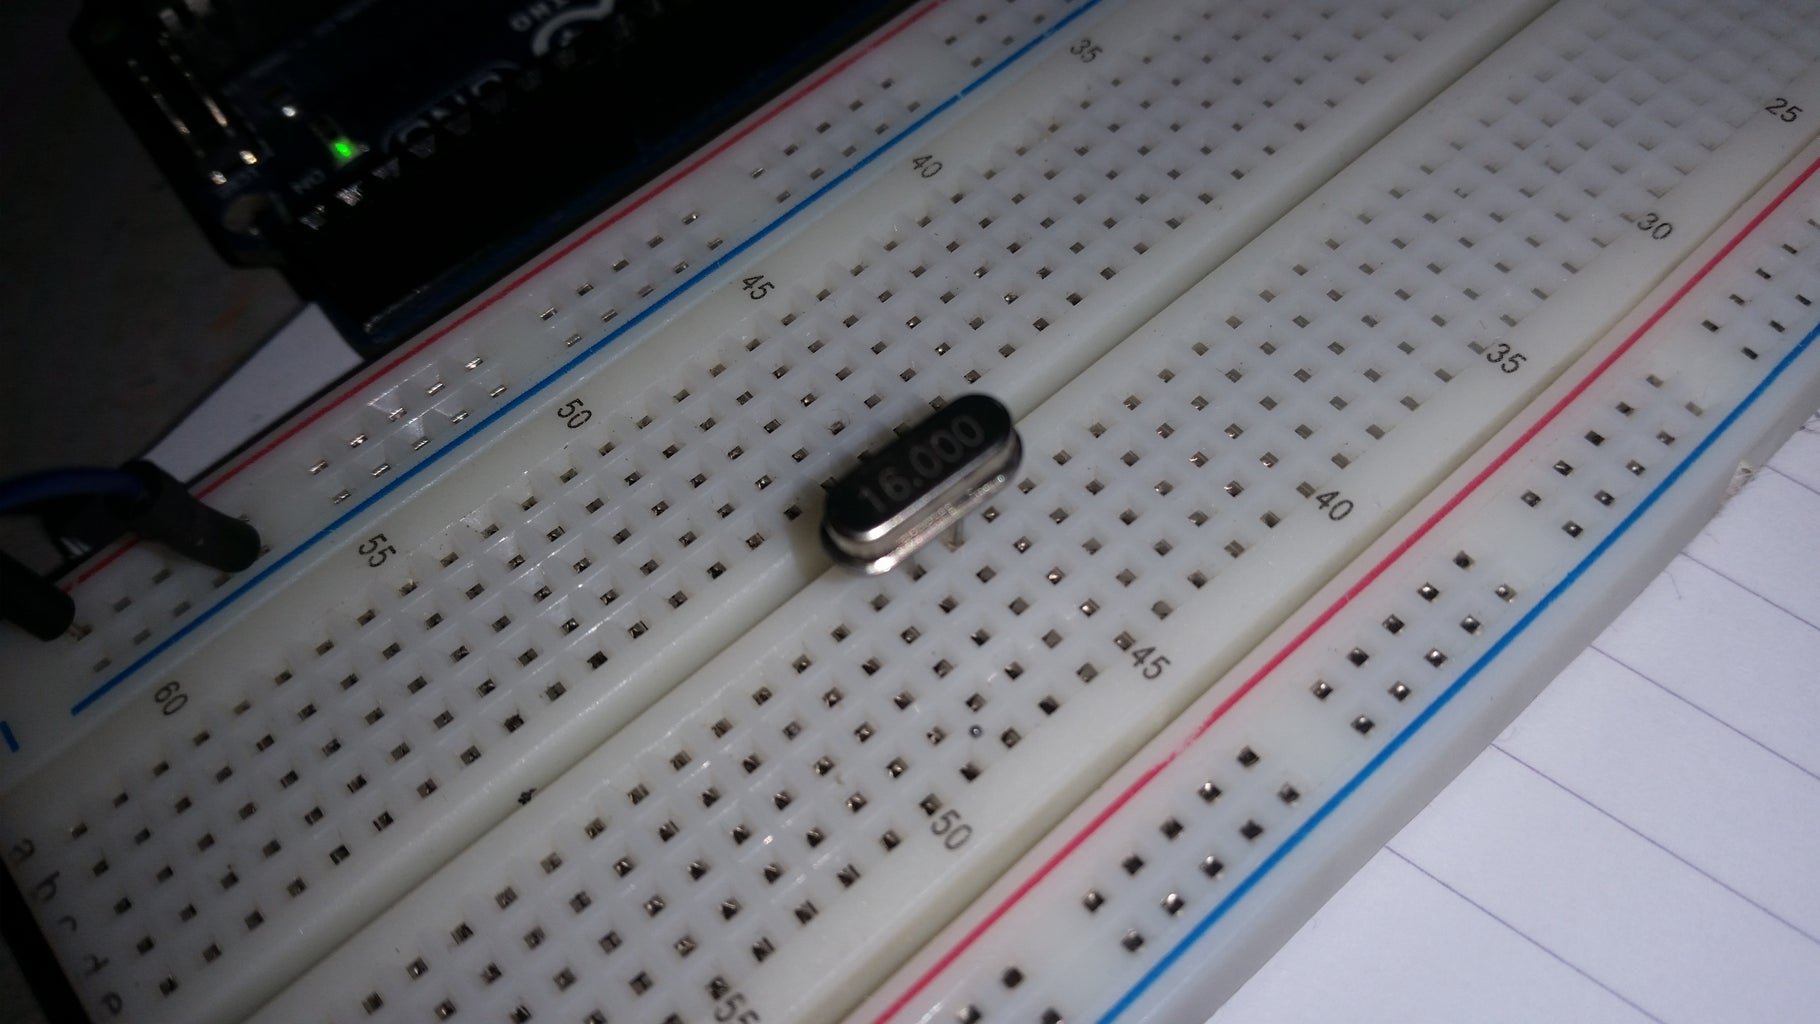
5) 16 MHz Crystal Oscillator
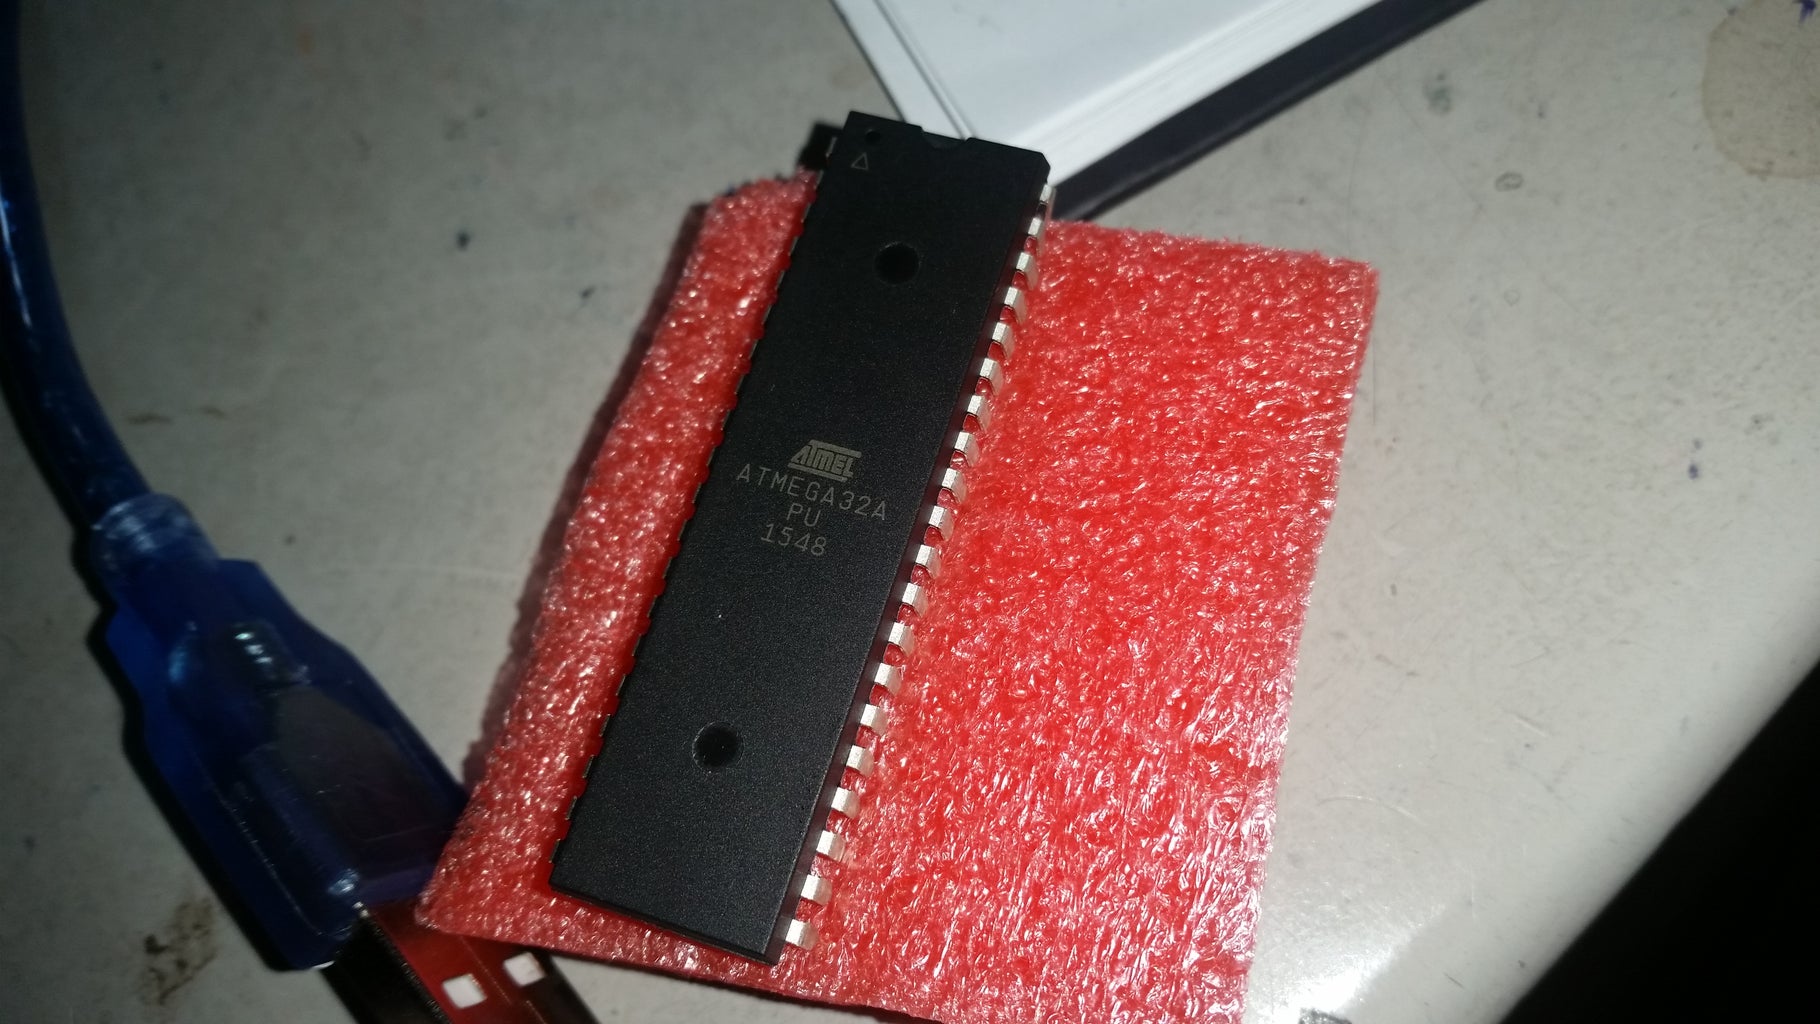
6) And obviously the Atmega 32A microcontroller
Step 2: Setting Your Arduino As ISP
We need to tell our Arduino that whatever that it is sending is not for it but for another micro controller. To do this is we need to set the Arduino as an ISP(in-system programmer)
1) Plug the Arduino into your computer USB port
3) Open the Arduino IDE
2) Ensure that Arduino Uno/Genuino is selected from Tools > Board
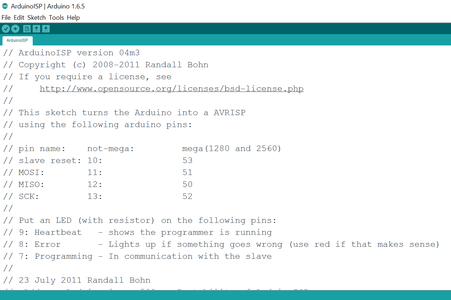
3) Open up the ArduinoISP sketch from File>Examples
4) Then hit the upload button
The uploading may take a while, once finished close the IDE and disconnect the Arduino from your computer
Step 3: Preparing the Hardware
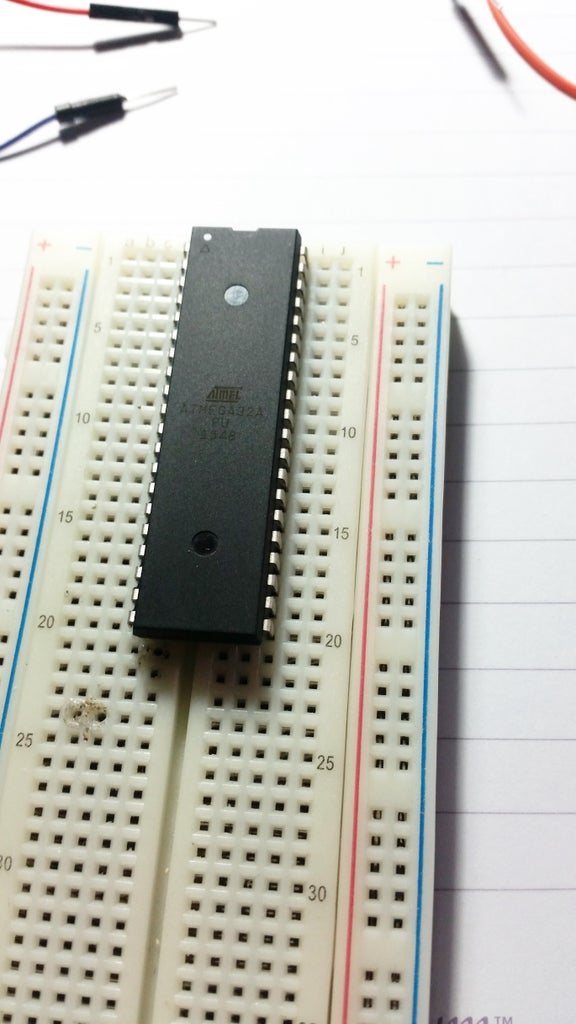


First put the microcontroller on the breadboard(ensure that all the pins are inserted properly) and look at the pinouts of the chip above and use jumper wires to connect to arduino as required
Notes:
- Connect pins 10 and 30 on IC to 5V on Arduino
- Connect pins 11 and 31 to Ground on Arduino
- Connect 16 MHz crystal to pins 12 and 13 on IC
- Connect pin 6 on IC to pin 11 on Arduino (MOSI)
- Connect pin 7 on IC to pin 12 on Arduino (MISO)
-Connect pin 8 on IC to pin 13 on Arduino (SCK)
-Connect pin 9 on IC to pin 10 on Arduino
Step 4: Burning the Bootloader!
Once all the connections between the chip and Arduino are set up. Plug the Arduino to your computer and open up the IDE.
There:
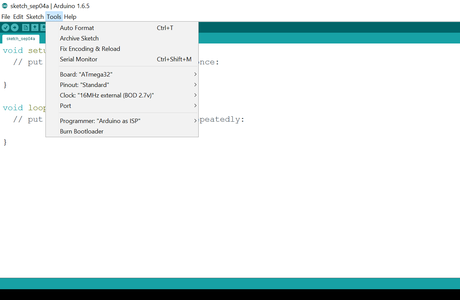
1) Select Atmega 32 from Tools>Boards
2) Select Arduino as ISP from Tools>Programmer
3) Finally click Burn Bootloader from Tools
This should take about a minute or less.
Step 5: Uploading a Blink Sketch


Look at the pin outs above. As you may notice, this chip has a different pin layout than your usual Arduino.
Connect an LED to pin 18(corresponds to pin 13 on arduino board) and upload the standard blink sketch from File>Examples.
Hope you liked this tutorial!


