

Introduction: CNC Cut Paper Rack


This paper rack is designed to hold large amount of forms, letters or documents in a minimum of space and also design to be be easy to grab a form when needed. It was designed for A4 sheets 210 x 297mm but US letter should also fit 216 x 355mm as the openings are 220mm wide.
The material is 3mm clear acrylic but you could use any 3mm material, such as MDF or aluminum.
As the project is too large to fit in the small laser cutter I have access to I cut it out on CNC router, which worked well but requires a little cleaning up of the edges.
Step 1: Stuff You Will Need

- 2.8mm mill end
- 3mm acrylic or MDF
- acrylic or wood glue
- small brush or cotton bud to apply the acrylic glue.
- A program to generate a G code for your machine. I use Vcarve.
- CNC router or laser cutter large enough to cut 600 x1200
- This first DXF is for a laser cutter
- the second DXF is for a CNC mill or router

Step 2: Cutting Out the Parts


After downloading the DXF you will need to generate a G code for your machine, I use Vcarve. I suggest that you add some tabs to the tool path to stop the parts from moving around when they are been cut out. These are easy to file off afterwards.
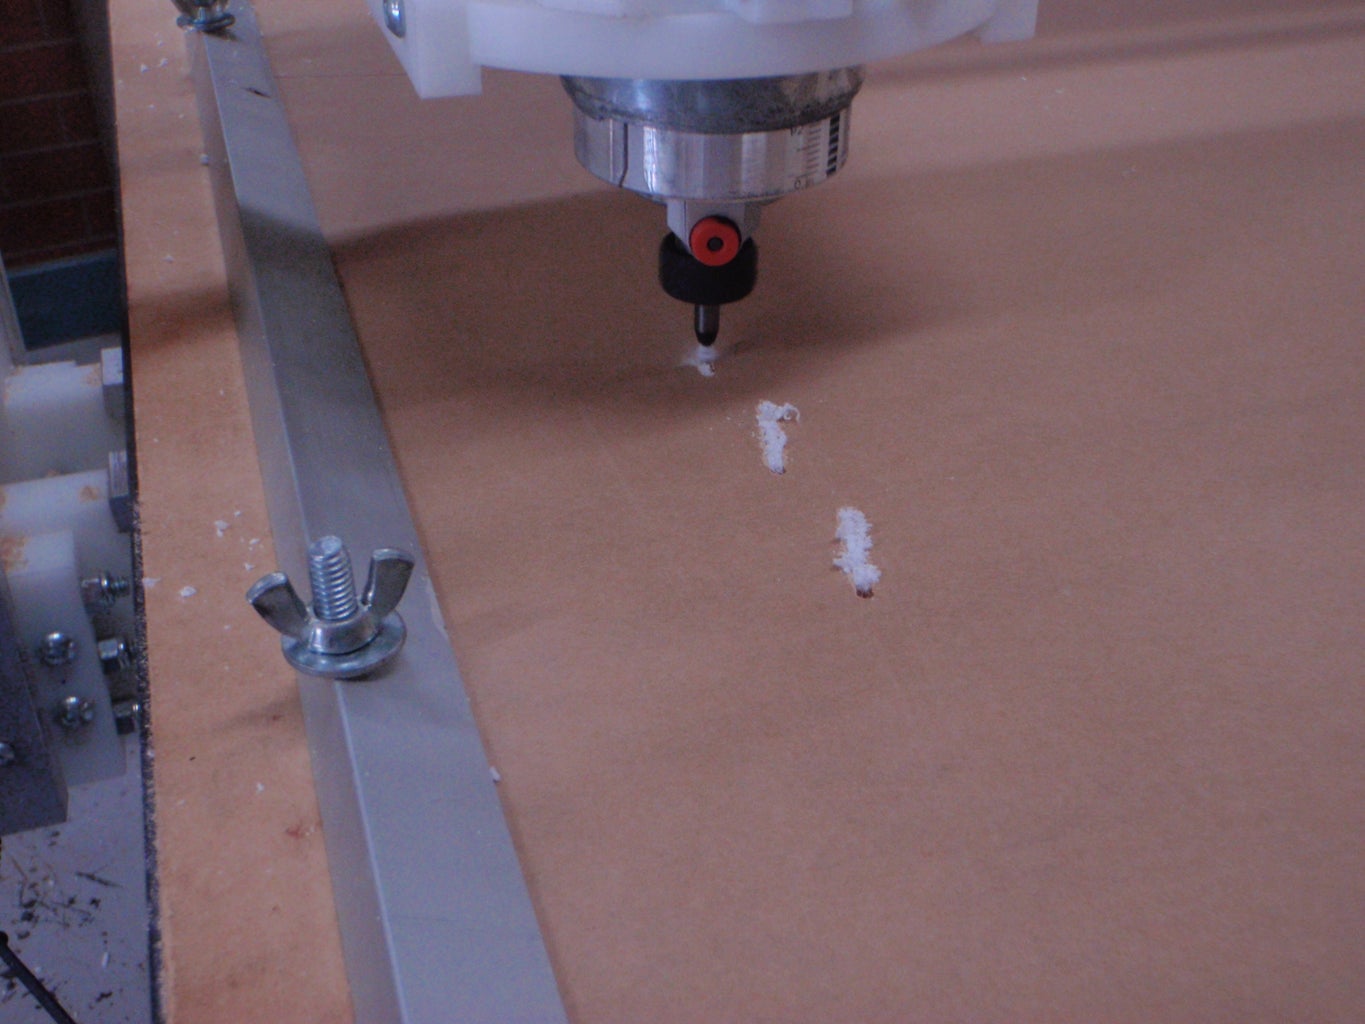
Mount the 600mm X 1200mm piece of acrylic on top of a scrap piece of material to stop the cutter from attacking the bed of the machine. I made up some brackets to hold down the large sheet.
Zero the the machine on the bottom left hand corner of the material and make sure you have the 2.8 mm mill end fitted to the machine. I found that a straight cut end mill will cut plastic without lifting the plastic off the deck, unlike a spiral type which can cause problems.
Once the machine has cut out the first lot of piece I then slide the acrylic forward Load the next G code and cut out the second lot of parts . My router will only cut 600mm X 600mm so it is necessary to do two runs to get one rack.
If you chose to use a laser cutter you will need the first DXF and depending on the size of your machine you may have to separate the parts. On a CNC router or mill It is necessary to have the slots oversize (too long) as the tool will always leave a radius on internal square corners, so the"tab" will not fit if the slots if it is the perfect length. So the second DXF the tabs are undersize to compensate for this. We are only talking 1 or 2mm, a laser doesn't have this problem and will cut the corners perfectly square.
Step 3: Assembly


The first thing to do is remove the waste plastic from the slots, and remove any sharp edges and the tags that hold the parts in place while been cut. Next the protective paper can be removed from the plastic.
This can make the acrylic charge up with static electricity and cause dust and derbies to stick to it, so best to do this in a clean area.
I find on the CNC router that sometimes pieces are not cut perfectly so its a good Idea to assemble the rack dry, without any glue first just to check that every thing is going to fit properly. You may have to grind a small piece off the tabs if they don't quite fit perfectly but it will depend on your machine and the end mill you choose.
Next use a cotton bud to spread some acrylic glue on the edges of the shelves and push one side into the slots. The second side is quite a bit more difficult align, and it may help to place a block of wood on top an tap it lightly, as the slots and tabs are a tight fit.
Next some more glue can go on and the back can be fitted.
It a good idea to tape everything down until the glue drys.
Once the glue is dry I give the rack a wash in cold water to remove any dust that has stuck to the acrylic, dry it off and its ready to hang on the wall.
I can then get rid of all those annoying pieces of paper that seem to accumulate.

Participated in the
Instructables Design Competition


