

Introduction: Capacitance Meter With TM1637 Using Arduino.


How to make a capacitance meter using Arduino displayed on the TM1637. Ranging 1 uF to about 2000 uF.
Step 1: Parts Required


Resitors:
1x: 220 Ohm
1x: 10 kOhm (Or something else but you will have to change the code after what you use, 8000 Ohms would work as well.)
Capacitors:
Have a range of capacitors while testing, since it's easier calibrating if needed that way. The capacitors in the picture are seen from the left, 10 uF, 47 uF, 220 uF and 1000 uF. Calibrate it after what you think you will use the most.
TM1637:
This is not needed if you just want to see the values on your computer, but the programming is already done for your part so why not add one.
Jumper wires:
Depending on using the TM1637 or not you need about 8 wires, TM1637 uses 4.
USB cable:
To program the Arduino.
And of course an Arduino and a computer to program it.
Step 2: Connecting the Resitors

The 220 Ohm resistor goes from digital 11 to A0 and the anode of the capacitor.
The other resistor goes from digital 13 to A0 and the anode of the capacitor. The fourth cable leads the other end of the capacitor the GND.
Step 3: Connecting the TM1637
There's 4 pins on this display, 2 of them goes to GND and 5V. The other 2 are named DIO and CLK, DIO goes to digital 8 on the Arduino and CLK to digital 9.
All set up! Time to load the sketch!
Step 4: The Code and Display Files

The file named Capacitance meter is the main sketch, the other two files are necessary for the display to work.
The first step is to open Arduino IDE, if you don't have it already it can be found here: https://www.arduino.cc/en/Main/Software.
Next open the main sketch, press sketch and then press add file. From there you will select the other 2 files. When you are done it should look something like in the screenshot found in this step.
Press upload and test it out!
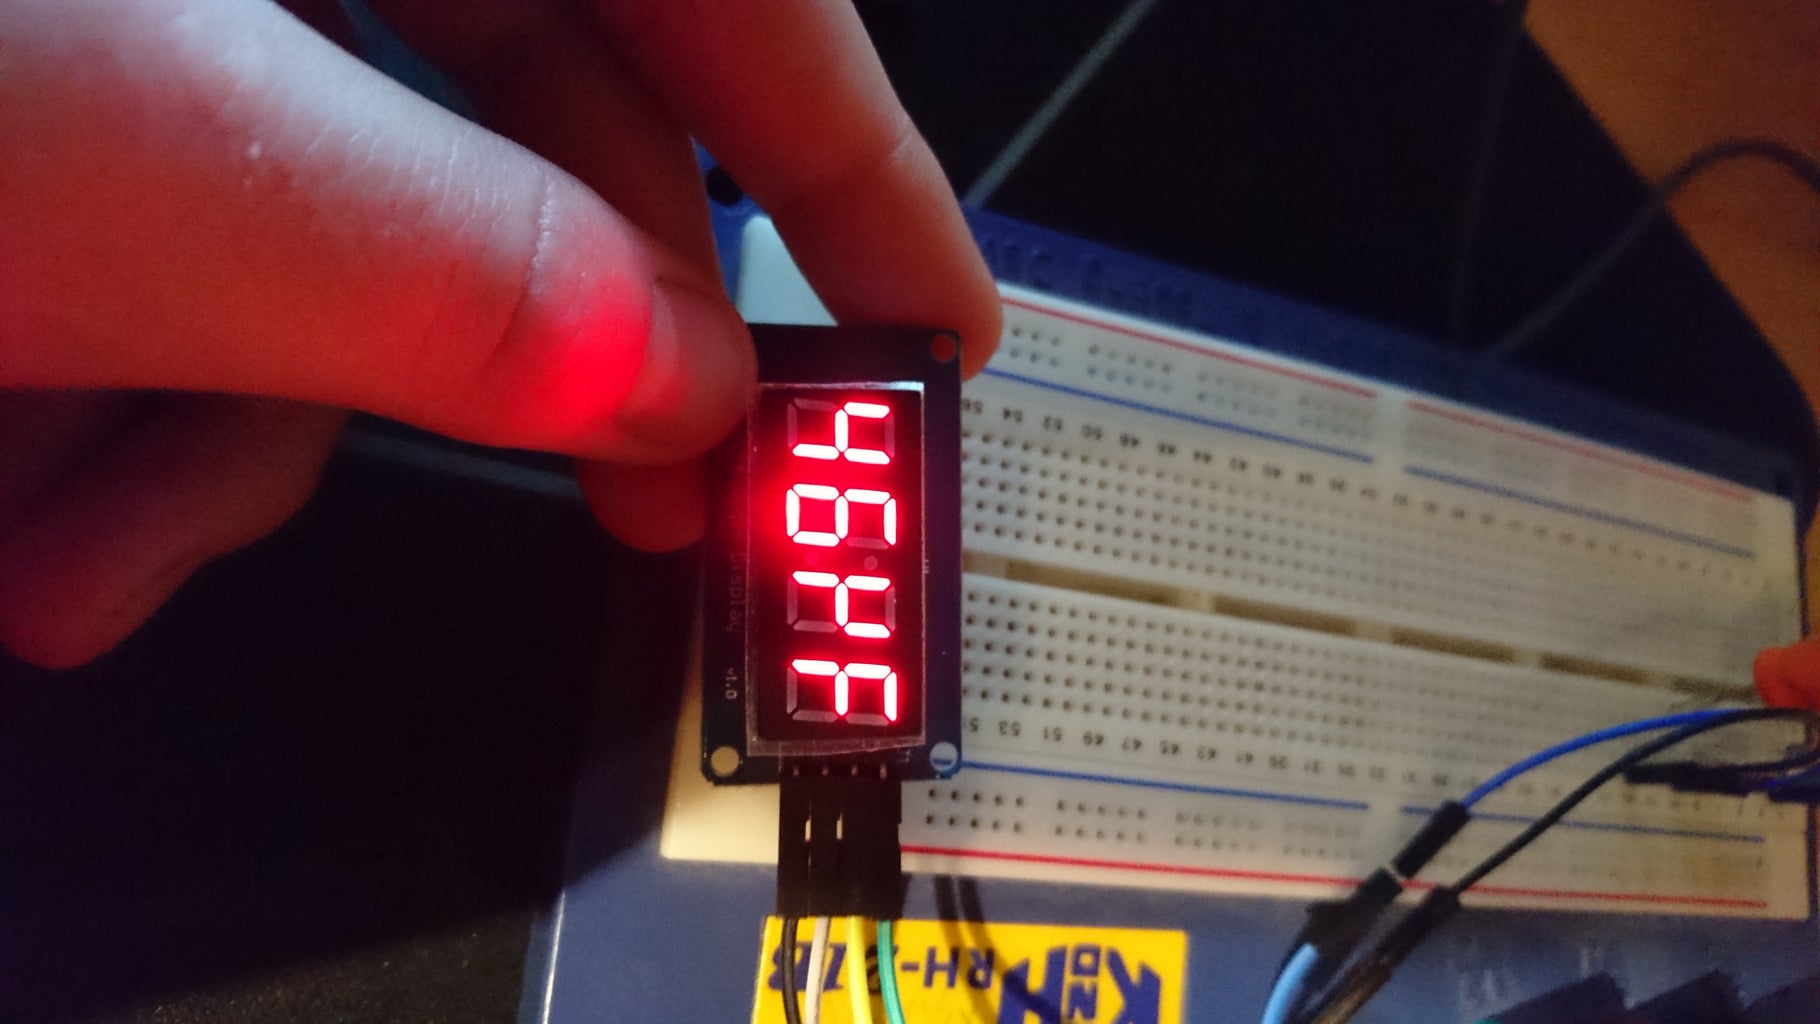
If you want the "u" sign displayed as seen in the in the first picture, type:
TM.display(2, 0x30);
To display "F":
TM.display(3, 15);
I removed this in the code since it limits the numbers you can display.

Step 5: Thanks To:
Baelzabubba:
https://www.instructables.com/member/baelza.bubba/
Who gave me the link to the site below where I found this circuit and most of the code.
http://www.circuitbasics.com/how-to-make-an-arduino-capacitance-meter/
