

Introduction: Cherry Queen Bed


My first great passion is woodworking. 'I am a ...carpenter like my father before me' and my grandfather. We mostly did framing (home construction for the lay) and trim but being in the shop was always my favorite. So from the time I could hold a hammer I was usually building something or planning on building something.
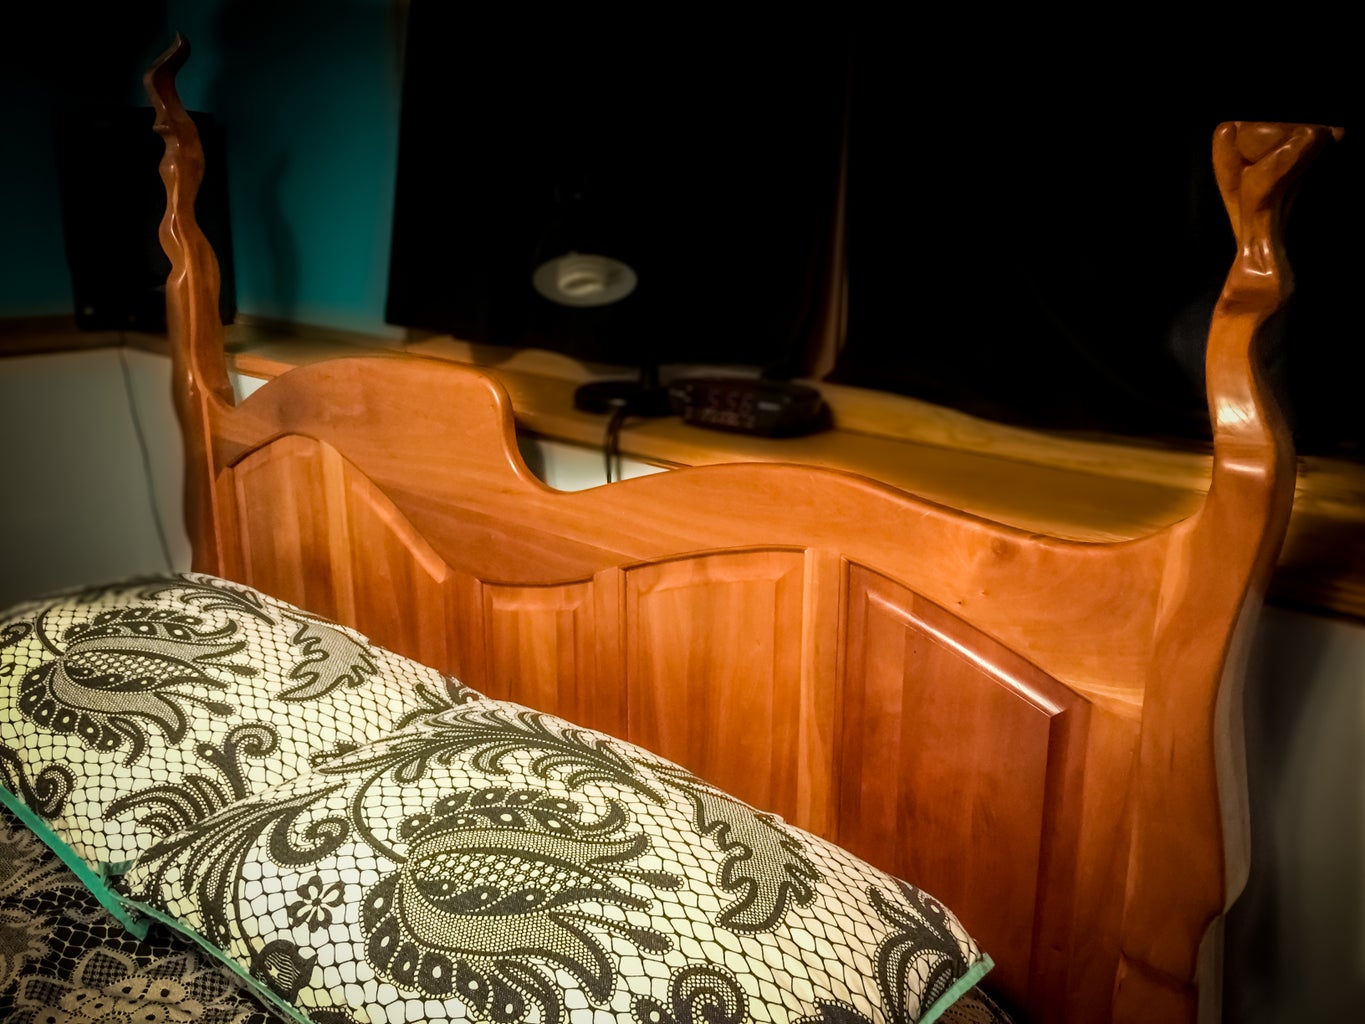
This is a queen bed I built for my wife and I out of solid cherry. This was B.I. (before instructables) so I don't have pics of the construction but I will give the basics. Even though the design may look complicated all it takes is a bit more time and sanding to make frame and panels with a bit of a biomorphic design. I don't like things that look like they were made by a machine.
Step 1: Tools and Material

Tools
Shaper or Router table with frame and panel bits
Band Saw
Disc sander
Belt sander
Random Oscillating sander
Table Saw
Clamps
Cordless drill
Material
Wood ( Don't have a board foot count but most was made with 3/4 stock bought from hard wood dealer)
Glue
Tung Oil
Step 2: Make Patterns
With typical woodworking you usually are dealing with straight lines so a detailed drawing is usually enough to get cutting. With this design, I went with kind of freeform shapes that requires extra steps.
First I drew the headboard and footboard actual size onto paper (I used a big roll of art paper from Michaels). Then I transferred the full size pattern of each piece (panel, stile and rail) onto separate pieces of poster board. I dealt with the bedposts after I had the headboard and footboard completely built.
The panels had to show the extra 1/4" around it's border that would be recessed into the stiles and rails.
Each end of each stile needs to include the amount that will be cut by the shaper bit to fit into the rails. These patterns have to be extremely precise because any imperfection in the curves will be seen in how the stiles and rails fit together.
Each rail needs to be 1" longer to be tenoned in to the bedposts.
These patterns have to be extremely precise because any imperfection in the curves will be seen in how the stiles and rails fit together.
Step 3: Glue Panels
Each of the panels was wider then the boards I had. So I had to glue two boards to make up each panel. Once dry, scrape the glue and run it through a surfacer.
Step 4: Make Stiles and Rails
Trace your patterns for the stiles and rails on to your selected lumber. Cut out the curved shapes on a bandsaw or with a jigsaw staying about 1/16" away from your line. Sand the edges with a stationary disc sander for outside curves and a oscillating spindle sander for the inside curves. Make sure you sand just to the line on the interior of the rails.
Once these are all sanded perfectly to your pattern run it through the shaper or router table with the corresponding bits for the stiles and rails. Test all your cuts on scrap first to get the height on the cuts perfectly adjusted.
Step 5: Shape Panels
Rip your panels slightly larger then finished width and plane to finish. Trace patterns onto the panels and cut the curves on the bandsaw sanding to finish. The finish dimensions should be slightly loose in between the stiles. The larger the panel the more it will expand across the grain. Almost no expansion takes place lengthwise.
Once the shape is done run them through the shaper with the panel bit taking care to run across the grain first in case the end chips out a bit your pass running with the grain should cover it up. Take off about 1/3 of the total amount on your first pass and gradually raise the bit. Be careful! These are big bits and can be super dangerous.
Step 6: Glue Up Headboard and Footboard
Dry fit everything making any adjustments where needed. Once it is perfect Glue your stiles and rails in to place and clamp it with bar clamps or straps. Don't glue the panels in to place, they need to be free floating to expand and contract.
Step 7: Make Your Bedposts

I glued up four 3/4" boards to get the total thickness of 3"x3" for my bedposts. I then mortised the headboard and footboard rails into their respective places and dry fit them. I then drew my wavy design on to two of the sides of each post to show my finish profile. I then cut all the curves on one surface on the band saw. I then tacked a couple of the larger pieces on the back side back on to allow me to cut the perpendicular surfaces. .
The next part was the most time consuming of the whole project. Sanding the posts. You can use a combination of beltsanders and random orbit palm sanders on this but it takes forever with all the curves.
I also carved one of the tops of the bedpost to hold a candle.
Step 8: Side Boards
The side boards are made of 8/4 solid cherry which cost me a pretty penny. I surfaced these down a smidge to about 1 3/4" x 6". I then glued and screwed 3/4" x 2" cherry cut offs to the inside towards the bottom. These hold the slats that support the box spring mattress.
I bought some hardware from Rockler that are two pieces x 4. One male piece screws to the ends of each side board and another female piece gets mortised into the posts. This allows the bed to be disassembled easily. (no pic)
Step 9: Finish
Make sure everything looks good. No swirlies with the random orbit sander.
I finished this bed with tung oil which I love. Follow instructions but generally you rub it on and allow it to dry, repeat as many times as instructions say.
Thanks for reading. Sorry I don't have more pics but I'm 2000 miles away from said bed. It's at my parents house now and we still use it when we visit there. We have a king sized bed where we live now but it's not as pleasing aesthetically.

Participated in the
Wood Contest

Participated in the
Formlabs Contest


