

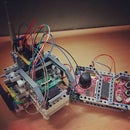
Introduction: Cloud Controlled Dune Buggy - Control It From Anywhere!


Being from a hardware oriented background, seeing graphs of data being plotted in front of my eyes for the first time was exciting, but watching my robot follow commands that I gave it was what really blew my mind!
Ever since I've been drawn to Cloud and the IoE in general, I've seen quite a lot of projects that focus on data analysis and visualization. However, there were very few projects which focused on hardware control over the Internet. So I decided, just for the hell of it, to try and control a robot from the cloud. The implications were indeed exciting!
To be able to control a robot from anywhere in the world!
To top it all off, I also fitted it with ambient temperature and light sensors, for future use as a sensor node, perhaps, and also IR obstacle sensors, because I don't want it to bump into things if I can't see where it's going or if my commands get delayed.
Step 1: Gathering Materials and General Overview


For this project, I've used to following hardware and software components
- Hardware
- Arduino Yun
- L293d Motor Driver Circuit
- LM7805 Voltage Regulator
- 2 BO Motors
- Castor Wheel
- An 8V DC Battery
- 2 IR Transmitters
- 2 IR Receivers
- Photoresistor
- LM35 Temperature Sensor
- Resistors - 10K, 15K, 330E
- Capacitor - 10uF
- LEGO Mindtorms Set - Various
- Software
- Dweet.io - Web Service
- Arduino IDE - v1.6.4 or above
- MIT App Inventor - v 2.1 or above
This project is divided into the following parts:
- Robot Chassis
- Electronic Interfaces
- Setting up a Dweet Device
- Coding the Arduino Yun
- Developing the Android App
Using the lightweight M2M cloud service, Dweet.io, this robot receives commands from the service, and moves accordingly. It is also equipped with two IR Obstacle Sensors which allow it to see the obstacles that you can't, because well, you're not there. It can maneuver around these obstacles so that it does not crash. There is also a Temperature Sensor on board which can be used to detect ambient temperature, as well as a Photo-sensitive Resistor which is used to detect the ambient light intensity to tell whether it is light or dark. Now you may be wondering how the robot is controlled. The user can send the robot commands using an Android App especially designed for this robot. It allows the user to make the robot move in all four directions, as well as scan the environment to log the sensor parameters.
Step 2: Building the Robot Chassis


The chassis for the robot is a highly subjective matter in terms of choice, because the requirements of a chassis are not very critical. At the very least, it must be sturdy, non conductive and workable. I'm a fan of rapid prototyping, so I've used the Lego Mindstorms set to whip up a quick chassis for my robot.
The first step involved creating a harness for the battery, which, luck for me, is very compact. The 8V output would leave much to be desired for more power intensive actuators, but for a couple of BO motors and some sensors, it is pretty adequate.
The castor wheel assembly seems convoluted, but trust me, this chassis is made using the Howard Roark approach. No piece is unnecessary. I used the nut and bolt mountings on the castor to connect it to the Mindstorms shaft.
Creating a harness for the wheels and motors was by far the trickiest, because of the motor's varying width along the height. The proximity of the rotating part of the wheel to the chassis resulted in friction, but I overcame that by adjusting the distance between them and filling the gaps with glue.
Finally, I added some scaffolding above the battery harness, where all the electronic stuff was going to be added.
Step 3: Designing the Electronic Interfaces

As stated before, the robot has quite a few sensors on board. However, apart from that, it also has a voltage regulator to ensure that a smooth 5 volt supply be provided to the Yun.
It also has an L293 Motor driver circuit to allow sufficient current to power the motors via the Yun's GPIO. It is essentially a boost for the GPIO outputs.
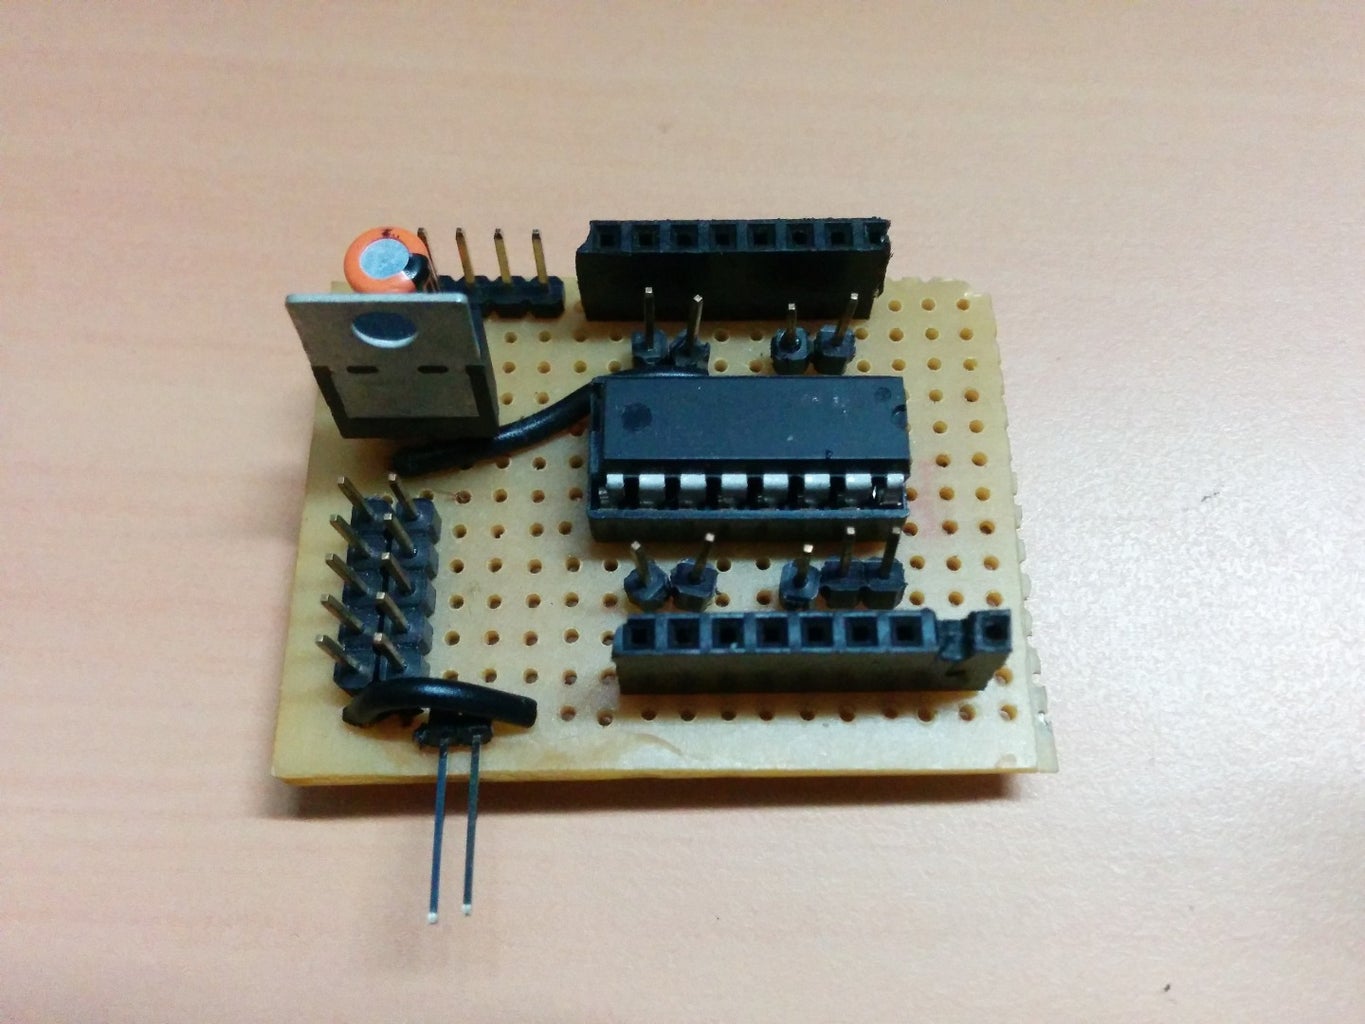
All the aforementioned sensors are mounted on a single PCB, so that there is a minimal amount of cumbersome wiring. I've made all the circuits using a good old fashioned printed prototyping board, so they may not be the tidiest in the world, but cleanliness fans may opt for a designed board as well.
The LM35 is an analog temperature sensor, which is interfaced to the Yun's 10-bit ADC. It provides a reading for the ambient temperature, though cutting out a couple of bits from the bottom would result in a much more stable output.
The photoresistor senses ambient light around it by giving a change in resistance. This change in resistance is converted to a change in voltage using a simple voltage divider circuit. The output of this sensor is also fed to another ADC channel.
The IR Transmitter- Receiver pair work as obstacle detection and mitigation systems using a principle similar to a RADAR, but replacing sound with IR light. This makes it a very useful sensor to have on board. The voltage output of the receiver changes with the proximity of an obstacle. This change is detected by the ADC and action can be taken.
Attachments

Step 4: Setting Up a Dweet Device

Dweet.io is a very useful little cloud service with a unique twist. Its a messaging service based on a lightweight M2M protocol, which means that it is very fast. It used a HAPI interface, which makes it very human friendly in terms of readability.
A dweet request is usually of the form
https://dweet.io/dweet/for/testdweet?what=dis
And a dweet response is as follows
{"this":"succeeded","by":"dweeting","the":"dweet","with":{"thing":"testdweet","created":"2016-03-20T17:59:17.216Z","content":{"what":"dis"},"transaction":"18ec09b3-1158-4531-be31-b7bcf3c28cc9"}} Using simple string formatting or array formatting techniques, one can retrieve sent data.
One of the best parts about Dweet.io is the fact that you don't need to sign up, or get a key or any of that jazz, it's just set up and go.
There's a lot of useful features that you can utilize including comparison and parsing on the cloud as well as subscription to channels.
Step 5: Programming the Arduino Yun
The code for the Arduino Yun is attached to this project, you have to add in your Dweet device name before uploading the code, else the code will not work. (Not a safety precaution, pure laziness.)
The way the code flows is as follows
- Initialize GPIOs as Outputs and Inputs
- Begin Bridge communication with the processor side
- Get values of left and right obstacle sensors
- If obstacle detected in front of the bot ; Move Back and Turn Left
- If obstacle detected on the right ; Turn Lef
- tIf obstacle detected on the left ; Turn Right
- If none of these conditions are satisfied, read data from Dweet
- Move robot according to command
- Wait for 1 second
- Return to step 3
Please note, the attached code does not contain functionality to read ambient temperature and light values and upload it to the cloud.
Attachments
Step 6: Developing the Android App

The user can send the robot commands using an Android App especially designed for this robot. It allows the user to make the robot move in all four directions, as well as scan the environment to log the sensor parameters.
An application specific Android App was developed for this project using the MIT App Inventor service, which allows you to develop your Android app without knowing Java by using a Scratch Programming Interface.
The App is very simple, and it sends the appropriate Dweet codes as specified in the program to the Dweet server via buttons. It also has functionality to include sensor readings remotely.
This is the Android App which is used for controlling the buggy remotely.
Please use MIT App Inventor to build it and save it as an APK
Attachments
Step 7: Your Robot Is Ready!

Now to finally test it!
First of all, send a 0000 command to your device on Dweet. We don't want it to move before it has to!
Connect the 8V battery to the battery terminal on the L293 board, and wait for the LED on the Yun to turn Red.
Then, send a command on Dweet, to move ahead, backwards or turn.
If everything was done well, your robot should move according to the command!


