

Introduction: Comic Book

This is a simple process on how to make on panel per page comics.
Step 1: Step 1: Brainstorm
First You'll need:
A Pen (Optional)
A Pencil (recommended)
An Eraser
Blank Paper 2-3 sheets (Copy Paper recommended)
A Stapler
Notepad (Optional)
Before you can begin your comic we need to have an idea of the story. it should be simple as this is a small comic with one image per page. If it helps start jotting down notes on a notepad.
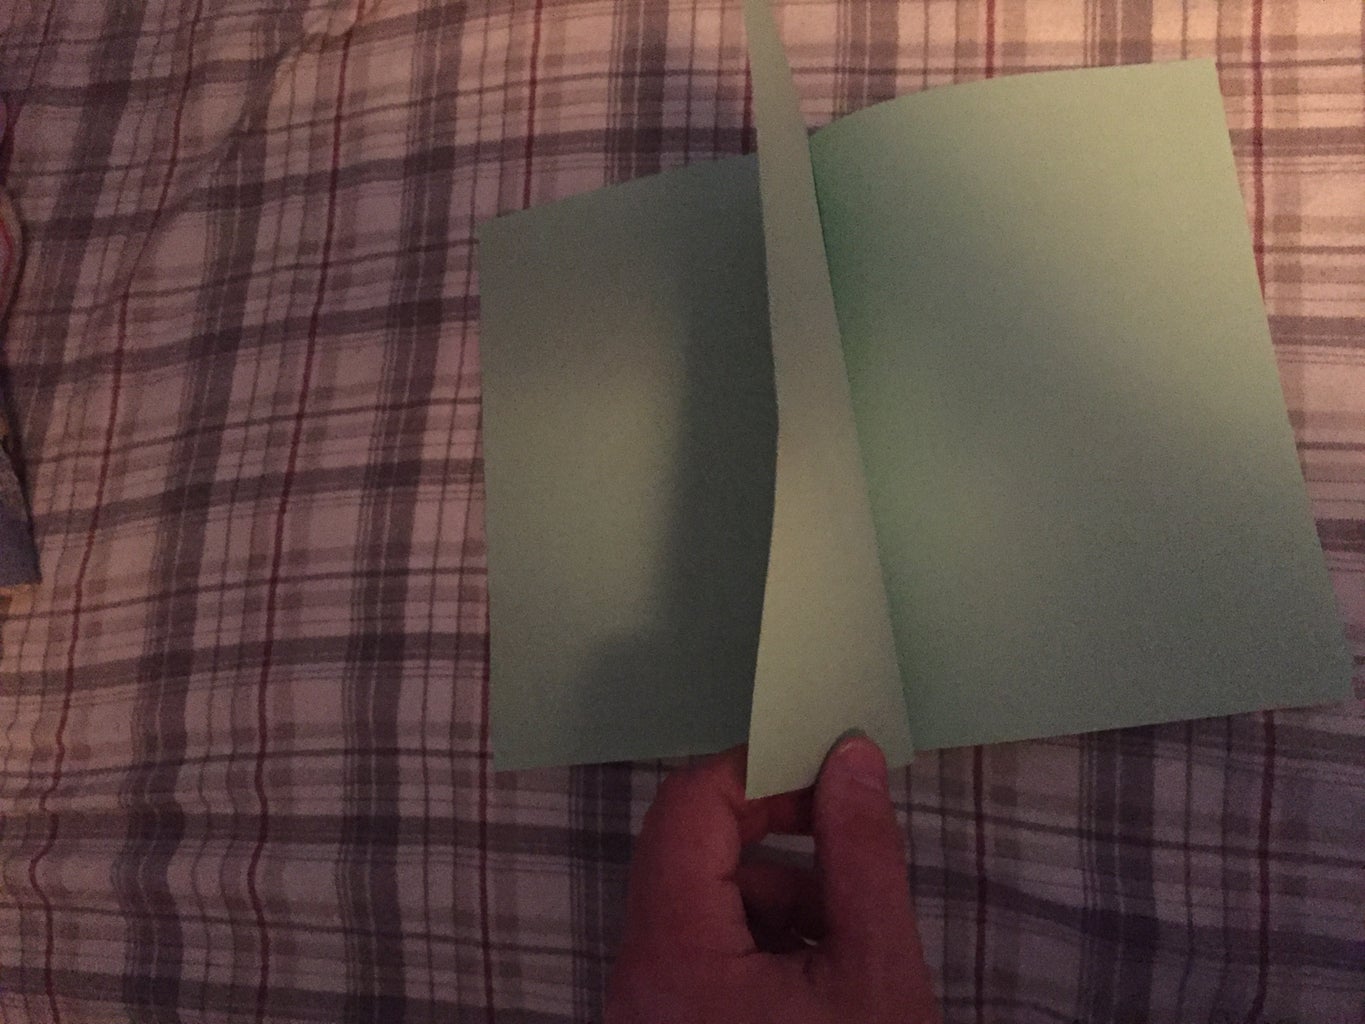
Step 2: Step 2: Folding Paper

While it sounds self explanatory it needs to be done a certain way. Fold your paper hamburger style, an do so with each following page.
Step 3: Step 3: Character

You should have an idea of what your character should look like. It can be a simple stick figure or an incredibly detailed character. Do a couple practice sketches on the note pad or a spare piece of paper if you have one.
Step 4: Step 4: Panels


Before assembling your comic you should draw out the panels on the pages. If you use one sheet then you will have four panels. After the first two panels add another sheet unless your comic is four panels long. In case of mistakes you should draw the panels in pencil and trace over them later with a gel ink or felt tip pen.
Step 5: Step 5: Assembling the Book
Now that we have our panels finished we can put the book together. Each sheet should neatly be placed within the other like the first and last pages are the buns of a hamburger and the rest of the pages are the meat and condiments.
Step 6: Step 6: Stapling

Once the book is assembled staple the pages together. Three staples usually work best.
Step 7: Step 7: Title

If you don't have a cover then write the title at the top or bottom of the first page. Congratulations, you have your own little comic book.


