

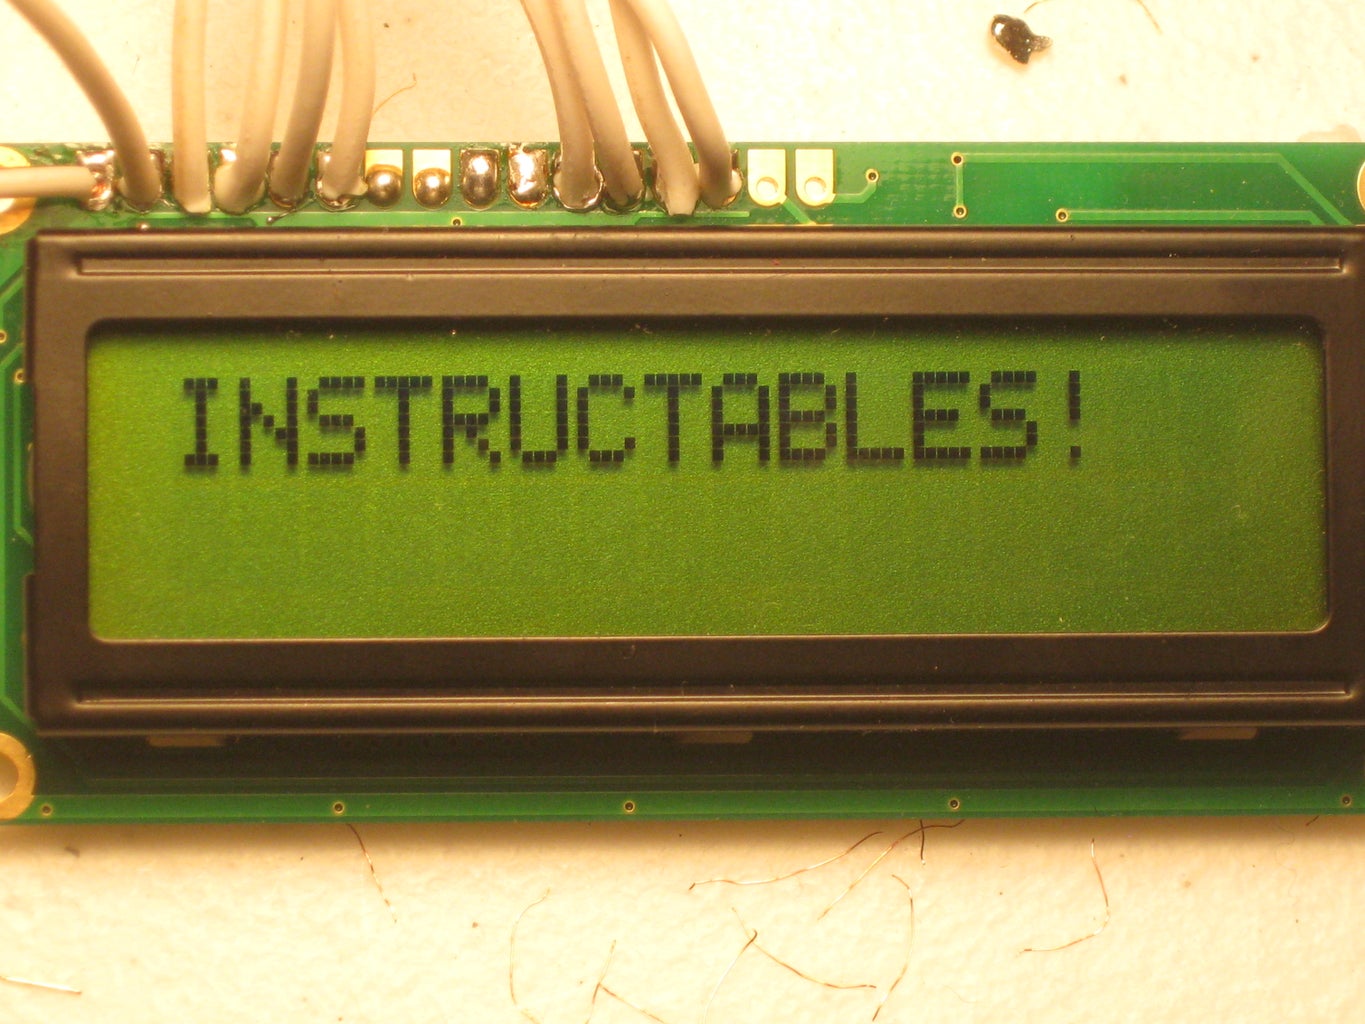
Introduction: Connecting an LCD to the Arduino


1 10k Potentiometer
Step 1: Connecting the Jumper Wires

The first step we need to do is connect the pins to the LCD. For those interested, you can find the datasheet here.
I got my LCD from sparkfun, and you can buy one here.
As I mentioned before, you only need to connect 10 pins. Solder jumpers to these wires:
Pin 1 - Ground
Pin 2 - +5V
Pin 3 - Contrast Adjustment
Pin 4 - H/L Register Select
Pin 5 - H/L Read/Write
Pin 6 - H/L Enable
Pin 11 - DB4
Pin 12 - DB5
Pin 13 - DB6
Pin 14 - DB7
As shown in the picture below:
Pin 1 to GND
Pin 2 to 5V
Pin 3 to wiper
Pin 4 to Arduino pin 12
Pin 5 to GND
Pin 6 to Arduino pin 11
Pin 11 to Arduino pin 5
Pin 12 to pin 4
Pin 13 to pin 3
Pin 14 to pin 2
Because we will only be writing, pin 5 will be dropped to ground to show that there will be no reading. For those who wish to use the backlight, connect LCD pin 16 to GND and LCD pin 15 to +4.2V.
Connect one side of the pot to GND, the opposite to +5v, and the center to LCD pin 3. Now you're in business.
Step 2: Opening the IDE

Now, you need to open up the Arduino IDE. (For those who are lost click on the icon!) Then click File -> Examples -> LiquidCrystal -> HelloWorld. Open the sketch and dowload it to the Arduino board.
You can change the text if you want.
Step 3: Mission Complete

Your done! You can substitute text for variables, or even analogRead(). In this way you can read in sensor values and such.
Thanks for reading my instructable! Please Comment and Rate.


