

Introduction: Coupled LED-Servo Controller Using Arduino


Hi Everybody, this will be my first DIY project using Arduino and an entry to the maker community. Ever since I watched the TED video by Massimo Banzi, I was waiting for this day to publish my Arduino project . This is a very simple project, so please go easy on me.
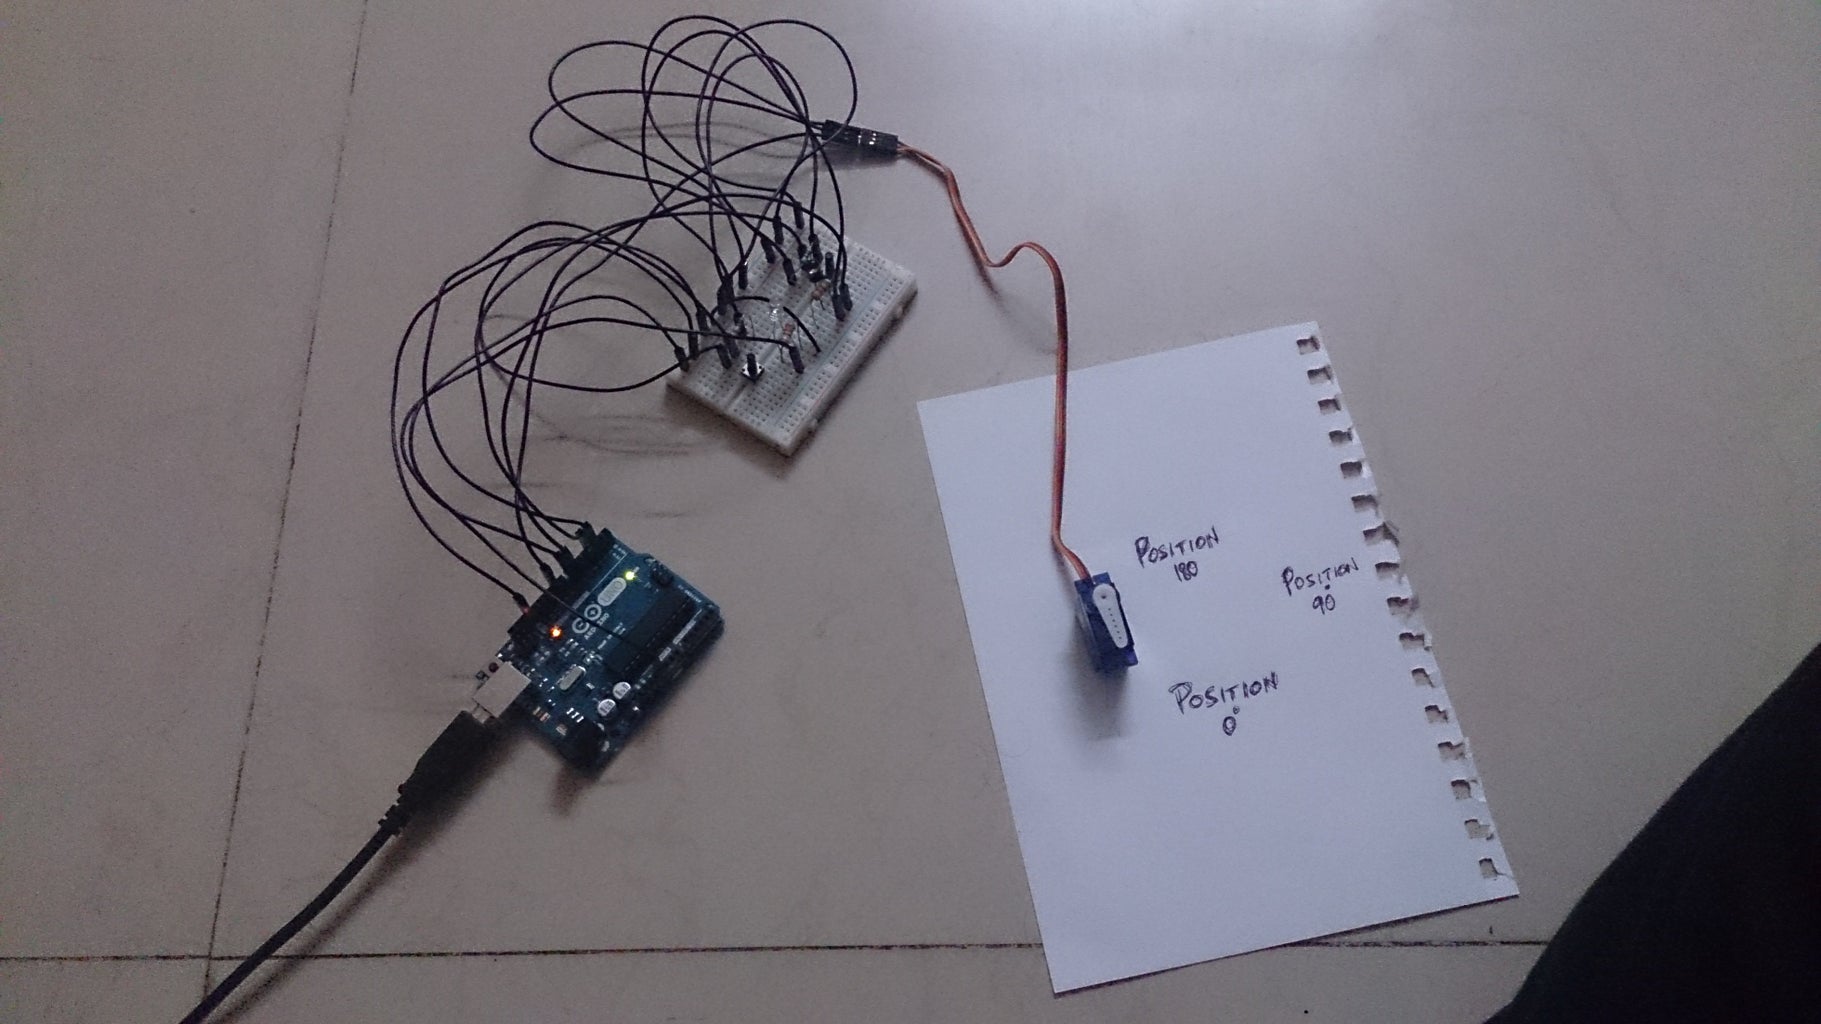
Current project is a simple interactive device involving Servos and LED's. Pushbuttons (Sensors) are used to simultaneously control the actuators(Servo and LED). In this project, two push buttons are used and each one controls the servo to move/rotate to a particular position (either 90 or 180). At the same time, each push button is assigned an LED too. When a button is pushed, corresponding Servo and LED simultaneously play their respective roles.
Attachments

Step 1: Contents
Required Parts
Circuit Diagram
Sketch
Comments
Step 2: Required Parts


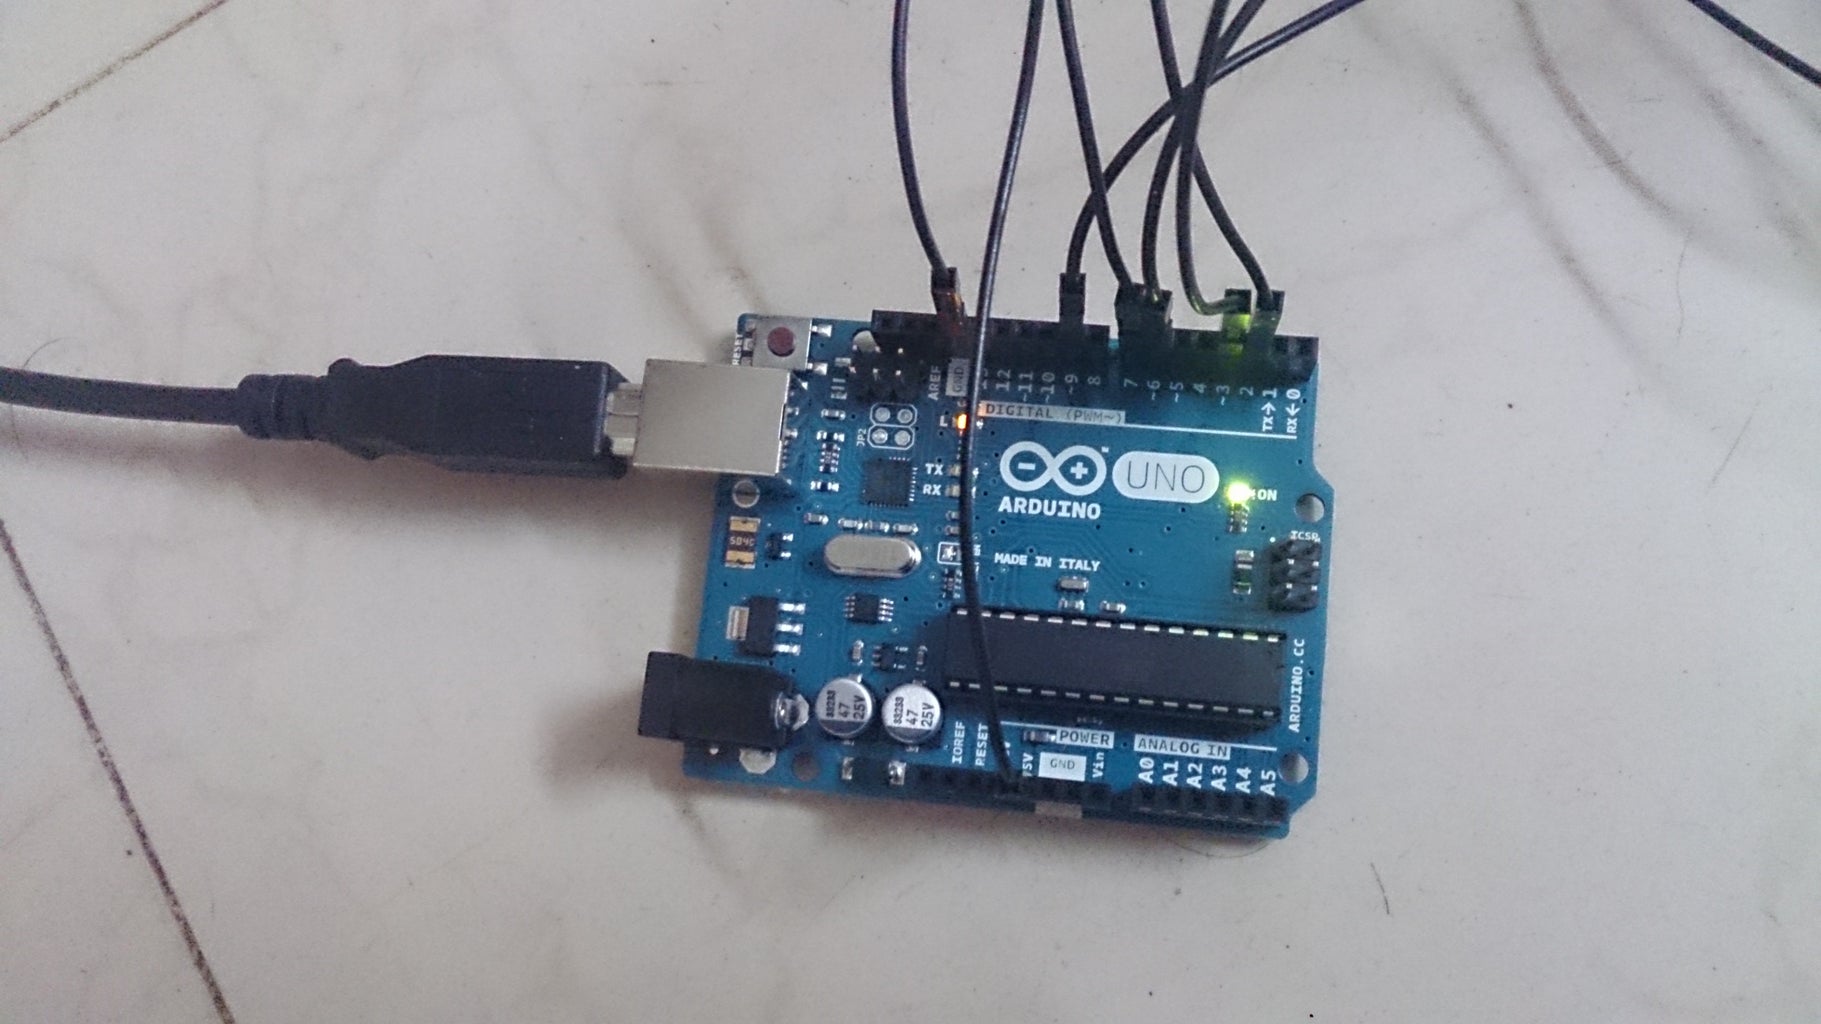
Arduino Uno microcontroller
Solderless Breadboard
Servo
Jumper wires - 16no's
LED 's - 2 no's
330 ohm resistors - 2 no's
1K ohm resistors - 2no's
push buttons - 2 no's
Step 3: Circuit Diagram

Step 4: Sketch
Comments are written in the sketch.
Attachments

Step 5: Comments
LED's are powered by the I/O pins of Arduino for which 20mA current is sufficient while the 5V power supply is connected to the servo. Power supply 5V is also connected to the two push buttons. I didn't observe any problems distributing the power supply to the push buttons and servo together. A separate 9V power supply with a linear regulator can also be used to power the servo, in case if anyone wants to.
Thanks for watching and reading............
P.S:
Please do mention in comments if something is redundant or unnecessary in the circuit.
