

Introduction: DIY Arduino Mood Lamp
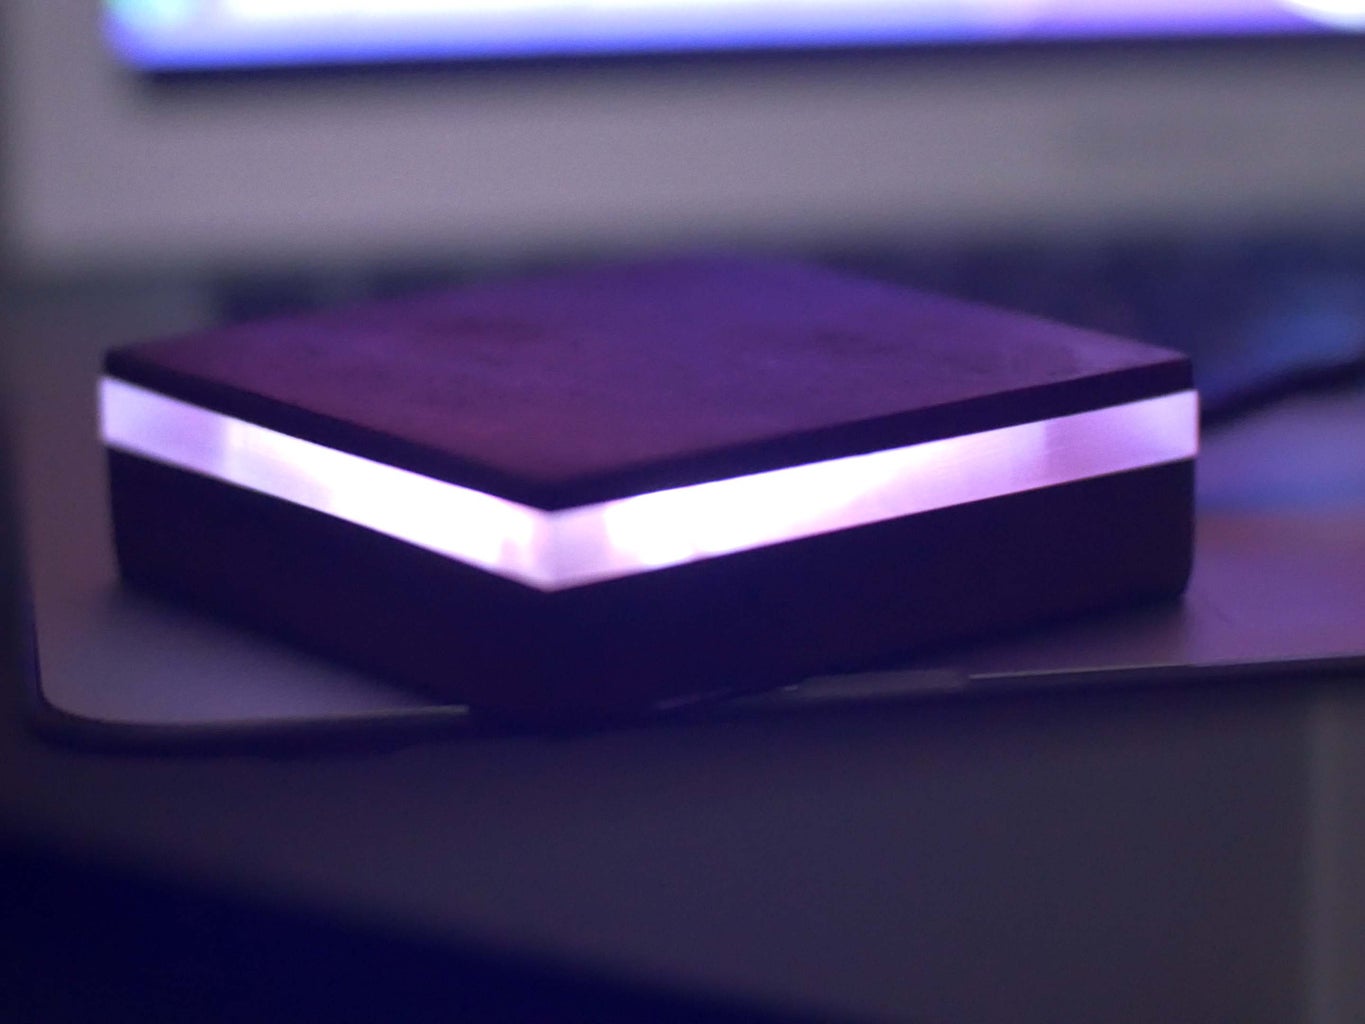


Hello! This is project How-ToDo and today I'm going to show you how I build this arduino based mood lamp. I saw a couple similar projects made with wood and acrylic glass, and disided to make my own but a little bit smarter.
Step 1: Materials
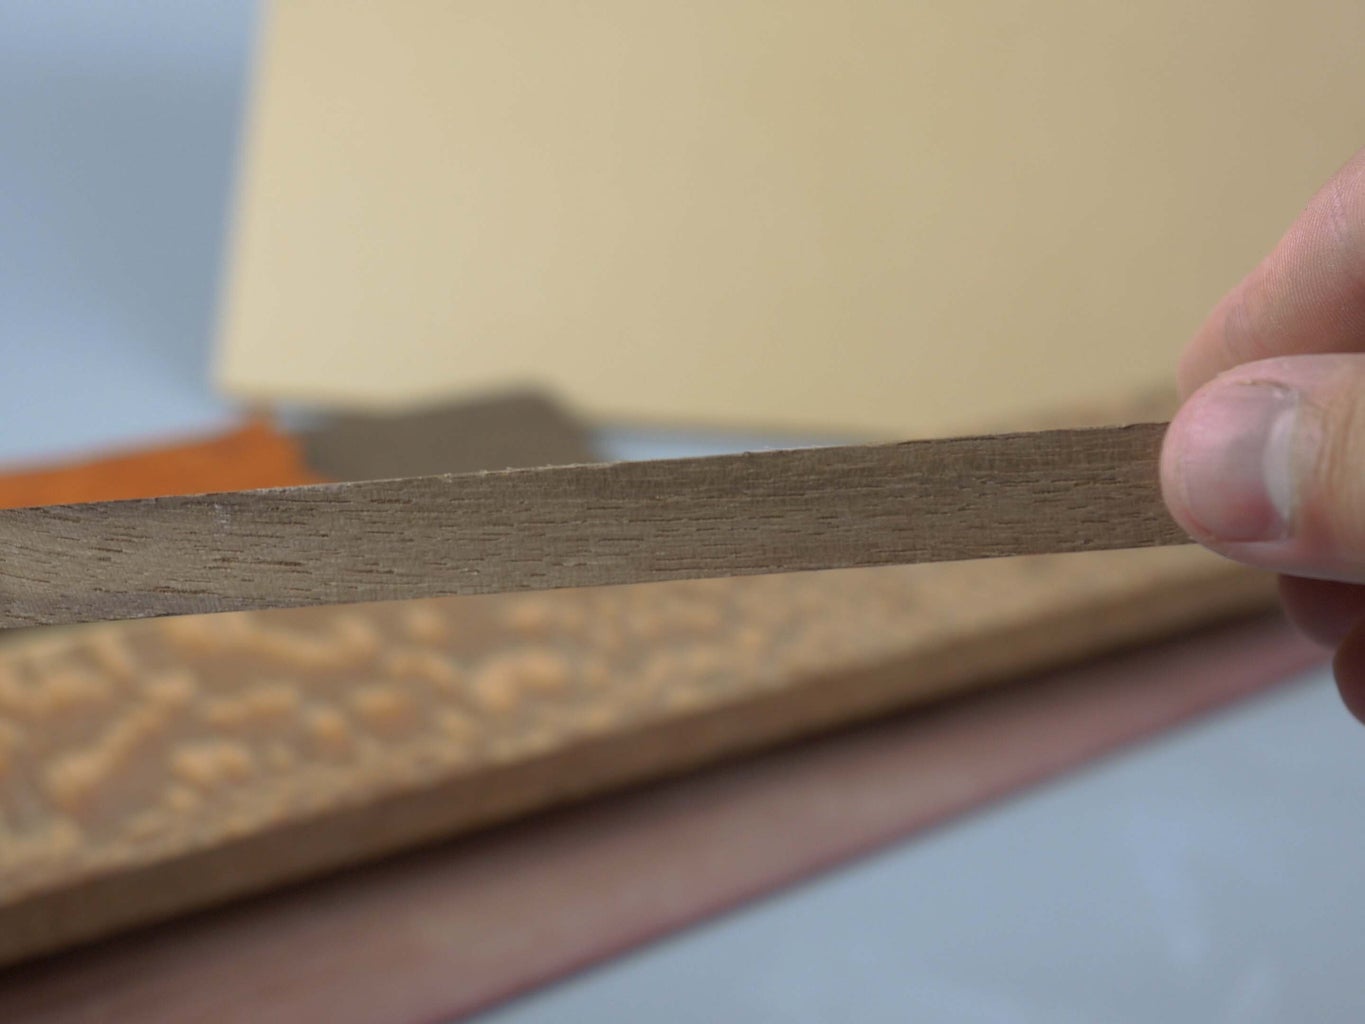


Firsteval is materials, you can chose anything you like, I'll go with walnut 1/2", purplehurt 1/8" and clear acrylic sheet 1/4" thickness.
Step 2: Cutting


I cut everything with a moto saw to a square pieces 3 by 3 inches. Then cut holes in walnut and acryl about 2 by 2 inches for electronic components. Glue all parts together and leave it util dry. Carefully grind the edges on belt sander, and finish with sanding paper, 220, 400, 800 grid. With dremel cut space for arduino board and micro USB.
Step 3: Electronics


It's time for electronic part I have:
Arduino nano - https://vk.cc/6SvJl1
RBG WS2812 - http://ali.pub/1no56x
Microphone module - http://ali.pub/1no5j6
Reasonable question why I'm using those "smart" RGB diodes instead of regular LED, In fact, I just wanted to try them out since I've never worked with it before, and we can get more complicated effects like different colors on opposite sides of lamp or you can build large lamp with hundreds of diodes and after all it's not much expensive then regular RBG.
Step 4: Soldering


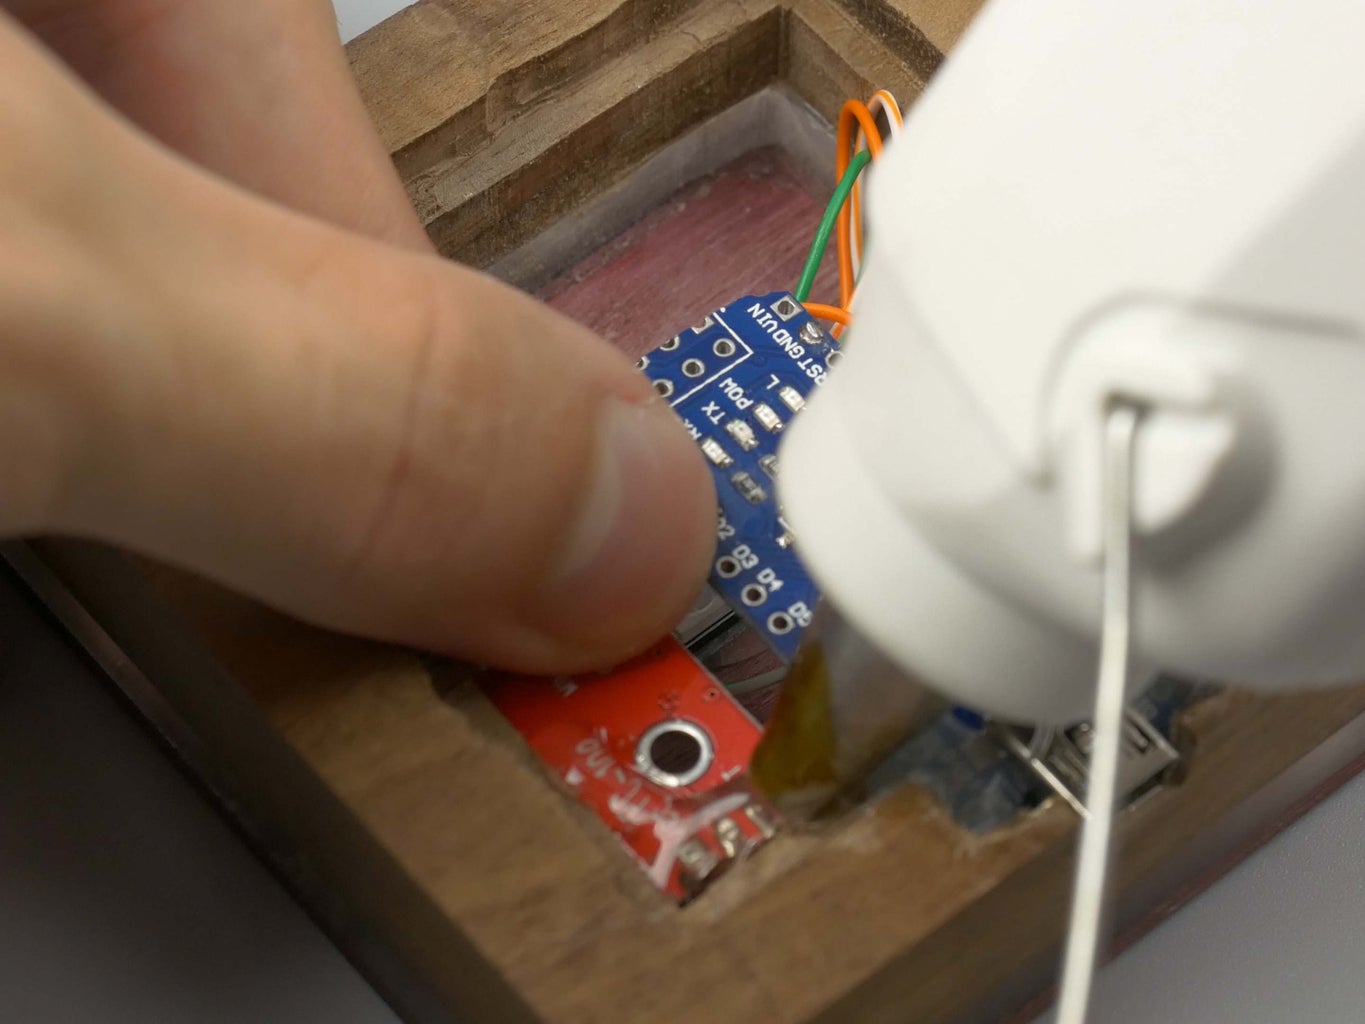

Solder diodes input to a 2nd digital arduino pin, and microphone output to a 2nd analog pin, Ground to Groung and VCC to 5 Volts, upload firmware, and if it's working fine, time to glue components to their places.
Step 5: Final


To caver the bottom I print simple 3 by 3 inches pla sheet you can do it with another piece of wood for example. Last step that probably better to do before installing electronics, but anyway I oil the wood with danish oil to get a more attractive look and protect the surface. Probably that's all I have for today, hope you like it, like, share, subscribe, and don't forget to check my other videos, see you!
Find me on social media:


