

Introduction: DIY Bicycle Trailer Hitch Coupling


This is a universal type of hitch coupling that you can make, this version does involve welding, but there is an alternate no weld version also explained for those who do not have that capability.. The design allows for side to side movement as well as up and down allowing the trailer to also twist. It is shown ready to connect to a tab on the rear of a bike rear mounted rack that I made (see my other bike rear carrier instructable). It could also be mounted on a seat post or a rear axle, as needed.
https://www.instructables.com/id/Bicycle-Rear-Rack/
Step 1: Get Your Materials Together

My material list is as follows:
1) a length of 1/8 X 1 1/4" flat bar, for the tongue and the "U" shape connector, (and the square for the no weld version).
2) a 1/4" coupling nut
3) two 1/4" bolts and elastic stop nuts (lock nuts). Length to be determined.
4) five suitable 1/4" washers.
5) a length of 1 1/4" square tubing
I was fortunate as all these pieces were in my junk box and I did not need to purchase anything. Look around and use what you have on hand, your pieces do not have to be exactly as shown above.
Step 2: Assemble Your Tools


I used a welder, an angle grinder, a drill with a 1/4" bit, and a flat file for clean up, and a couple of 7/16" wrenches to fit your bolts.
The bar pictured was used to form the "U" shape (and the square for the no weld version).
Step 3: Begin Your Build.


First cut your square tubing to length, in my case it is 1 1/4" long. It was drilled 1/4" on the end for the swivel bolt. Weld to the end of your trailer pole.
If you have no square tubing, you could form a suitable piece out of the 1/8 X 1 1/4" flat bar you have, using a square anvil of some type.
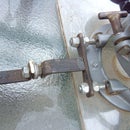
The no weld solution for this piece is to form a long "U" shaped piece and shape (round over) the last couple of inches to slide over your trailer pole. You could secure it with a couple of cross bolts. A drawing is attached, explaining it a little further.
Step 4: Continue Your Build


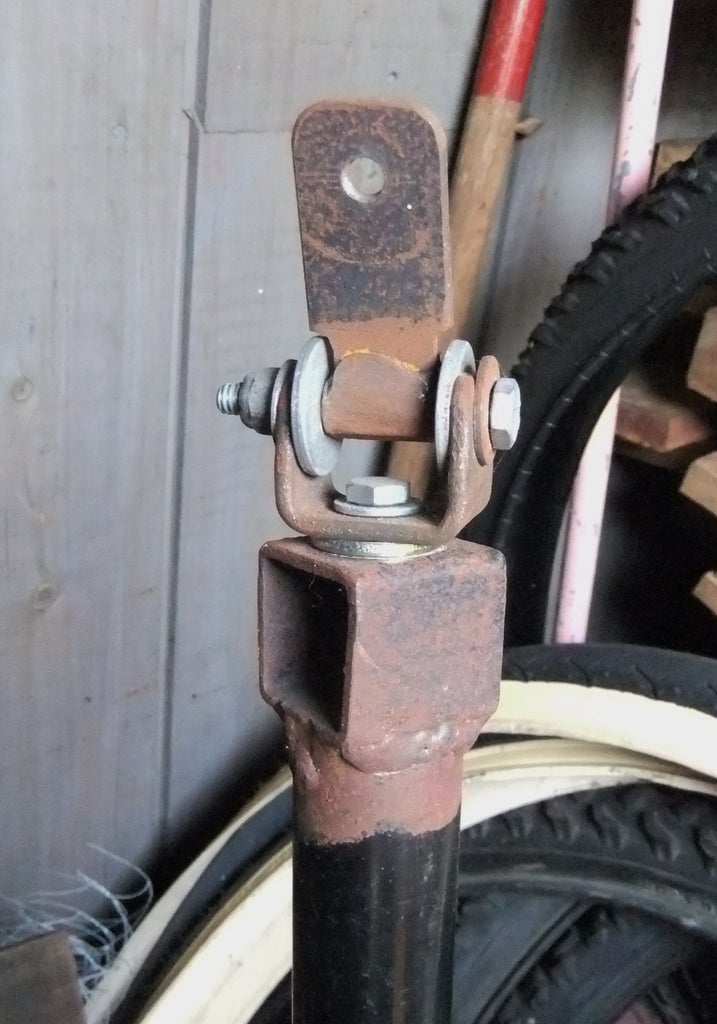
Bend your "U" shaped swivel and drill a 1/4" hole in the bottom, for mounting to the square tubing. Cross drill for the tongue. Assemble the tongue, first drill out the coupling nut and weld to the tongue as shown in the picture.
The "U" shape ended up (inside dimensions), 1 1/4" across the bottom and the upright legs are 1" long. The tongue is 2 1/4" OAL.
No Weld: Do not cut the tongue piece to length just yet. Take it and form an eye in the end over a mandrel similar in diameter to you coupling nut, then squeeze down on the eye to trap the coupling nut firmly. This proceedure is outlined in the attached drawing.
Step 5: Assemble Your Pieces.


Assemble all your pieces as shown in the pictures. Tighten the bolts snugly, but loose enough to still pivot. If you haul special cargo, you might consider adding a safety chain.....just in case.
Step 6: Ready to Start Hauling...Attach to Your Bike.

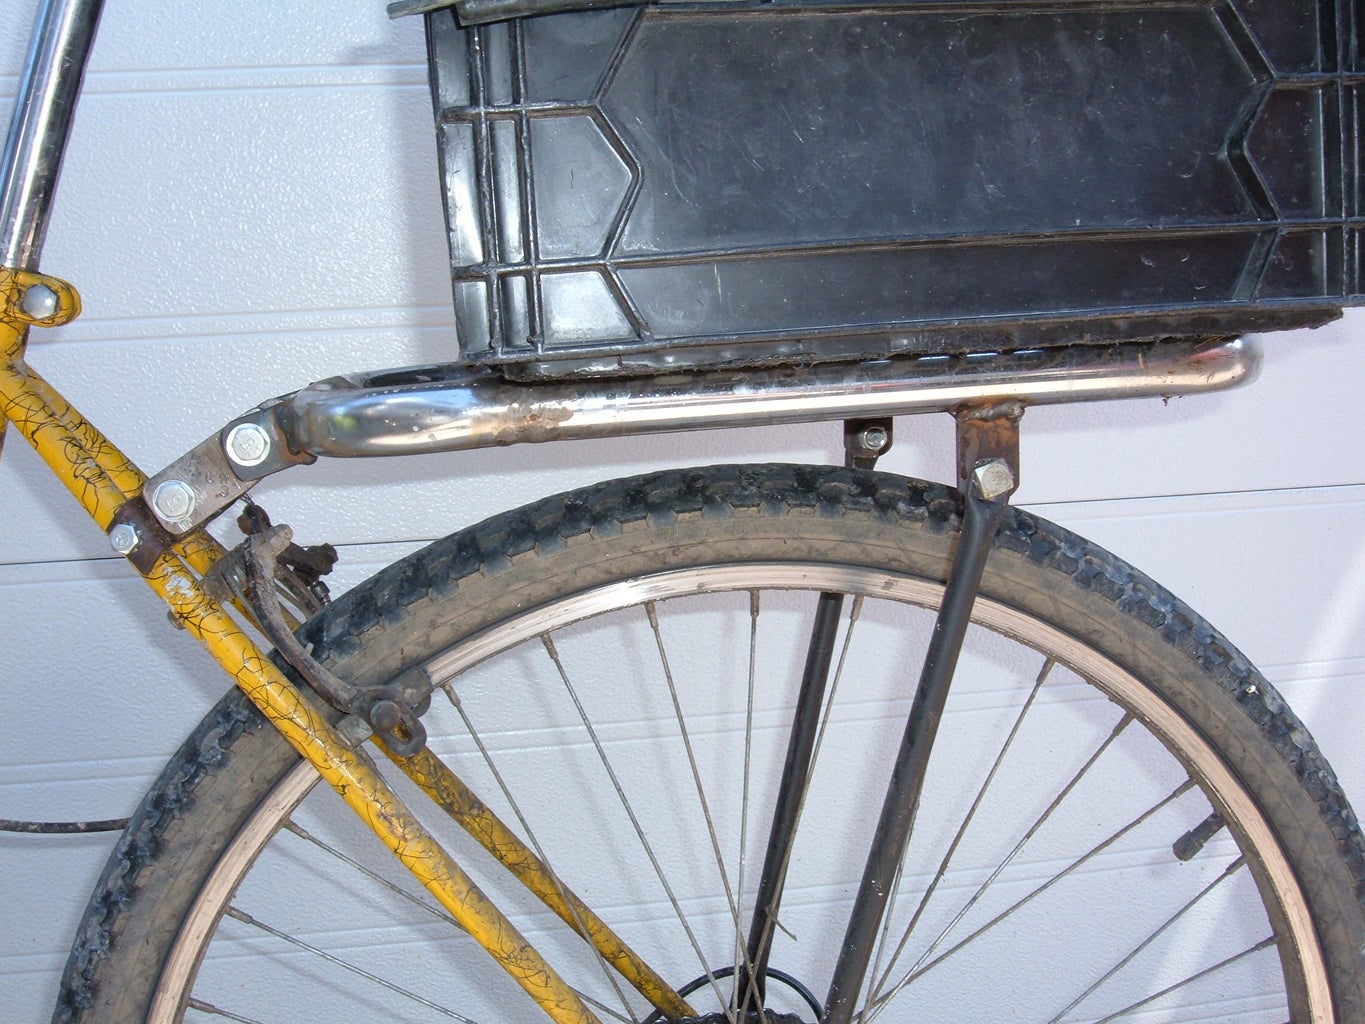
You are now ready to go. All you need is one more bolt to hitch your trailer to your bike. I added a tab to the rear of my carrier to accept the trailer, but it could be attached to a seat post or rear axle as needed.


