

Introduction: DIY Interactive Bluetooth Science Project


A science project or display can be as creative as you'd like it to be. So I thought....what better way to add some extra excitement to it than by adding Bluetooth sound? This is a walk-thru of how to add sound effects, back ground noise, music, and even interactive elements to a school project.
Step 1: The Supplies


The supplies you will need for this project are pretty simple. A cardboard display (I chose a trifold one), a wireless Bluetooth amp & 2 Exciters. We used the PE3W-BT Rechargeable Portable 2x3W Bluetooth Amplifier & Dayton Audio DAEX25 Sound Exciter Pair (You can get them at this link from Parts Express in a reusable bundle). This bundle is super convenient and perfect for this application because the amp is wireless and rechargeable using a basic Micro USB. Also the Exciters accept bare wire which means NO SOLDER WORK. This makes this a fun and simple project for kids.
Step 2: Prepare Your Board


Now it's time to get the creative juices flowing. It's at this point that you will design and decorate your board. The options are limitless. Just make sure to pick something that can utilize sound or interactivity!
Step 3: Prepare Your Audio

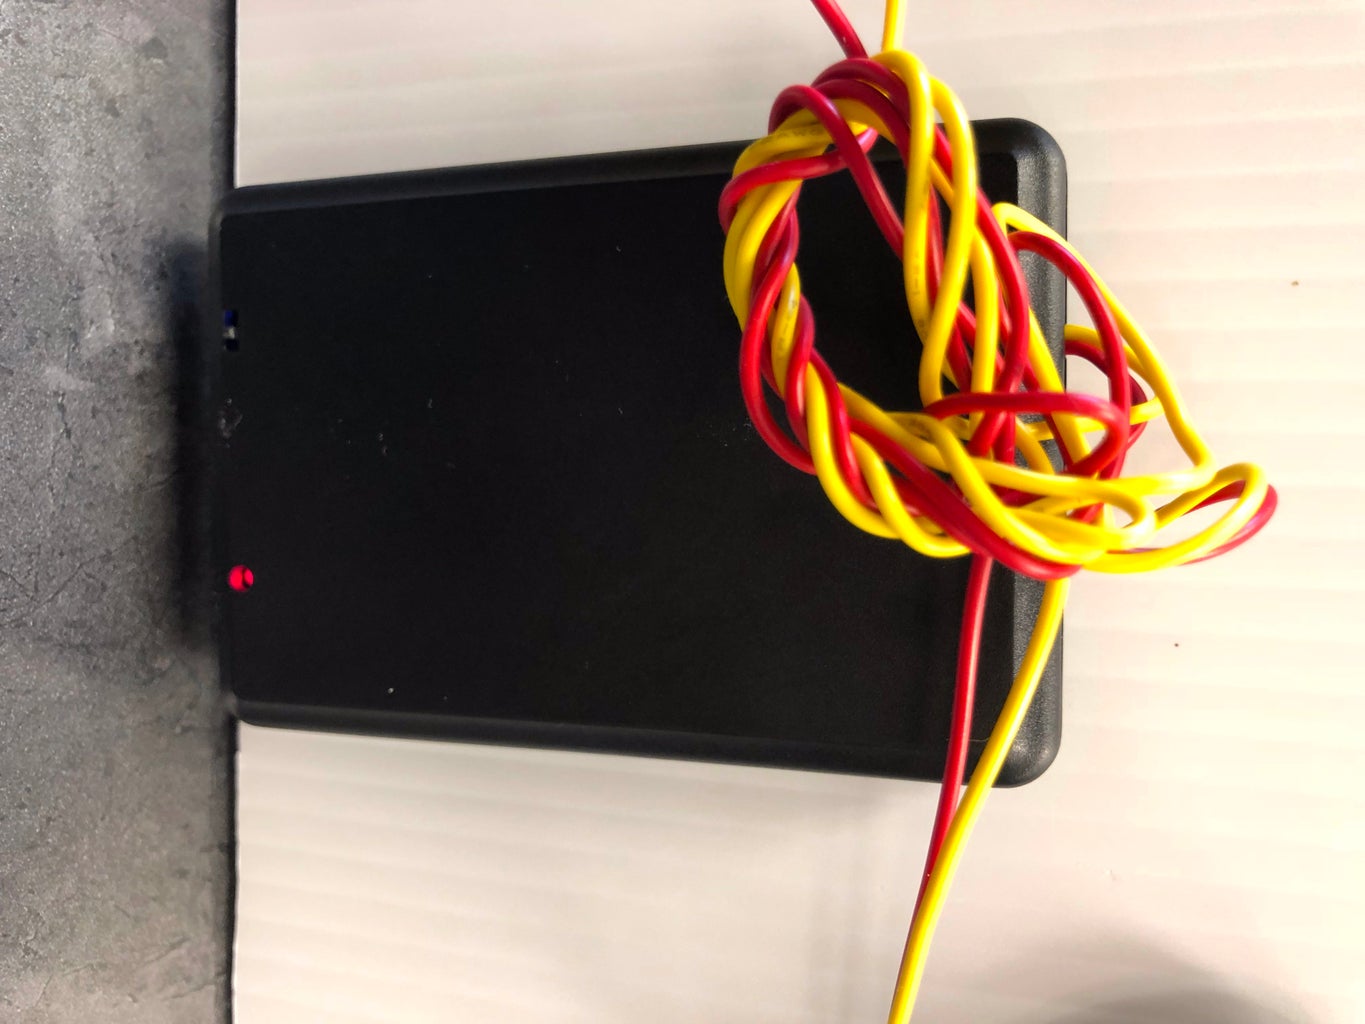
Next you will need to prepare your audio components. For this example the PE3W-BT Rechargeable Portable 2x3W Bluetooth Amplifier must have it’s wires trimmed and exposed to connect them to the exciters.
Step 4: Attach the Exciters


Use the 3M adhesive backing on the Dayton Audio DAEX25 Sound Exciter Pair to attach them to the back left and right side of the middle portion of your display.
Step 5: Attach the Amp

Next use industrial adhesive, Velcro strips, or double sided stick dots to attach the PE3W-BT Rechargeable Portable 2x3W Bluetooth Amplifier between the two exciters.
Step 6: Connect Your Components

You can now connect the wires from the Bluetooth Amp to the proper terminals on the exciters. Making a knot in the wires beforehand helps secure extra wire.
Step 7: You're Done!

Now you’re all set! All there is left to do is charge the amp’s battery using the provided USB cable, and connect it to your phones Bluetooth.
Step 8: The Opportunities Are Endless


Using a Smart Phone and this set up you could record your entire report using a sound recorder app and play it back instead of standing in front of your project and reading it aloud. You can play classical music to set the scene of your "Artists Throughout History" project. You could Youtube Dinosaur sounds as a backdrop for your dinosaur project. Or my favorite, use a microphone/voice changer app to transport your own voice through the speakers to answer questions or interact with viewers. The sky is the limit with this little project!
Step 9: Parts List
Cardboard Display (Dollar Store)
Craft Supplies For Your Display (Depends on your topic)
Dayton Audio DAEX25 Sound Exciter Pair & PE3W-BT Rechargeable Portable 2x3W Bluetooth Amplifier


