Introduction: DIY Smart Car System
IoT spreads across all fields and is already reshaping the car industry with a massive implementation of sensors, connectivity and artificial intelligence in most newest models of the industry leaders. But if you cannot afford a Tesla, this kind of technology is currently out of your hand's reach.
Our goal today is to make this technology a little more accessible by offering you a way to import your smart home hub into your current vehicle and turn your ‘dumb’ car into a smart car. This project will show you the flexibility of Prota OS, that allow much more than connecting your smart devices together. Though some products with similar features already exist on the market (connected dash cams like BlackVue or RoadEyes and connected systems like Parrot Asteroid), their price range goes from $200 to $600 and make such technology an unaffordable luxury.
The option we offer you today should overall cost you around $70 only and integrate the following features:
- SAFETY = allow you to monitor the inside of your car when you’re away and geolocate your car when you lost it
- DASH CAM = record your daily commutes and use the footage in case of an accident
- MEDIA CENTER = remotely trigger music by message command or voice command to be played on your car radio set or external speakers
- BLACKBOX = save a regular visual report of your car throughout the day so that in case of any trouble you can know what happened at what time
This system can be set up in around an hour with no special tech/coding skills required. To install it in your car, you will need to find the right solution to two major requirements: finding a way to power the system and finding a way to get a constant connectivity.
The solution will depend on the particular case of your car, whether it includes an embedded internet connection and whether you can connect your smart system to your car battery. We will assume in this project that you have access to neither of the two, and we will replace them by an external battery and a smartphone with a data sim card used as a hotspot. If you’re able to connect your hub to your car battery and to your car’s WiFi, this project will be even easier and more unexpensive to put in place.
Step 1: REQUIRED COMPONENTS
- Raspberry Pi (2 or 3) ~$30
- 16Gb SD card ~$10
- Old smartphone + SIM card with data plan (depending on the country)
- Old webcam
- Car phone holder ~$10
- Car phone charger ~$5
- Jack cable ~$5
- External battery ~$20
- USB stick
The total cost of the project will depend a lot on what you already have at home (battery, cable or phone holder). If you have none, the total should be around $70.
Step 2: PRIOR EXPLANATIONS
Though not complicated to set up for someone with no specific technical skills, this project needs some clarification for you to visualize how it works, before we explain you how to set up the ensemble.

This system will be as follow:
- the Raspberry Pi working as a smart hub, plugged to the external battery and connected to the internet via the smartphone’s hotspot. You can either put it in the center platform of your car or hide it in the back pocket of one of the front seats.
- A webcam wire-connected to the Raspberry Pi, set on the back seats and facing the front of the car. It will allow you to remotely monitor what’s happening in your car while you’re away.
- A Jack cable connecting your Raspberry Pi to your radio set or external speakers.
- An old smartphone on the dashboard, which front camera allows monitoring of the inside of the car while the back camera works as a dashcam. The smartphone can of course also be used as GPS device.
- A USB stick on the Raspberry Pi will let you play all your favorite songs. You can easily set automation so that you can trigger the music from your phone with simple text commands (via Telegram messenger app) or with voice commands (if you have a smartphone with Siri or Google Assistant). The USB stick will also act as a ‘blackbox’ keeping snapshots from the inside of your car.
Step 3: SET UP YOUR PROTA HUB
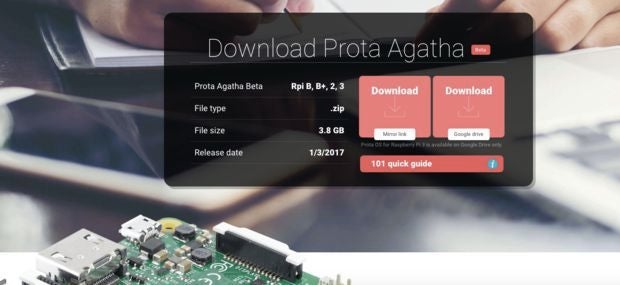
You first need to build the smart hub that will control the automation of your ring bell and connect all devices together. Prota OS for Raspberry Pi is our free smart hub OS which is very easy to install. In no time you will turn your Raspberry Pi into a smart home automation hub!

You can download Prota OS here. Then burn it on the SD card.
We made an easy guide you can follow to set up your Prota Pi.
Alternatively, you can check this Instructables.
Step 4: DOWNLOAD AND SET UP ALL NEEDED APPS AND SERVICES
You will have to connect several apps and services together to set up the automations. Let’s review what’s needed.
ON YOUR PROTA
Download and set up the apps below, following the guides provided in the side links
+ Plugin the USB stick with your favorite music to your Raspberry Pi
+ Plugin the webcam to your Raspberry Pi
ON YOUR OLD SMARTPHONE
- Manything app - link
- Set up a hotspot (from the connectivity settings menu of your smartphone)
ON IFTTT
Connect to the following services
- Telegram
- Manything
If you don’t have Siri or Google Assistant on your everyday smartphone, download also the smartphone Telegram app to trigger the music with it.
SETTING UP NFS APP
This app lets you turn the combination of your Prota with the USB stick into a NAS.
- Open the NFS app and configure your new password (current is written in red)
You now need to connect your computer to your new storage network.
- In Finder, go to Go > Connect to server
- Type in smb:// + IP of your Prota
- Select “media”
- Your name will be “nfs” and previously setup password
- Click on “connect”

You can now access the files on your USB stick/hard drive from your computer’s file explorer.
Step 5: AUTOMATIONS
Now let’s set up the automations that will run your smart car system
Dashcam remote controls
Through IFTTT, you can create text commands to remotely activate or deactivate your dash cam and switch the recording from front to back, depending on what use you need.

Media platform remote control
Go to Stories app and write the following storylines:
- “When I send “Play” to my Telegram bot, Plays the volumio”
- “When I send “Stop” to my Telegram bot, stops the Volumio”
- “When I send “Next” to my Telegram bot, Volumio play the next song”
- “When I send “Up” to my Telegram bot, Volumio is set to louder”
- “When I send “Down” to my Telegram bot, Volumio is set to quiet”
With a voice assistant, you can do the same by using setting up IFTTT applets linked to storylines that connect IFTTT with Volumio.
‘Blackbox’ regular visual report + on-demand visual report
Let’s set up an automation that will take a snapshot every 15 minutes. That way, if anything happens to your car, you will be able to trace when it happened and probably what happened (depending on the visibility the camera has). With NFS app, your snapshots will be saved on the USB stick and remotely accessible from your computer online.
Write the following storyline: “When the timer goes off every 900 seconds, Webcam takes a snapshot then NFS uploads the file on USB stick”. The 900 seconds timer will ensure the photos are taken every 15 minutes.
You can also get an on-demand visual report from your webcam. Simply write the following storyline “When i write “Report” to my Telegram Bot, webcam takes a snapshot then Telegram Bot send me the file”.


 Geolocate your car
Since your old smartphone will stay connected constantly, you can use it to track your car when you’ve lost it. Android devices connected to your Google account can easily be tracked by using the Android Device Manager app. Simply install it on your everyday smartphone so that you can track the one in your car in a second.
Step 6: INSTALL AND USE
Before installing, you need to link your Prota Pi to your old smartphone’s internet connection
- Switch your old smartphone into hotspot mode
- Make sure to set a hotspot name without special characters
- Put your Raspberry Pi into AP mode and set it up on your phone’s hotspot network. You can check on to go to AP mode on this article (method 2).
That’s it! Your smart car system is now ready to be installed inside your car.
We hope you enjoyed this Instructables. Don’t forget to support us by “favoriting” it and following us on both Instructables and Twitter.
If you have any question, please use our forum!
BETA PROGRAM
You like Prota OS and want to test our newest apps before their release?
Subscribe your email address here to enroll or get further information on our Beta program.
You like our projects? Make your own!
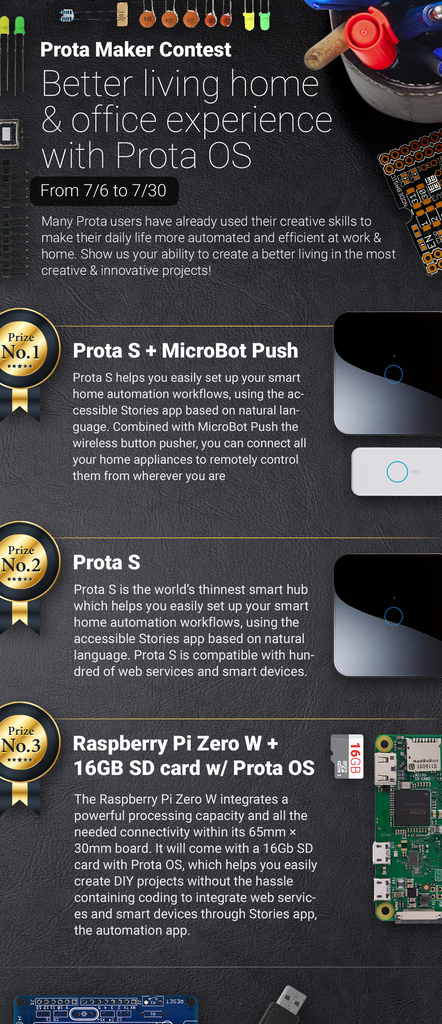
We are currently (and until July 30) running a maker contest. Show us the creative projects you can do with Prota OS and win awesome prizes!
More info here - https://support.prota.info/hc/en-us/community/top...


