Introduction: DIY Smart Power Sockets


Why you should make your own smart sockets?
- Because it’s fun and you’ll learn something new.
- Because you’ll be able to automate your home and do lots of cool things with it.
- Because it’s cheaper than commercial alternatives, especially if you want to own multiple ones. E.g. in our office we use 7 connected sockets. Buying those off the shelf would have cost us from $260 to $350 in total, yet we did it for less than $120 and each additional socket now will cost us $11 instead for $37-$50.
The recipe
1 Raspberry PI ($39)
For example from here.
1 Radio frequency (RF) transceiver for Raspberry PI ($3)
Like this one.
1 Prota OS which will control your switches. ($0*)
Download here.
3 (or more) RF switches. ($29 for 3)
We use Watts Clever in our office, but you have to contact the supplier for smaller quantities.
Some alternatives can be found here (EU plug) and here (US plug). Make sure to match the frequency of your switches and RF module.
Bread board and jumper wires.
Micro SD card to store Prota OS and apps.
Step 1: Check If You Have Following Items.

You should have Raspberry Pi, SD card with installed Prota OS, wireless power socket (we used Watts Clever), breadboard, jumper wires, 315 MHz or 433 MHz RF module with antenna (learn how to make antenna yourself here).
Step 2: Solder Antenna to the RF Module.


Step 3: Connect RF Module to Raspberry PI Using a Bread Board and Jumper Wires.


Connect as following:
RF module’s power to Raspberry PI pin #2.
VDD -> 5V (#2)
RF module’s ground to Raspberry PI pin #6.
GND -> Ground (#6)
RF modules data to Raspberry PI pin #16.
DATA -> GPIO23 (#16)
Step 4: Turn Your Raspberry PI on and Connect to Your Wi-Fi Router.

Step 5: Install Prota OS and Visit Http://myprota.me.

Step 6: Install ON/OFF App From the App Repository.

Step 7: Just Click the Install Button.

Step 8: Go Back to Shell and Open the ON/OFF App. Then Click to Add Socket.

Step 9: Name Your Socket.

Step 10: To Discover Your Socket Press and Hold on the Button Until the LED Indicator Starts Blinking.

Step 11: When the Blinking Stops It Means That Your Socket Has Been Discovered. Click Remember.

Step 12: Now You Can Turn on and Off From Any Browser. Prota OS Supports Remote Access So You Can Control Your Appliances Even When You Are Outside of Your Home Network.

Step 13: We Recommend Making a Shortcut on Your Smartphone’s Home Screen.

Step 14: If You Wish You Can Make Advance Automation Stories. E.g. Add a Bluetooth Module and Install RFID App. Then You Can Set Prota to Turn on Your Socket When You Are Present in the Room and Turn It Off When You Leave.

Step 15: Test Your Smart Socket and You Can Always Add More.

Enjoy!
We hope this was helpful. If you have any questions drop us a line or contact on Facebook or Twitter.
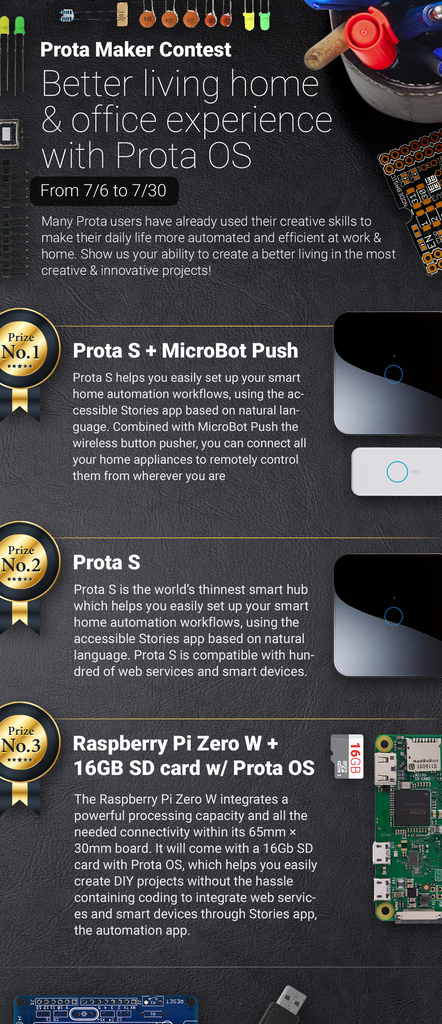
You like our projects? Make your own!
We are currently (and until July 30) running a maker contest. Show us the creative projects you can do with Prota OS and win awesome prizes!
More info here - https://support.prota.info/hc/en-us/community/top...