

Introduction: Gas Sensor Using Arduino


How to Make an LPG leak detector with Arduino
We pass our day-to-day life with fun and joy. We use IOTs, Cloud Network, Computers as an aid to decrease work stress or for security. Still the truth is IOT or any other advanced technology is not available every where in this world.
My aim through this project is to give security to all the people around the world from lpg gas leak. We can prevent it from happening with the expenditure of few dollars.
In this work I will be using one gas sensor and two indicator led and a buzzer and we are using general arduino micro-controller.
Step 1: Get the components
1. Arduino Uno / Genuino uno board
https://www.sunfounder.com/genuino-uno-rev3-control-board.html
2. USB cable
3. Buzzer
https://www.amazon.com/Goliton-High-decibel-Electronic-Continuous-Arduino/dp/B01MT5V0FM/ref=sr_1_2?s=electronics&ie=UTF8&qid=1501340858&sr=1-2&keywords=buzzer
4. red and green leds
5. Breadboard
6. MQ5-LPG or gas sensor
https://www.amazon.com/WINGONEER-Combustible-Propane-Butane-/Detector/dp/B06XHKPV2Q/ref=sr_1_2?s=electronics&ie=UTF8&qid=1501340934&sr=1-2&keywords=mq+5
7. Jumper wires
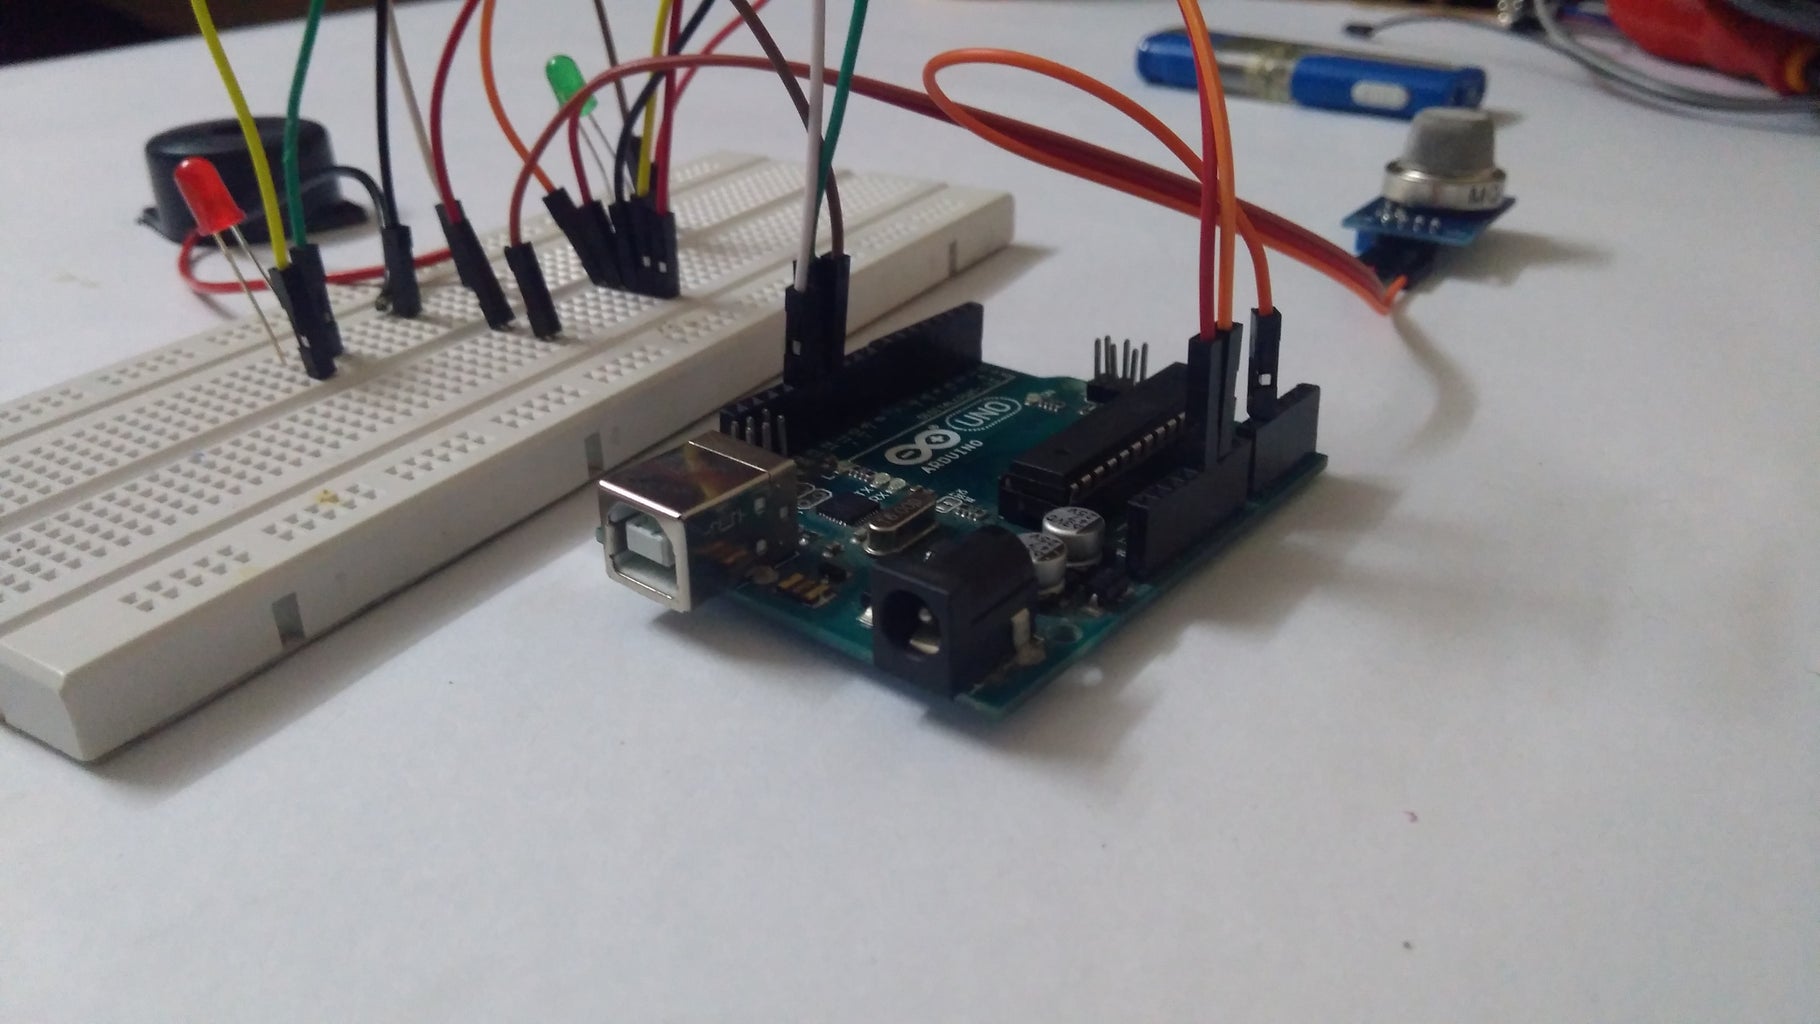
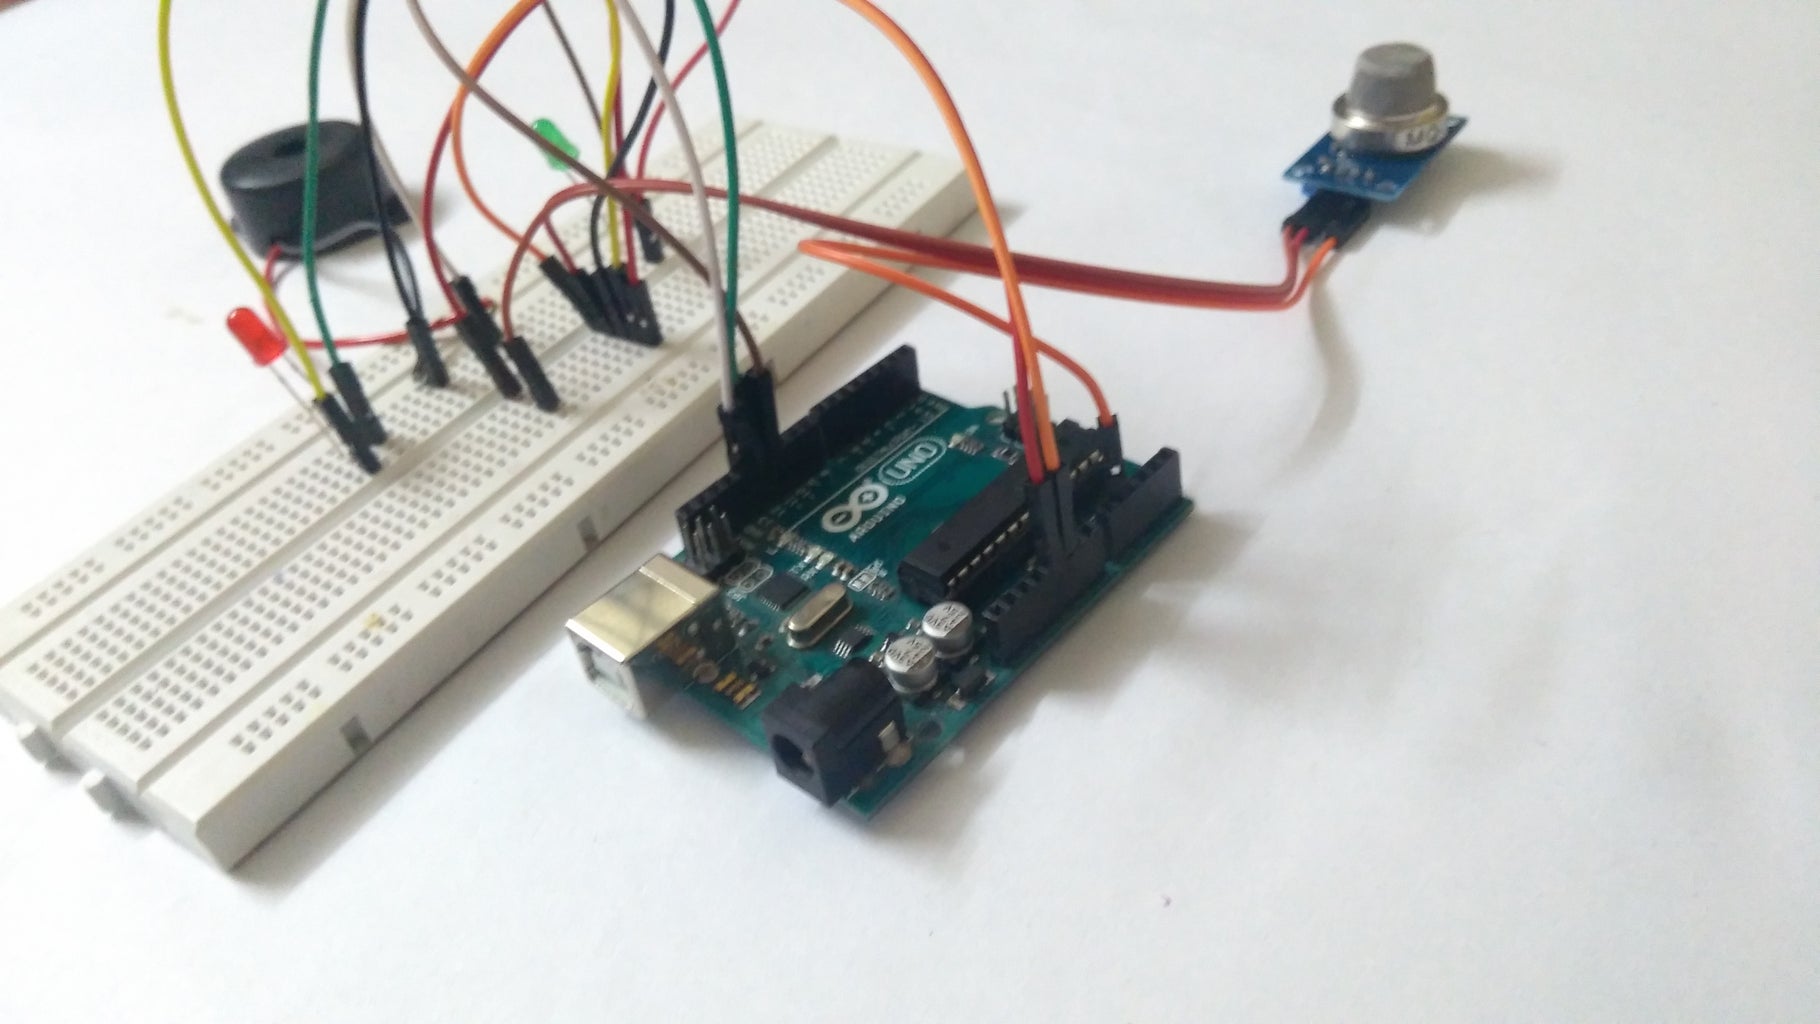
Step 1: Connections

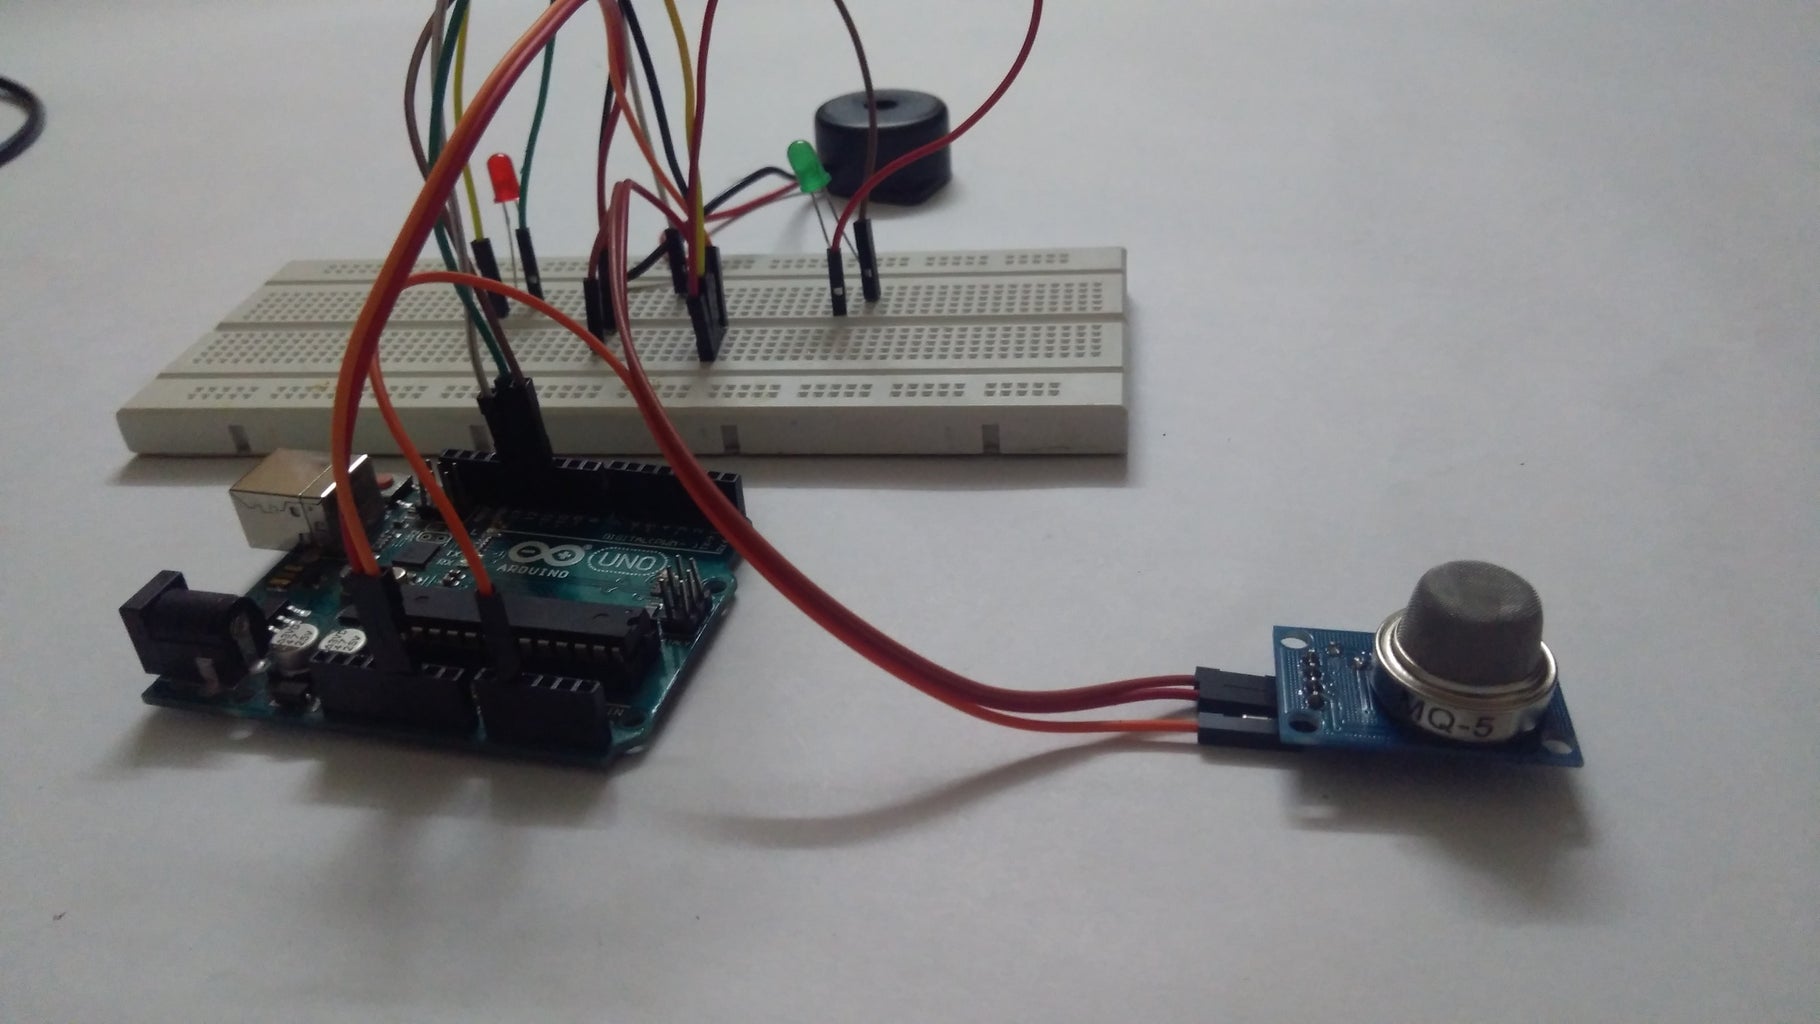
Connections to this project is very simple just follow the table given below
The MQ-5 sensor has 4 pins.
Pin-------------------------------------Wiring to Arduino Uno
A0-------------------------------------Analog pins
D0-------------------------------------none
GND-----------------------------------GND
VCC------------------------------------5V
And for other components
Pin-------------------------------------Wiring to Arduino Uno
D13------------------------------------- +ve of buzzer
GND------------------------------------- -ve of buzzer
D12------------------------------------- anode of red light
D11------------------------------------- anode of green light
GND------------------------------------- cathode of red light
GND------------------------------------- cathode of red light
In the end, connect the UNO board to the computer with a usb cable.
Step 2: Code
Open Arduino IDE, write the code
code
/*******************************************************************************
DESIGNER : ADARSH C
DATE :12/8/17
WORK : GAS SENSOR
*******************************************************************************/
int red_led=12;
int green_led=11;
int buzz=13;
int gas_value;
int gas_avalue;
int sensorThres=400;
void setup()
{
pinMode(red_led,OUTPUT);
pinMode(buzz,OUTPUT);
pinMode(green_led,OUTPUT);
pinMode(A1,INPUT);
Serial.begin(9600);
}
void loop()
{
gas_avalue=analogRead(A0);
if (A0 > sensorThres)
{
digitalWrite(red_led, HIGH);
digitalWrite(green_led, LOW);
digitalWrite( buzz, HIGH);
Serial.println(“DANGER!!!!”);
Serial.println(gas_avalue);
}
else
{
digitalWrite(red_led, LOW);
digitalWrite(green_led, HIGH);
digitalWrite( buzz, LOW);
Serial.println(“NO LEAKAGE”);
Serial.println(gas_avalue);
}
delay(100);
}
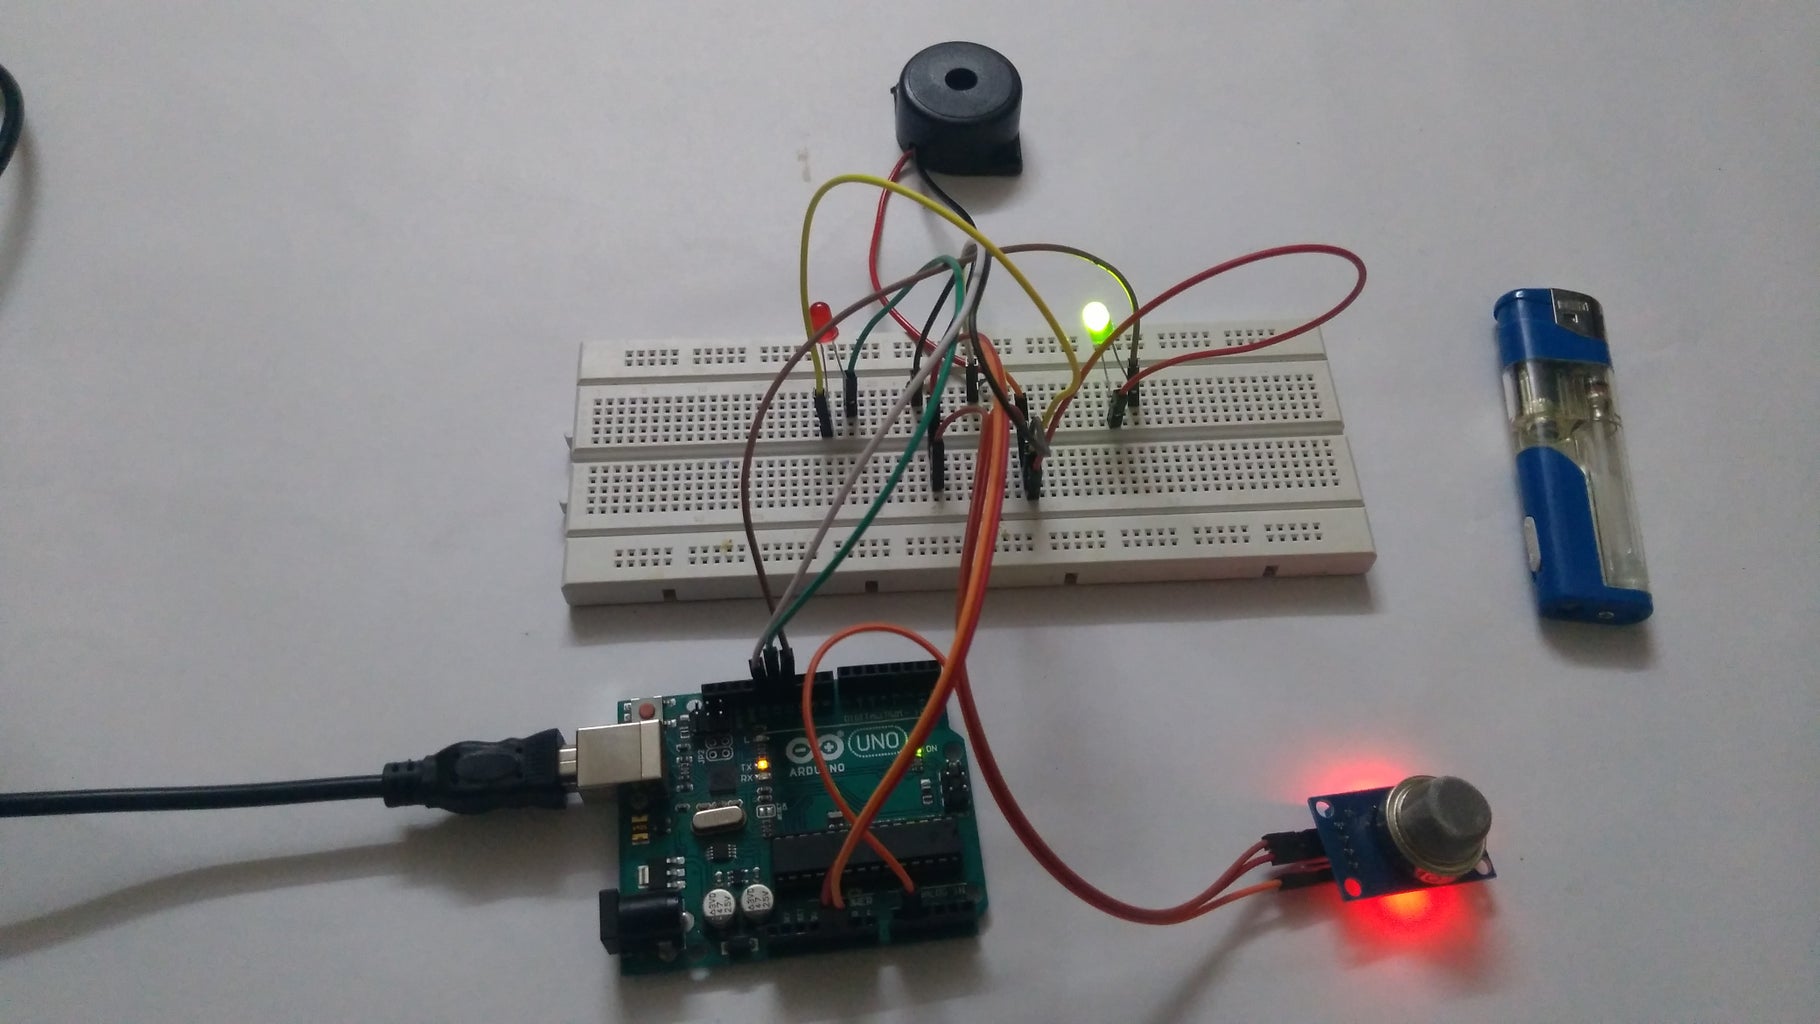
Step 3: NOTE :-

1. Select the board you are using in
Tools --> Board
otherwise it will give you an error while dumping the code
2. sometimes even selected com port will be diffrent so go to
Tools --> Port
and set the com port which you have connected the board
3. Sometimes sensor won't give a perfect value try changing gas threshold value in the program
4.If you are testing with lighter the amount of BUTANE produced is very less so it might take 2 or 3 seconds to detect
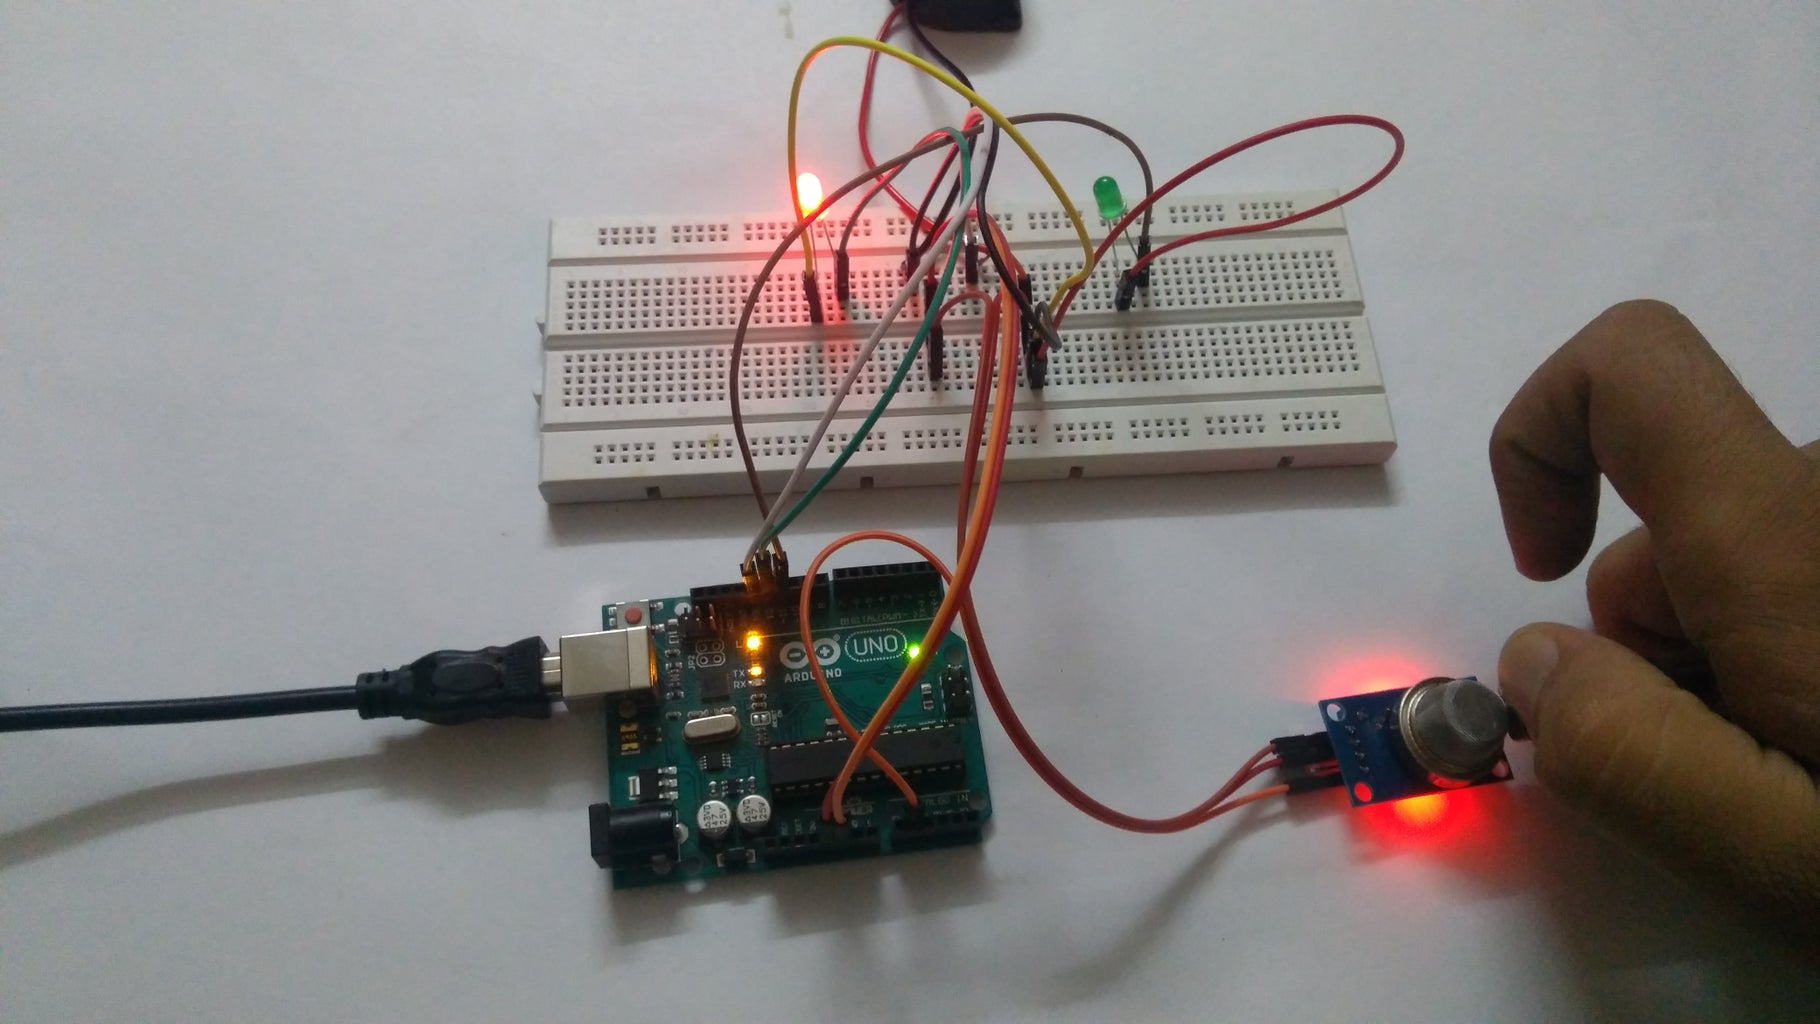
Step 4: OUTPUT
OUTPUT
In the presence of LPG (BUTANE) it will glow red and buzzer will turn on
In the absence of LPG (BUTANE) it will glow green

