

Introduction: Getting Started With Arduino : Blink

Hello everyone, Welcome to my first instructable.
In this instructable we'll be learning how to program an Arduino UNO to blink a LED.
Step 1: Parts
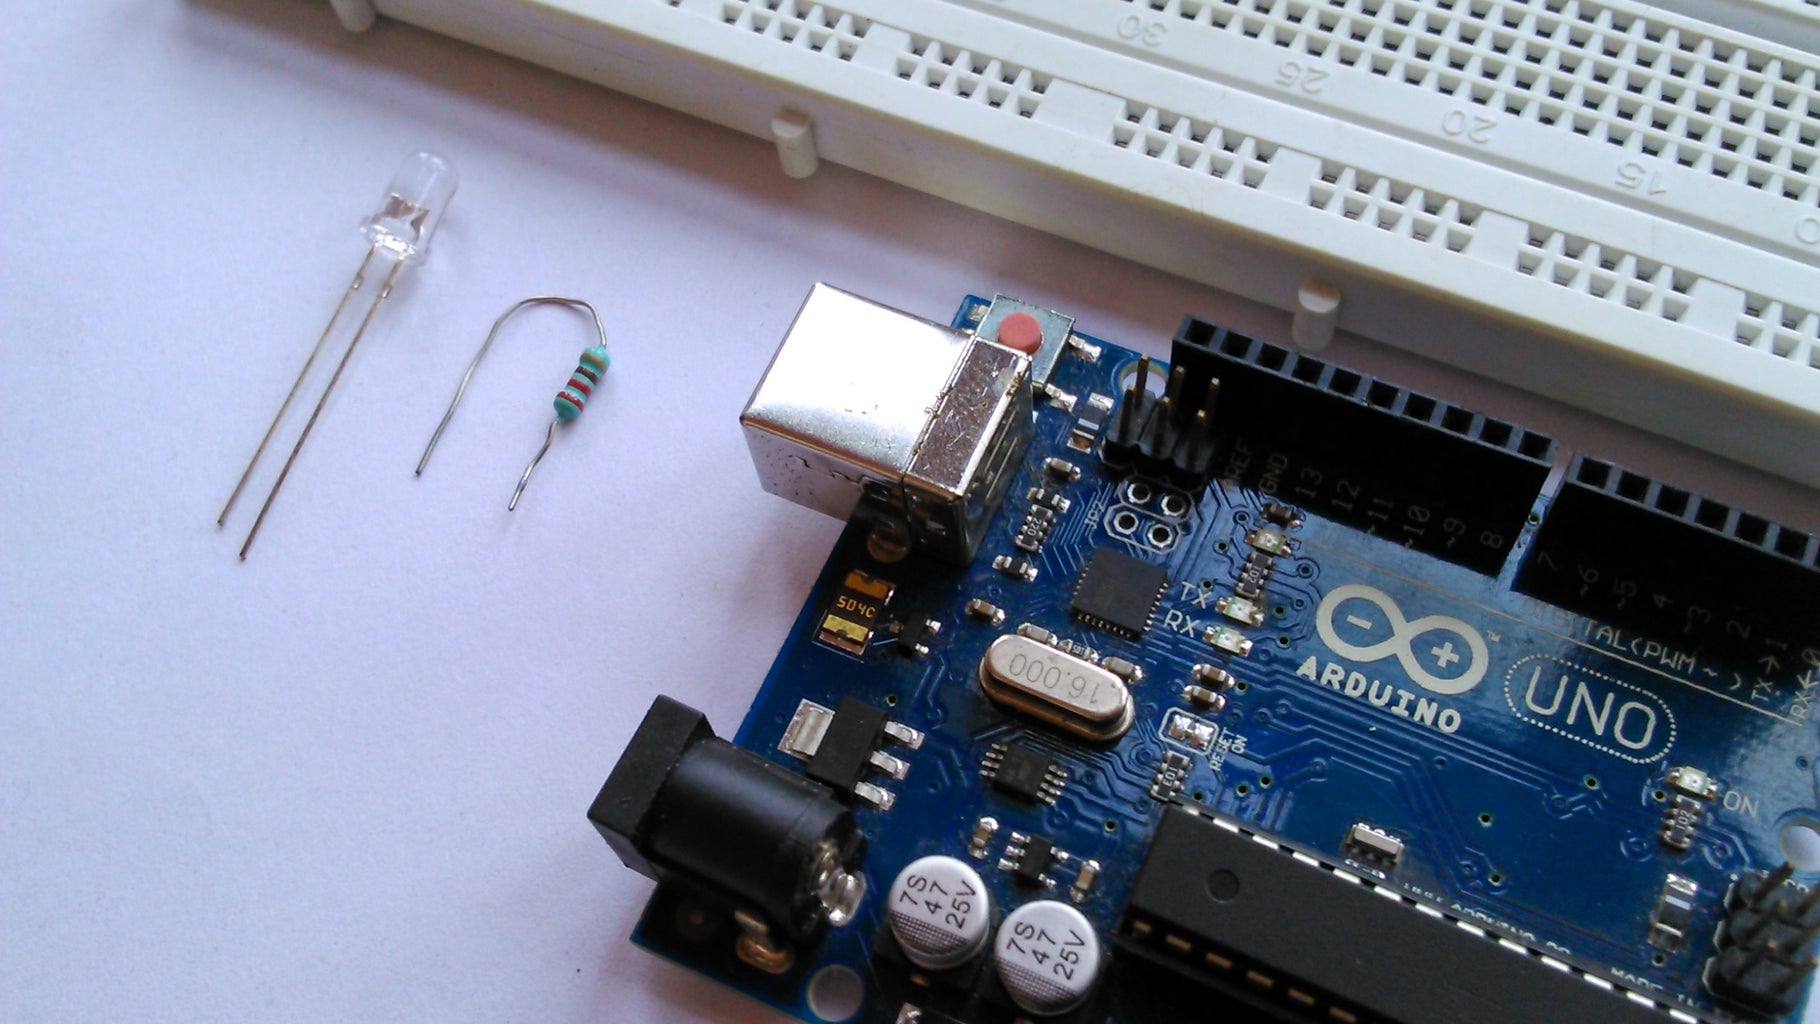
For, Blinking a LED with arduino we'll need:
- An Arduino
- A LED
- A 220 ohm resistor
- Some jumper or hookup wires
Step 2: Wiring


Hookup all the components according to the circuit diagram shown above.
Now, why we need a 220 ohm resistor in the circuit above?
The ordinary LED operates on Low current values than what a arduino gives.
So, In order to limit current through the LED we add a 220 ohm resistor in series with the LED to increase the overall resistance and to decrease value of current through the LED to prevent it from burning.
Step 3: Upload the Sketch

Start the Arduino IDE
And, load the 'Blink' sketch that you will find in Arduino IDE under File > Examples > 01.Basics > Blink
Or, copy it from below:
// the setup function runs once when you press reset or power the board
void setup() {
pinMode(13, OUTPUT); // initialize digital pin 13 as an output.
}
// the loop function runs over and over again forever
void loop()
{
digitalWrite(13, HIGH); // turn the LED on(HIGH is the voltage level)
delay(1000); // wait for a second
digitalWrite(13, LOW); // turn the LED off by making the voltage LOW
delay(1000); // wait for a second
}
Then, click on upload.
Step 4: Done

Once the uploading process completes you could see your LED blinking.
What next?
Now, all you need is to play with the program.
- Try changing the parameter in 'delay()'. For instance, Try 100 or so to Blink your led at a faster rate.
- Try using multiple led like 2 or 3.
Thanks for viewing.
Please write your questions or suggestions below.

Participated in the
Makerspace Contest


