

Introduction: Getting Started With LinkIt One - Servo


In the last instructable I showed you how to get started with a LinkIt One and how to blink an LED and create patterns using it. This is part two of the series where I show you how to get started with Servos with the link it one and how to control a servo using an android phone or a PC via a Bluetooth connection.
Check out the previous instructables as I have a write up of steps required to get started and how to flash the latest firmware to the LinkIt One. This tutorial serves as a basic tutorial of a more complex robot tutorial which I will post in the future tutorials.
In the next tutorial I would show you how to control motors using the LinkIt One stay tuned for that too.
So lets get started....
Step 1: Requirements


Here is what you need to get started, the requirements are similar to the previous tutorial all that is different is the servo and the Bluetooth module.
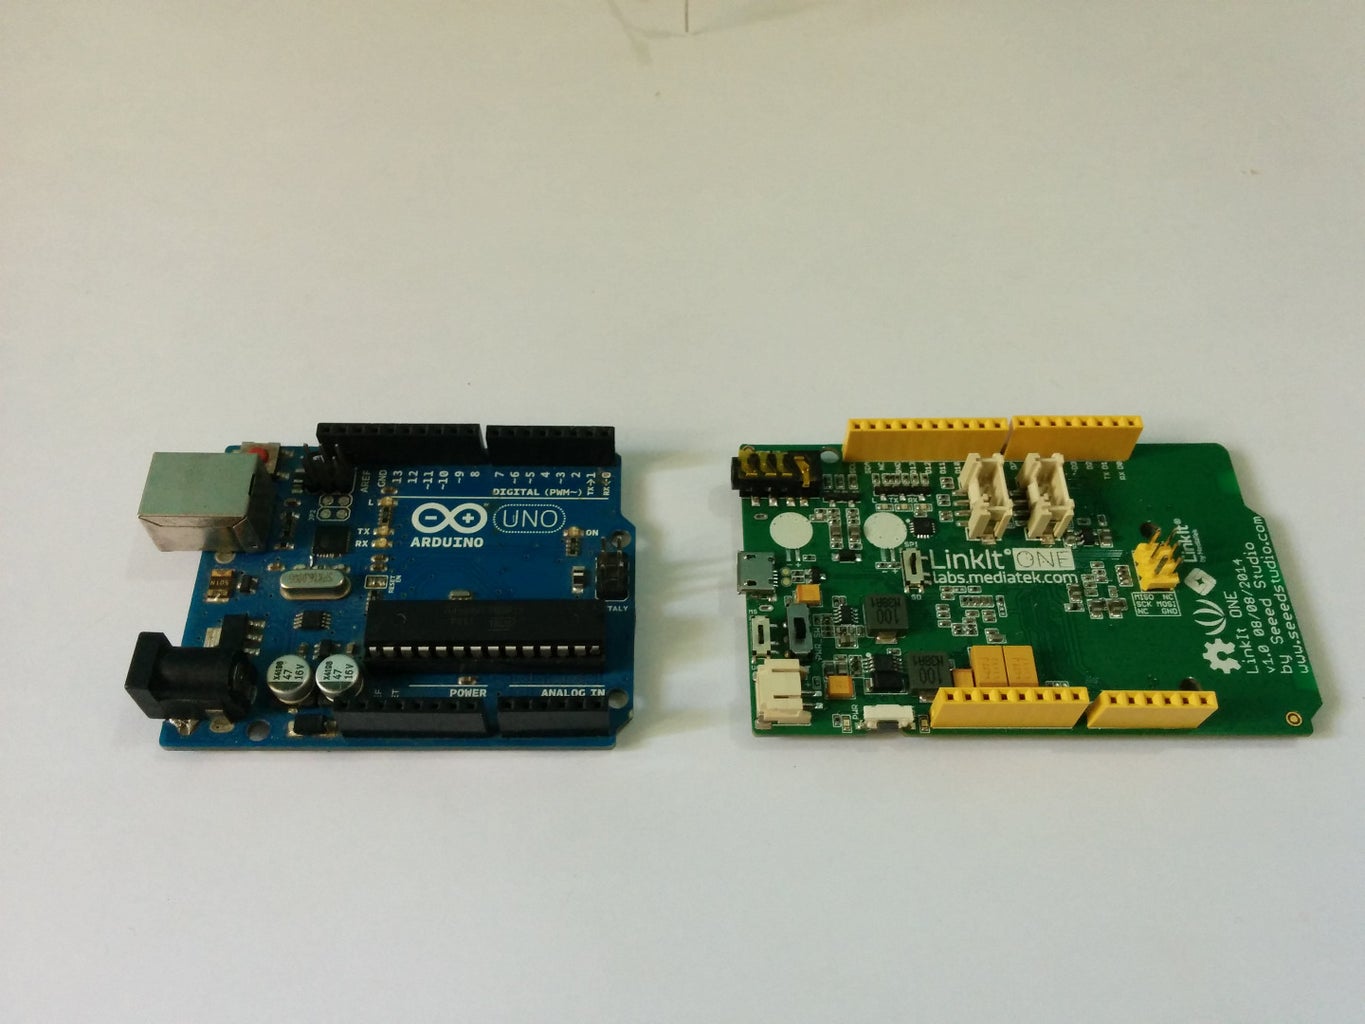
- LinkIt One
- Servo
- Breadboard
- Bluetooth module
- Jumper wires
No soldering skills are required for this tutorial as we will be using a breadboard, but in the future tutorials there will be a lot of soldering. And there are a lot of tutorials on YouTube that shows you how to solder. You can also use an Arduino and you can PM me for additional details on how to get started.
Step 2: Hardware

The Circuit connections is quite simple and is no different from that of an Arduino as the LinkIt One is Arduino compatible. Make sure that the servo you use is 5V if you have a higher voltage rating you may need to use a MOSFET to drive it.
Here is the connections -
- Connect the Red wire from the servo to the LinkIt One +5V
- Connect the Black wire from the servo to the LinkIt One Gnd
- Connect the Yellow wire from the servo to the LinkIt One D10
Step 3: Software

The Linked One uses the Arduino IDE to upload sketches to the board. You Can refer to my previous instrctable on how to get started with that. Let's run a test sketch to check if everything went fine, for this we will be using the servo examples located in the Arduino IDE.
You can also copy and paste the code below into the IDE. All the code does is move the servo back and forth across 180 degrees.
// #include <servo.h> uncomment this line of code while uploading
Servo myservo;  // create servo object to control a servo
                // twelve servo objects can be created on most boards

int pos = 0;    // variable to store the servo position

void setup()
{
  myservo.attach(9);  // attaches the servo on pin 9 to the servo object
}

void loop()
{
  for(pos = 0; pos <= 180; pos += 1) // goes from 0 degrees to 180 degrees
  {                                  // in steps of 1 degree
    myservo.write(pos);              // tell servo to go to position in variable 'pos'
    delay(15);                       // waits 15ms for the servo to reach the position
  }
  for(pos = 180; pos>=0; pos-=1)     // goes from 180 degrees to 0 degrees
  {
    myservo.write(pos);              // tell servo to go to position in variable 'pos'
    delay(15);                       // waits 15ms for the servo to reach the position
  }
}
Step 4: Bluetooth

Hope you got the servo working fine now it's time to control it wireless, for this you need a Bluetooth module I'm using HC05 which is a cheap module I got from a local electronics store. Connect the module to the LinkIt One as you would do it with an Arduino, here is how
- RX pin from the Bluetooth module to TX pin or the LinkIt One
- TX pin from the Bluetooth module to RX pin or the LinkIt One
- VCC pin from the Bluetooth module to +5V pin or the LinkIt One
- Gnd pin from the Bluetooth module to Gnd pin or the LinkIt One
Step 5: Code
Upload the code below and pair your android device to the module. Now you can connect to the module using a Bluetooth terminal application. You can now send data to the board you can send numbers form 1-5 to change the servo angles.
#include
Servo servoMain;
int incomingByte = 0; // for incoming serial data
void setup()
{
servoMain.attach(10);
Serial.begin(9600);
}
void loop()
{
if (Serial.available() > 0) {
// read the incoming byte:
incomingByte = Serial.read();
}
switch(incomingByte)
{
case '1': // servo angles
servoMain.write(0);
break;
case '2':
servoMain.write(45);
break;
case '3':
servoMain.write(90);
break;
case '4':
servoMain.write(135);
break;
case '5':
servoMain.write(180);
break;
}
}


