Introduction: Glue Sticks 101
This instructable is a lesson in my free Glue Class. To enroll, click here!
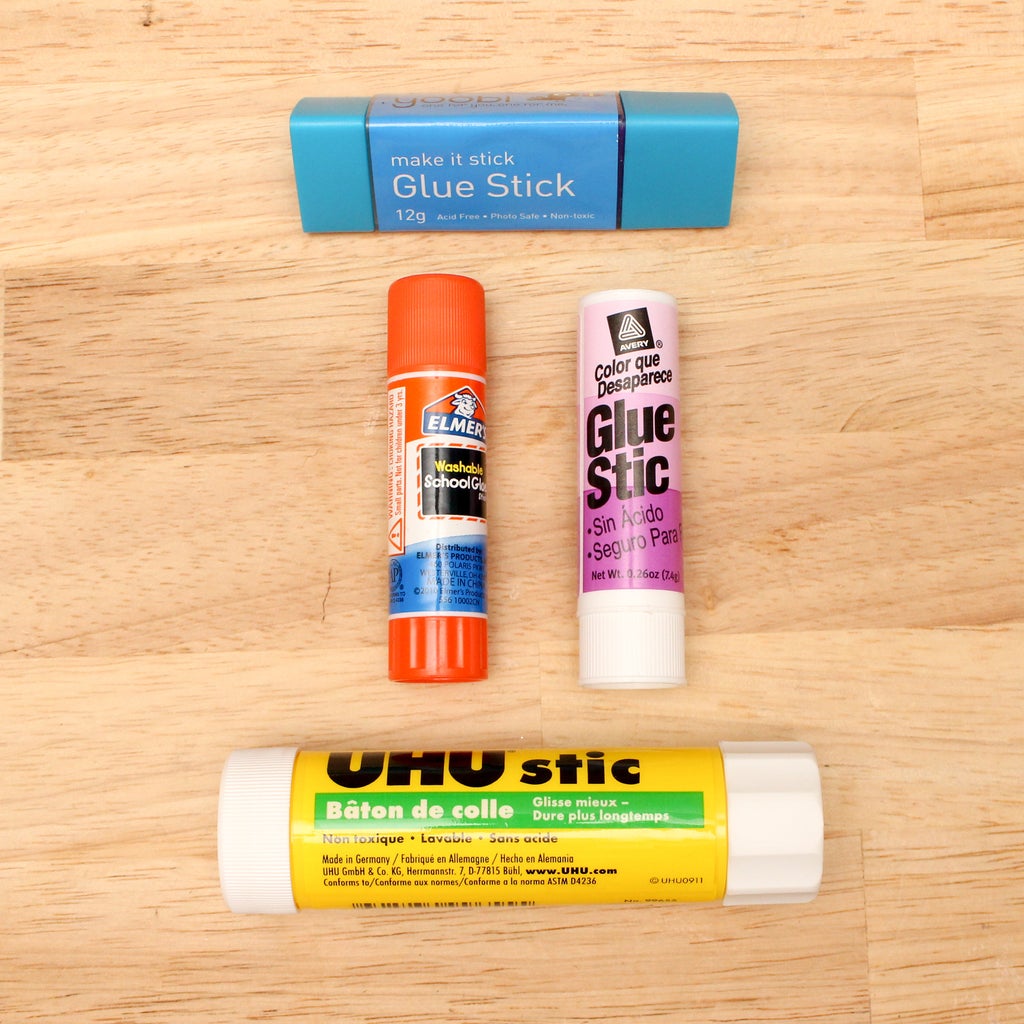
Glue sticks are neat little tubes of craft glues for papercraft, scrapbooking, and other very light-duty adhesion. They are useful because they cure much faster than their liquid-based craft glue variants, like white glue and other school gel glues. You can get glue sticks in all kinds of shapes and stickiness - Permanent, restickable, acid-free, dyed, etc.
Cool fact, In 1969 the German company Henkel began to produce the glue stick because it was inspired by the design and usefulness of a lipstick applicator. Thanks, beauty industry for helping revolutionize the way kids and adults alike stick paper together!


Glue Sticks are not an ideal all-purpose adhesive, but they are still very helpful for a few tasks. It's the quickest way to bond two light-weight surfaces. As a general rule, if you are working with paper, you should just use a glue stick.
Step 1: Tips and Facts
When using glue sticks, it is important to work quickly. Glue sticks have a dry time of about 2-5 minutes depending on ambient temperature and humidity. This makes it hard to apply a lot of glue to a large surface area before it starts drying. Glue sticks are really designed for small surfaces that can be covered quickly.
Gluesticks have a short "open time". Open time, a principle that we will talk about a lot in this class, refers to how long you have to spread the adhesive around and allow it to soak in before mating your surfaces.
It is often critical to reinforce the corners and edges with an extra swipe of glue before you make your bond to assure you get even adhesion.
When it comes to glue stick storage, I went straight to the most active glue-stick users I know, Teachers. I spoke with my pal who teaches first grade, and they let me in on the following:
"Basically, as soon as you buy them, they start drying out. I buy the nicest resealable plastic zip bags I can find and toss them in there."
Step 2: Removal
Removing most glues from drips and spills onto surfaces and clothes can be a real pain, but glue stick residue is pretty much the EASIEST to remove.
To remove glue from bonding surfaces, allow the glue to dry, and gently pick off it is visible after curing. Depending on the surface, you could even use a bit of sandpaper to remove dried glue stick, just be gentle.
If you need to get glue stick residue off skin, wash with warm water and soap. The glue will just melt away.
If you accidentally get overzealous with the glue stick and smear it on a non-bonding surface, you can take a barely damp rag or paper towel and gently wipe away at the excess. You could also wait until it is dry to pick off the residue gently.
Step 3: Class Project
Now that we've covered the basic principles and best practices for using glue sticks, let's make something! Paper collages showcase the best uses of glue sticks, so to go over some tips and tricks I am going to demonstrate how to make some postcards.
Materials Needed
- Cardboard or Cardstock
- Old Magazines and cool papers
- Glue Sticks
- Scissors/Cutting Tools
Mating two large surface areas is quite simple, apply glue to the surface area of just one of the surfaces you are trying to bond, you don't have enough time to apply it to both. Mate the surfaces, squishing any air that may have gotten in under your perimeter and could potentially inhibit your bond.
When applying glue to the back of the image clipping, note how I go around the perimeter of the clipping, applying almost no glue to the center.
Because we are concerned with our edges lifting, it is important that the perimeter of your bonding surfaces gets coated with enough glue.
That's it! Share your paper collage below - can't wait to see your version of this project! Get creative, go beyond the size of a postcard to create some fun and interesting assemblage!

Our next lesson goes over white glue, also known as all-purpose glue - one of the most important adhesives to keep in your home.


