

Introduction: Gyroscope With Arduino 101


Learn how to read Gyroscope Sensor on Arduino 101 and show tilt status on LED.
Arduino 101 is good for IOT starters. Having the Intel® Curie™ Module, designed to integrate the core's low power-consumption and high performance with the Arduino's ease-of-use, Bluetooth Low Energy capabilities and on-board 6-axis accelerometer/gyroscope, this board will provide exciting opportunities for building creative projects in the connected world.
More information about the technical specifications and documentation can be found on the Arduino/Genuino 101 main page.
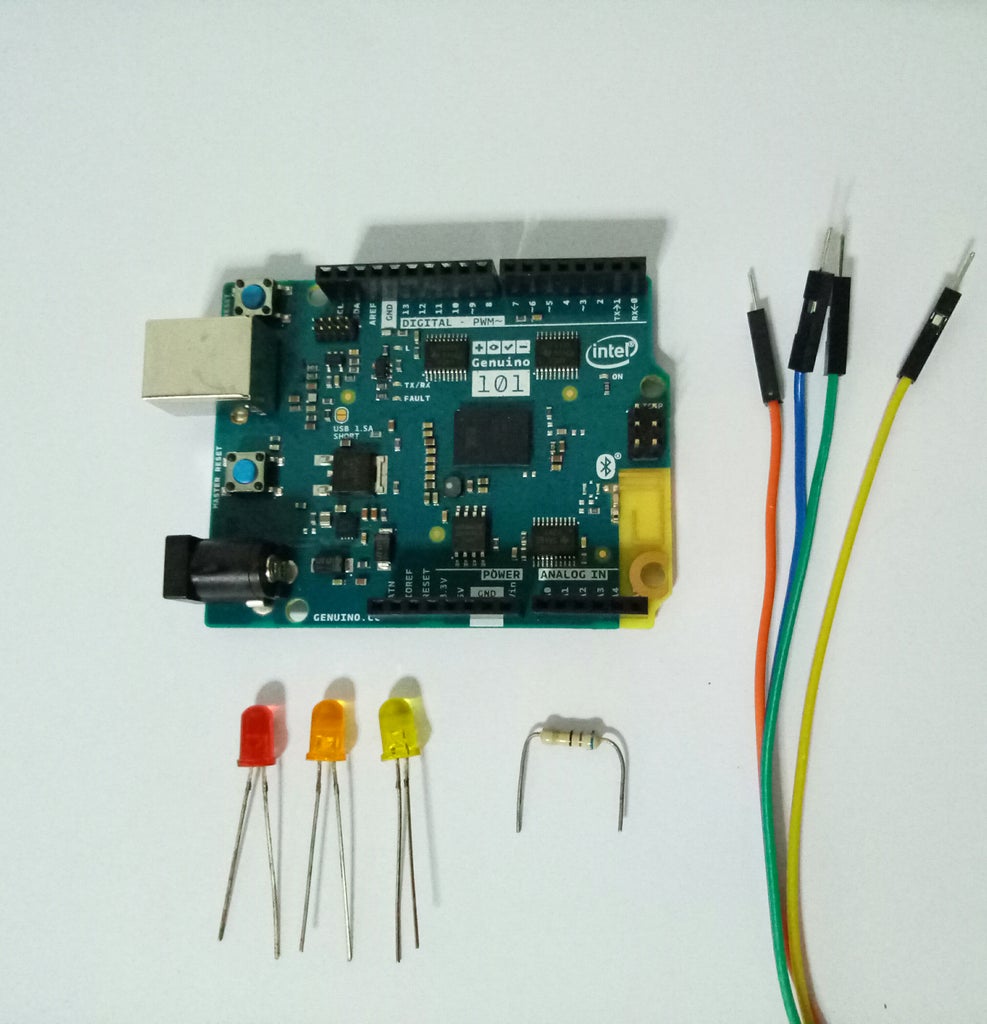
Requirements
- Arduino 101
- 3pcs LEDS
- 3pcs resistor of 220 ohms
- Bread Board
- 4pcs jumper wires
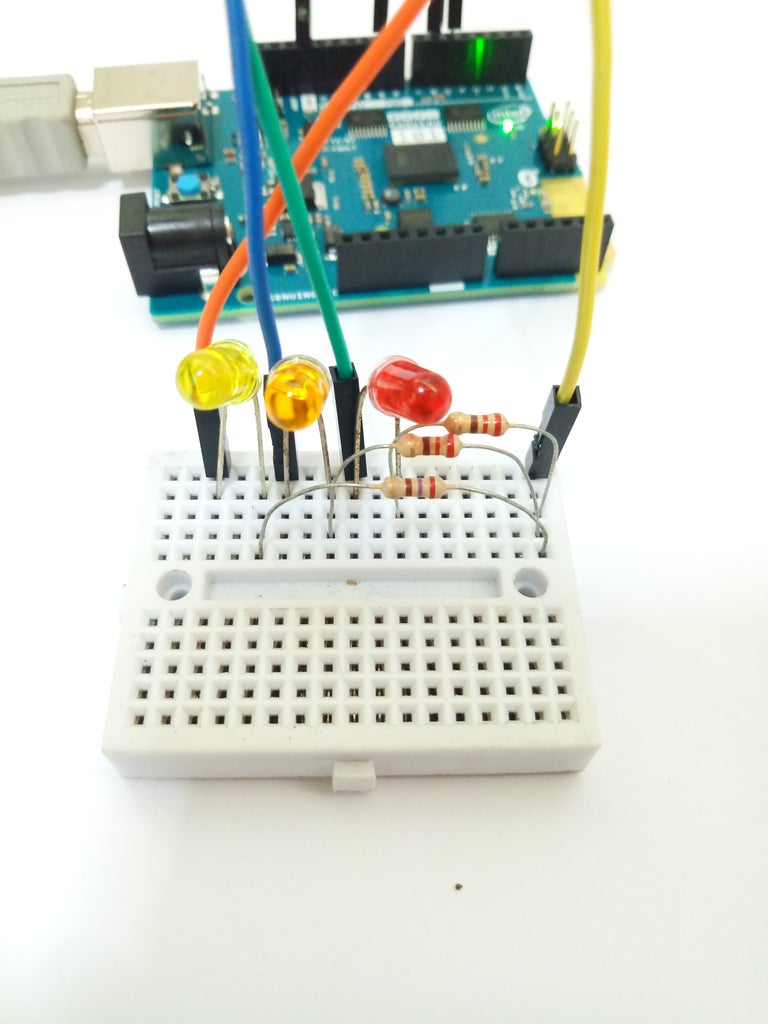
Step 1: Build Circuit

Lets build our circuit!
- Connect Arduino 101 pin GND (ground) to one of the bread board pins. I picked the upper left pin.
- Connect 3 resistor on the same column of the GND jumper wire
- Add 3 LEDs each negative pin is connected to the other end of its resistor
- Grab 3 jumper wire
- Connect 1st LED's positive pin to Digita Pin ~9
- Connect 2nd LED's positive pin to Digita Pin ~6
- Connect 3d LED's positive pin to Digita Pin ~5
Our circuit must be look like the images above.
Step 2: Program the Arduino 101
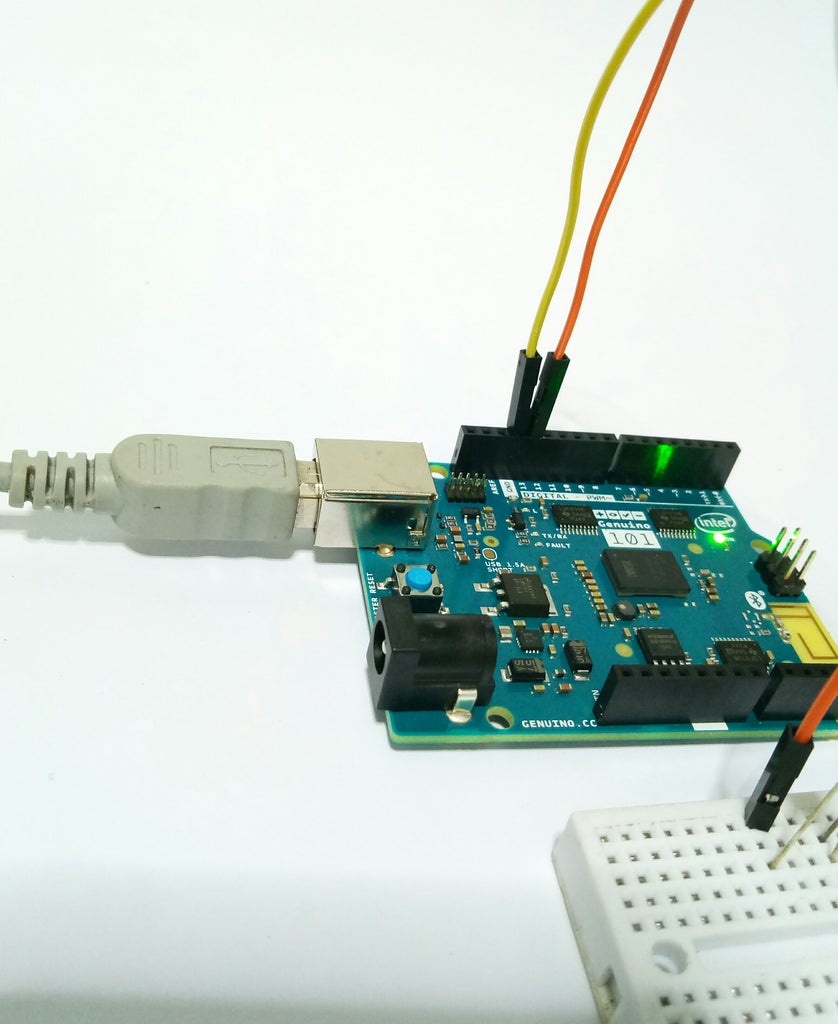
Plug in your Arduino 101.
Download SyroscopeSensor.ino source code and upload it.
Arduino 101 has Intel Curie Module that uses Arduino api CurieIMU.h
We can read the accelerometer and gyroscope using this function.
CurieIMU.readMotionSensor(ax, ay, az, gx, gy, gz);
The axis variables are used as parameter and will be referenced by the api to update the values.
Finally get the brightness of led using the formula and update the LED
if(gx>0)
gxBrightness = gx/66.66; else gxBrightness=0; analogWrite(gxLed,gxBrightness); // show gyroscope's X Axis brightnessif(gy>0) gyBrightness = gy/66.66; else gyBrightness=0; analogWrite(gyLed,gyBrightness); // show gyroscope's Y Axis brightness
if(gz>0) gzBrightness = gz/66.66; else gzBrightness=0; analogWrite(gzLed,gzBrightness); // show gyroscope's Z Axis brightness
Attachments

Step 3: Test Gyroscope Sensor


To test the gyroscope sensor with our leds, follow the following guide.
If you are facing Arduino 101 in top view.
Higher the bottom side - The yellow LED will light up if we are in positive X axis
Higher the right side - The Orange LED will light up if we are in positive Y axis
Rotate to left/right - The Red LED will light up if we are in positive Z axis.
The brightness of the LED corresponds to the value of the positive axis.
The maximum readings for each axis is 17000. So we calculated the brightness (0-255) of the analogWrite by brightness = axis/66.66
Thats it! Explore the potential application of gyroscope on Arduino 101 and be a maker!

Participated in the
Makerspace Contest 2017


