

Introduction: EASY How-To: PC Doctor Hardware Scan

This is a step-by-step on how to scan a computer with the PC Doctor Service Center 7 PC Repair Toolkit. This was mainly written for the associates where I work, and will probably not be very useful for anyone else. Nevertheless, enjoy!
Run from DOS <-- best option
Run from Windows
Step 1: Run From DOS


This is the best way to run PC-Doctor. It is the fastest, and is able to most accurately test the computer.
Picture 1: Insert the Disc & Multipurpose USB Key BEFORE turning on the system. Use a paper clip to open the disc drive (NOTE: A burned copy of the disc is shown, and will work, and the only reason it is being used is to prevent permanent damage to the original disc.)
Picture 2: Boot to the Disc, NOT the USB Key. It should then boot to Caldera DR-DOS. If not, then run it from Windows instead.
Picture 3: PC-Doctor is loading itself into memory.
Picture 4: The main screen for PC-Doctor.
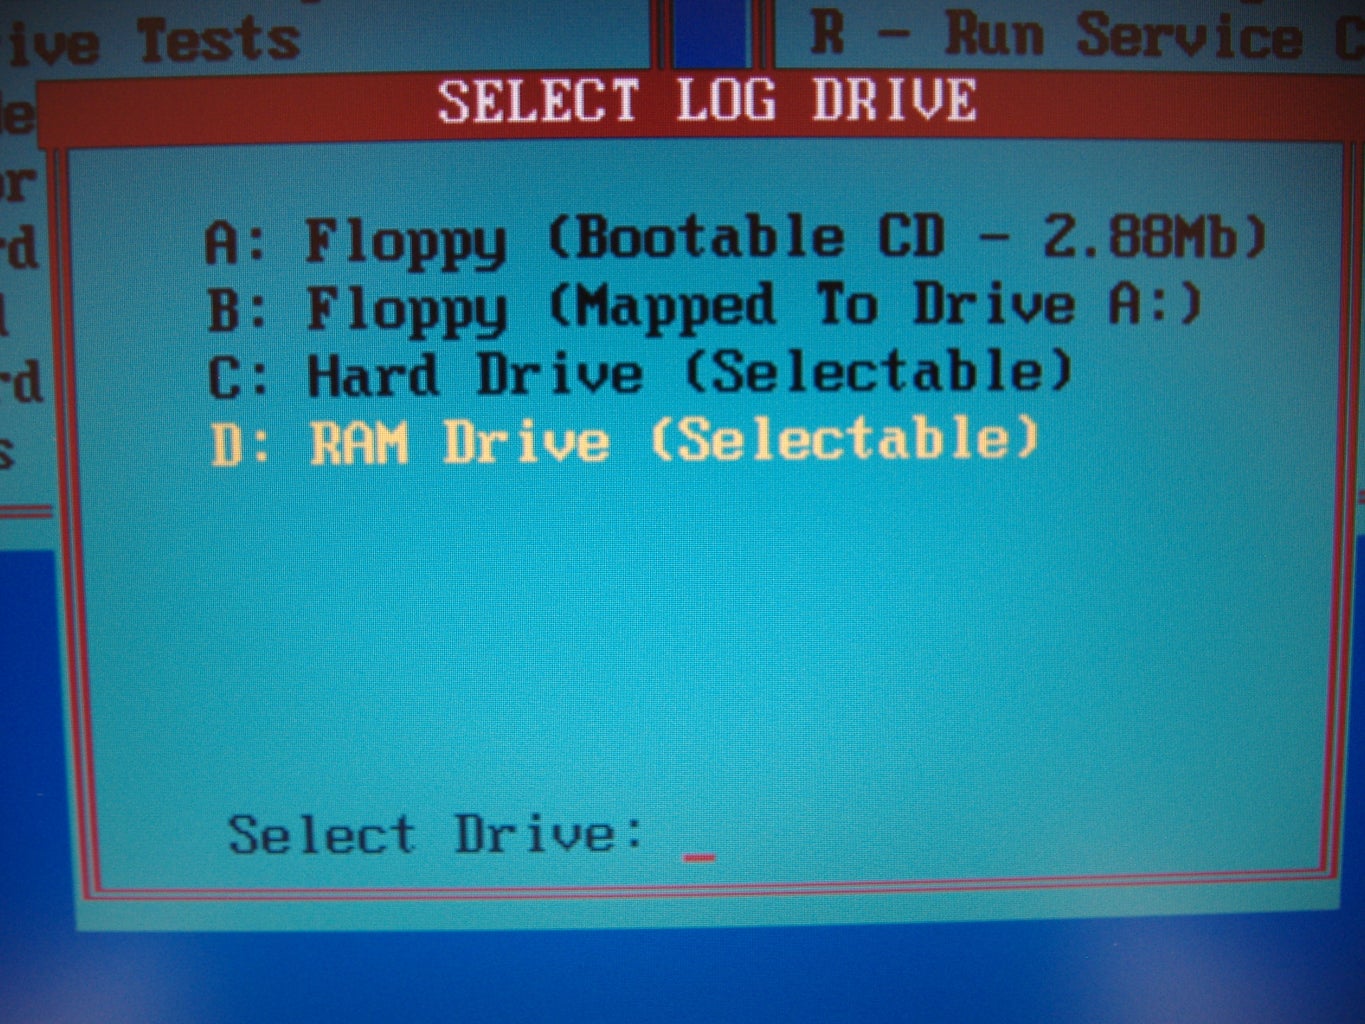
Picture 5: Select the RAM Drive (Usually D. If it's not D, there may be a problem with the USB Key)
Picture 6: Select '1 - Quick Tests'
Picture 7: This is what happens after you select the test, and it can't recognize the USB Key. Ensure that everything is plugged in, or try a different USB port, and start over again. If this continues to fail, then run it from Windows instead.
[UPDATED 7/09/09] Alternatively, you can also plug the green serial port, and blue parallel port loop-back adapters into a desktop to avoid the error screen. This unfortunately does not work with laptops since they usually don't have these ports.
Picture 8: This is the test running. It usually takes 5-10 minutes in this mode.
Picture 9: All tests passed! This is what you want to see. If there are any tests that failed, you should press 'L' check the log, and run a more detailed scan on the one that failed. If you don't feel comfortable doing this, note the failed test, and pass the information to your Resident Technician.
Picture 10: A sample log from a successful test. At this point, you may exit the program (ESC), remove the disc and USB Key, and reboot the computer.
Step 2: Run From Windows


You should only run PC-Doctor from Windows if running it from DOS fails. It is much slower in Windows, and you will spend too much time with each customer.
Picture 1: Insert the Disc & Multipurpose USB Key BEFORE turning on the system. Use a paper clip to open the disc drive (NOTE: A burned copy of the disc is shown, and will work, and the only reason it is being used is to prevent permanent damage to the original disc.)
Picture 2: This is the main screen for PC-Doctor in Windows. Check the box for 'I agree to the Terms & Conditions', and then click the 'Quick Install and Run'. It is the best option.
Picture 3: PC-Doctor will take a few minutes to install itself.
Picture 4: This will pop-up every time you run PC-Doctor from Windows. Make sure that the Multipurpose USB Key is in the computer, and then click 'OK'.
Picture 5: PC-Doctor will take a few minutes to detect the hardware for testing.
Picture 6: Click on the 'System Test' option.
Picture 7: This is the test in progress.
Picture 8: This is the test log that will show up after the test. Make sure that all of the tests passed. If they didn't, you can run a more detailed test, or pass the information on to your Technician for further testing. At this point, you may exit the program, and remove the disc and USB Key. You're all done!


