

Introduction: How to Make Accurate 3D Molecular Models


Ever wanted an accurate 3D model of your favorite molecule? Here's how. All the software used is free, and there are lots of ways to fabricate your model. I used a 3D printer to make small molecules and a laser cutter to make larger versions.
Step 1: Find the Molecular Structure


To generate a 3D model, you will first need the molecular structure. These are usually determined using X-ray crystallography, and there are internet repositories of these containing hundreds of thousands of structures. Most well known is the Cambridge Structural Database (CSD), and I used their program Mercury to produce the STL file needed for printing. But before you do that, you will need a file readable by Mercury. Crystal structure files have standardized around the crystallographic information file (CIF) format. You can view and retrieve data for free from the CSD; just type in the name of the molecule under "compound name" to view the options. If there are far too many, try checking the "Teaching subset" radio button, to cut down the number of hits. Check the one you want, then hit "Download selected". You'll be asked to provide some user information (you can opt-out if you like). The .cif file will download to your computer.
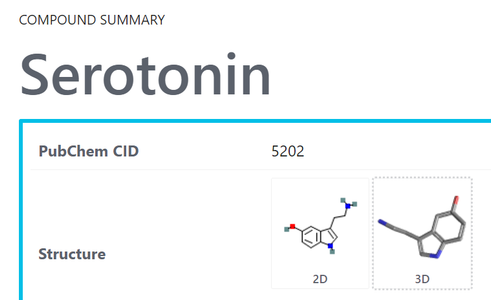
Another useful place is PubChem. Search for your compound, click on 3D structure > Download > SDF (the only one readable by the next program you are going to use).
Step 2: Get Mercury and Manipulate Your Structure


Mercury is the program we'll use for interacting with CIF (and other) files. It is enormously powerful but for our purposes we're going to use only a tiny subset of its capabilities. Download it (it's free and totally legit) and go to File > Open and select your .cif file. Under "Styles" select ball-and-stick (the most attractive way to depict structures in my opinion), and navigate the view by left-dragging to orbit and right-dragging to zoom in and out. You may well find your structure contains extra atoms you don't want; in the case of the ethanol structure, two copies of the molecule are present. You can hide them via Selection > Select Molecules and highlight whatever molecules (or atoms) you don't want. Once you have the ones you DON'T want selected, go Display > Show/Hide > Atoms and hide them.
Mercury generates STL files but the defaults will generate structures that are not robust enough for my liking. You can easily bulk up both the atoms and the bonds via Display > Styles > Ball and Stick Settings. Increase the atom size and the bond radius until the structure looks strong enough. Try 0.3 for both atom size (in fraction of vdW radius) and for bond diameter (in Angstroms) to start. These settings make for a strong structure that is still recognizably in the ball-and-stick style, but feel free to adjust until you have a look you like.
If double and triple bonds are appearing (and you don't like them!), Display > Styles and make sure the Display… options at the bottom are unchecked.
Step 3: Generate Your STL File


Go to File > Print in 3D to write to an STL file. It will take a minute or two. I've not tried the support option, figuring it was best to do that in whatever software comes with your printer. The default scale involves scaling the molecule up by a factor of 100 million (check out this open access ChemEd paper I wrote that uses this scale to convey the difference in size between us and a molecule, by comparing it to the Earth scaled down by the same factor).
Step 4: 3D Print

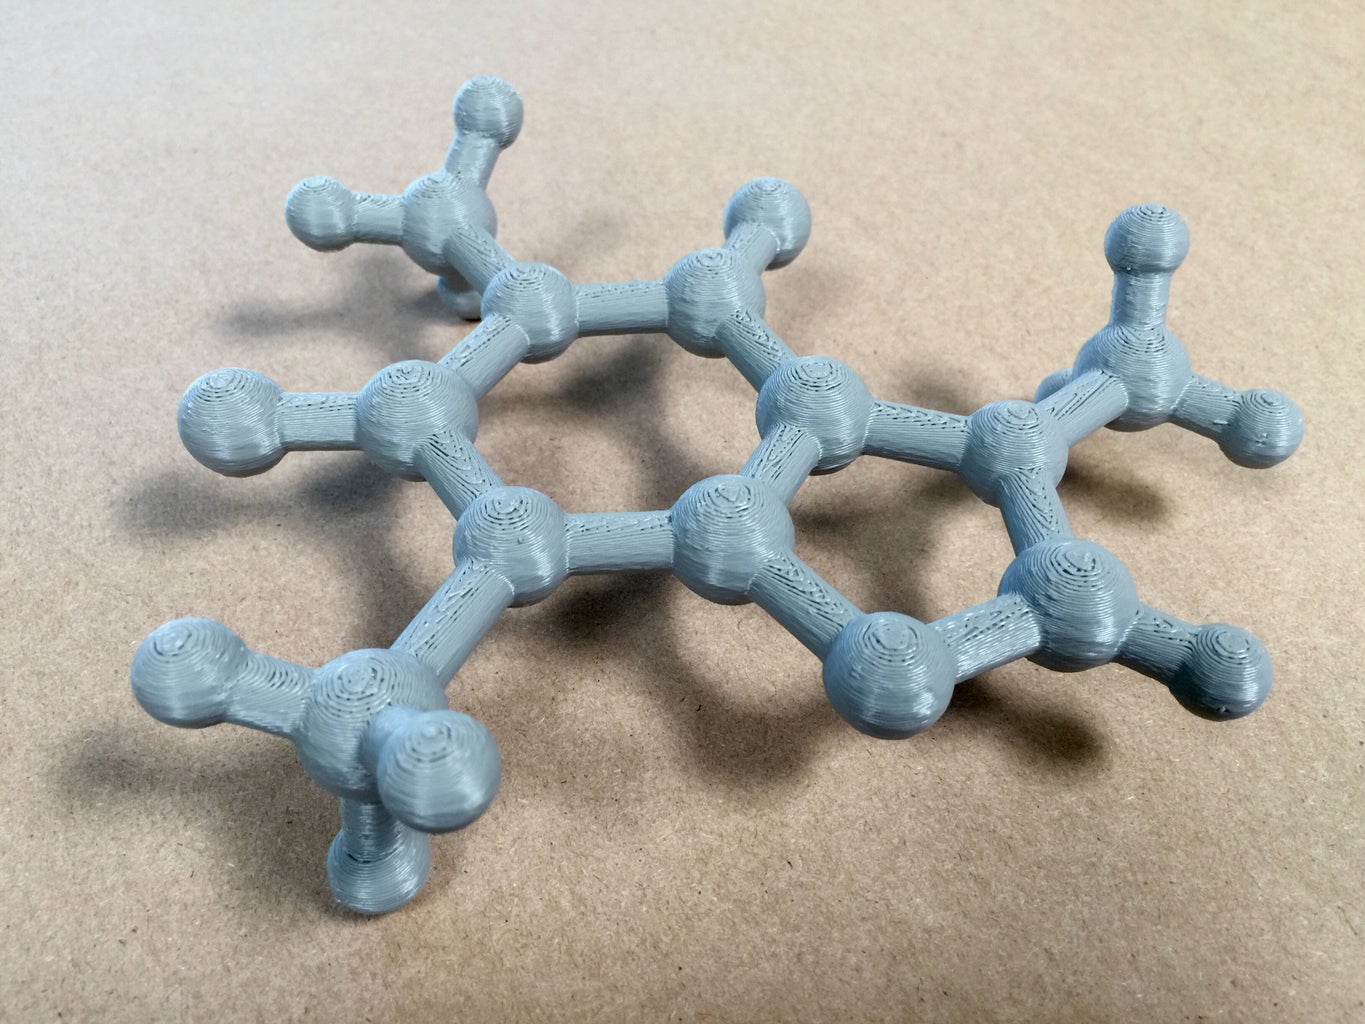


For a small model of a molecule, open the STL file in a suitable slicer. I use Cura. Send the resulting gcode to a 3D printer. I used a Stratasys Fortus and printed in ASA for the models shown above. The Fortus comes with software to calculate supports and they are printed in PVA which is easily removed by snapping them off (if need be, washing in a dilute lye solution). The STL files for ethanol, caffeine and buckminsterfullerene are attached. Scale them to suit how much filament you want to expend.
When printing in PLA on a consumer-grade machine (I use an Ender 3), I find the Tree support option in Cura to be the easiest to remove.


Step 5: Slices


If you want a bigger model (e.g. for a lecture theatre), try slicing the model up and cutting out the slices on a laser cutter. Go to Kiri:Moto and go to the LASER workspace (button, top left). Go to Files > Import and select your STL. It will appear on the workspace. On the right, click on Output, and select Layer Stacking (if this doesn't appear, go to Settings, top right, and make sure your version is at least 3.1). Click on Slice, and the STL will appear as a contour map. Tweak the appearance of the slices using the Offset (affects where the slices start) and Height (affects number of layers) settings. You're looking for a structure that contains the right number of layers based on the thickness of the material you're using (I suggest cardboard!). Click on Slice > Preview, and you will get the layers laid out for laser cutting, with black marking the cut lines and red the layout lines. Click Export, and download as svg. Take to your drawing program of choice, label each member of each slice with its layer number, nest the pieces, and cut on your laser cutter. Glue together with a gluestick (cardboard) or wood glue (plywood or mdf).


