

Introduction: How to Make a Mobile Controlled Robot | DTMF Based | Without Microcontroller & Programming | Control From Anywhere in World | RoboGeeks


Wanna make a robot which can be controlled from anywhere in the world, Lets do It!!!
Step 1: What Is Mobile Controlled Robot?

Controlling a robot wirelessly is possible with several methods such as Remote, Bluetooth, Wi-Fi, etc. But, the controls of these communication methods are limited to certain areas, and complicated to design as well. To overcome these difficulties, we have come up with a Mobile Controlled Robot.
A Mobile Controlled Robot is a mobile device, which provides wide-range of wireless control ability to your robot unless your cell phone gets out of signal.
A general concept of mobile controlled robot is that it can be controlled from any part of the world with just an inclusion of a camera.
In this project the robot, is controlled by a mobile phone that makes call to the mobile phone attached to the robot in the course of the call, if any button is pressed control corresponding to the button pressed is heard at the other end of the call. This tone is called dual tone multi frequency tone (DTMF). Robot receives this DTMF tone with the help of phone stacked in the robot.
The received tone is processed by DTMF decoder MT8870 decoder, decodes the DTMF tone in to its equivalent binary digit and this binary number is send to motor drivers in order to drive the motors for forward or backward motion or a turn.
The mobile that makes a call to the mobile phone stacked in the robot acts as a remote. So this simple robotics project does not require the construction of receiver and transmitter units.
DTMF signalling is used for telephone signalling over the line in the voice frequency band to the call switching center. The version of DTMF used for telephone dialling is known as touch tone.
DTMF assigns a specific frequency (consisting of two separate tones) to each key s that it can easily be identified by the electronic circuit. The signal generated by the DTMF encoder is the direct algebric submission, in real time of the amplitudes of two sine (cosine) waves of different frequencies, i.e. pressing button “5” will send a tone made by adding 1336hz and 770hz to the other end of the mobile.
Parts Required:
- 4 Dc Motors
- 4 Clamps
- Female to Female Burg Connecting Wires
- Power Board Module
- L293D Motor Driver Module Board
- DTMF Decoder Module Board
- Chassis
- Nuts and Bolts
- 3.5mm Audio Connector
- Double Sided Tape
- Cable Tie
- HUMAN BRAIN (FOR IMPLEMENTING ALL CONCEPT…JUST KIDDING)
Step 2: Connecting Clamps in BO DC Motor


Step 3: Mounting DC Motors With Clamps Into an Arcylic Chassis


Step 4: Providing Robot With Wheels to Run


Step 5: Mounting Power Supply Module/Board (Refer to Schematic for Circuit Diagram of the Board)


Step 6: Mounting L293D Motor Driver Module/Board (Refer to Schematic for Circuit Diagram of the Board)


Step 7: Mounting DTMF Decoder Module/Board (Refer to Schematic for Circuit Diagram of the Board)


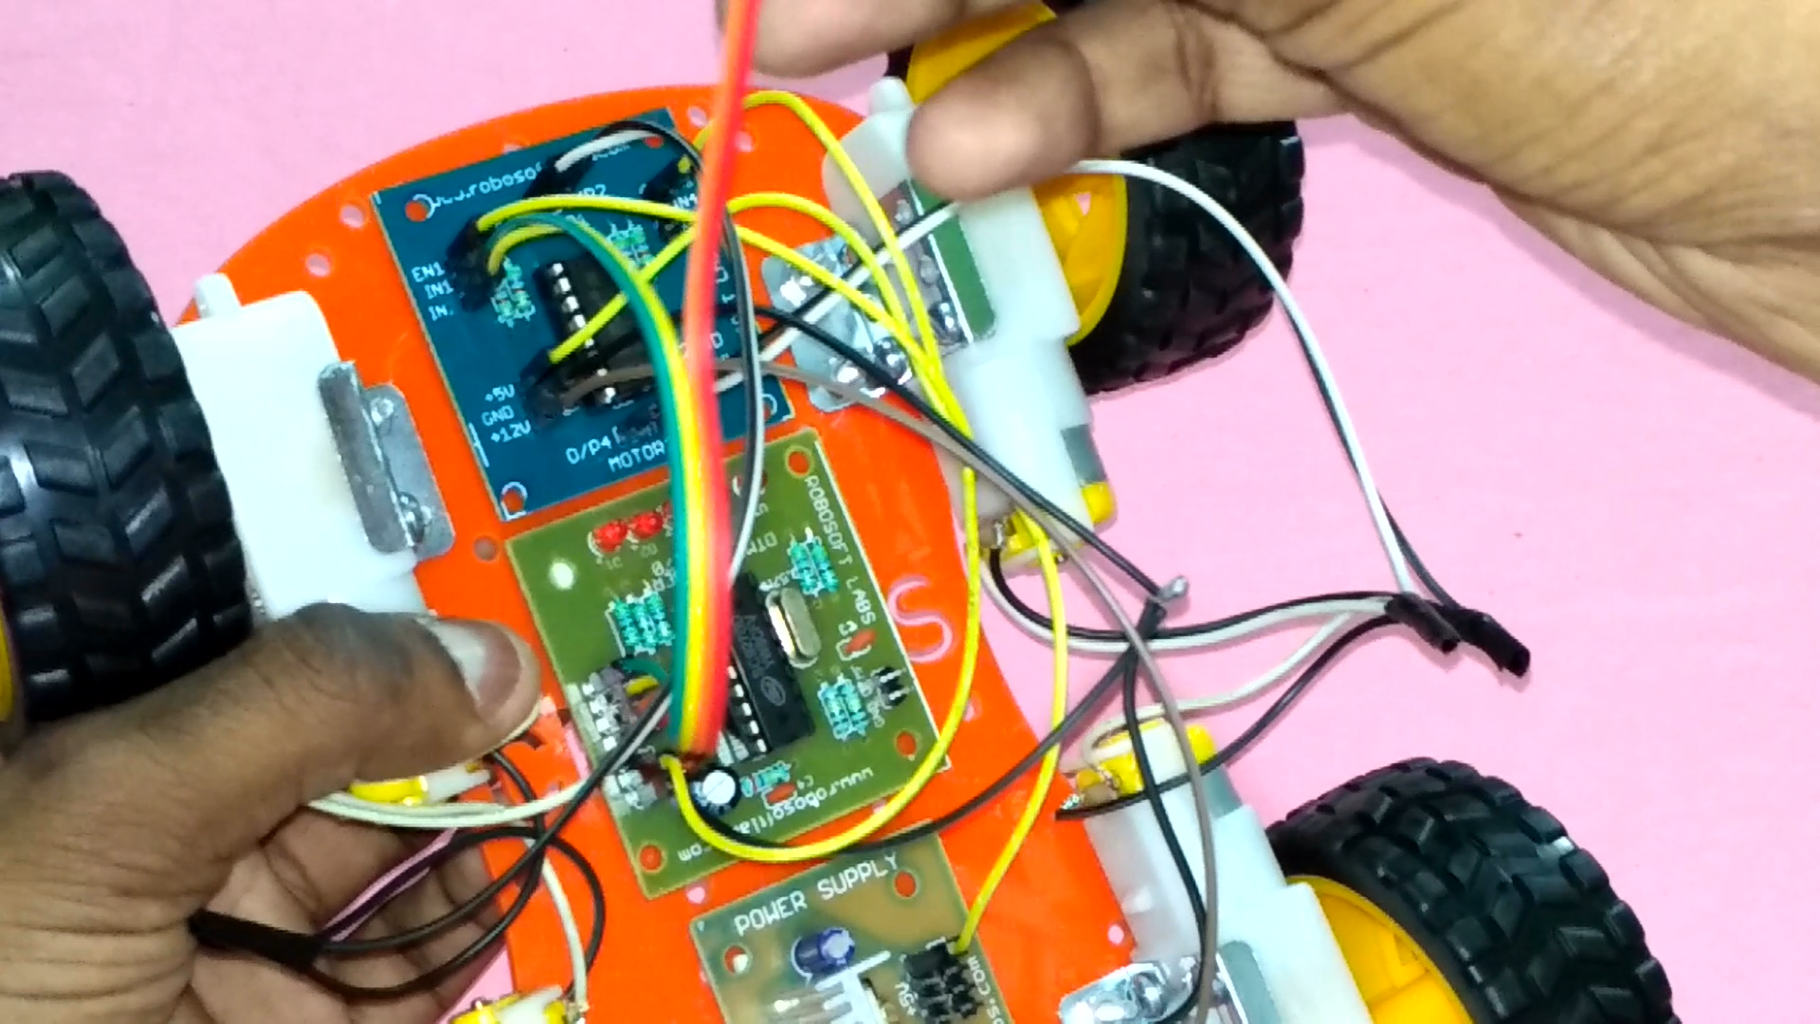
Step 8: Connecting Wires As Per Schematic / Circuit Diagram


Step 9: Connect 3.5MM Audio Jack

Step 10: Schematic / Circuit Diagram

Step 11: Mounting Upper Arcylic Chassis to Hide the Circuitry (For Good Looks)

Step 12: Settings : Change Answering Mode Settings in Receiver Module to AUTO (Headset Mode)

Step 13: Connecting Receiver Mobile to 3.5MM Audio Jack of the Robot

Step 14: Connect +12 Volt Battery Pack

Step 15: Yeppiee!!! Finally We Made Our Mobile Controlled Robot, Lets Test It!!!
For Testing, Please call from transmitter mobile to receiver mobile, as receiver mobile is in auto answering mode, receiver mobile will pickup your call automatically (carrier charges may apply as per your service provide plan), Now Press and Test all Dial Pad Keys of your Transmitter Mobile to Run your Robot.


