

Introduction: How to Make a Robin Hood Hat


I recently introduced my four children to one of my favorite Disney movies of all time, Robin Hood. Like myself at their age, my four children have become totally enthralled with the heroic story, and the three boys in particular have been running around the house with plastic bows and arrows. But why leave it there? I decided to take up their play a notch by making them hats to play along.
Since I made them, they've gotten some serious use out of these hats! Hurray!
You'll just need the following:
- Some green felt (one yard was enough to make four hats
- A red feather
- Matching thread
- A sewing machine
- Basic sewing skills
- The ability to print out an 11" x 17" pattern
If you'd like, you can also use craft foam and a glue gun. We used that for our prototype, and it worked great.
Ready to join in the fun? Let's get to it!
Step 1: Cut Out the Pattern
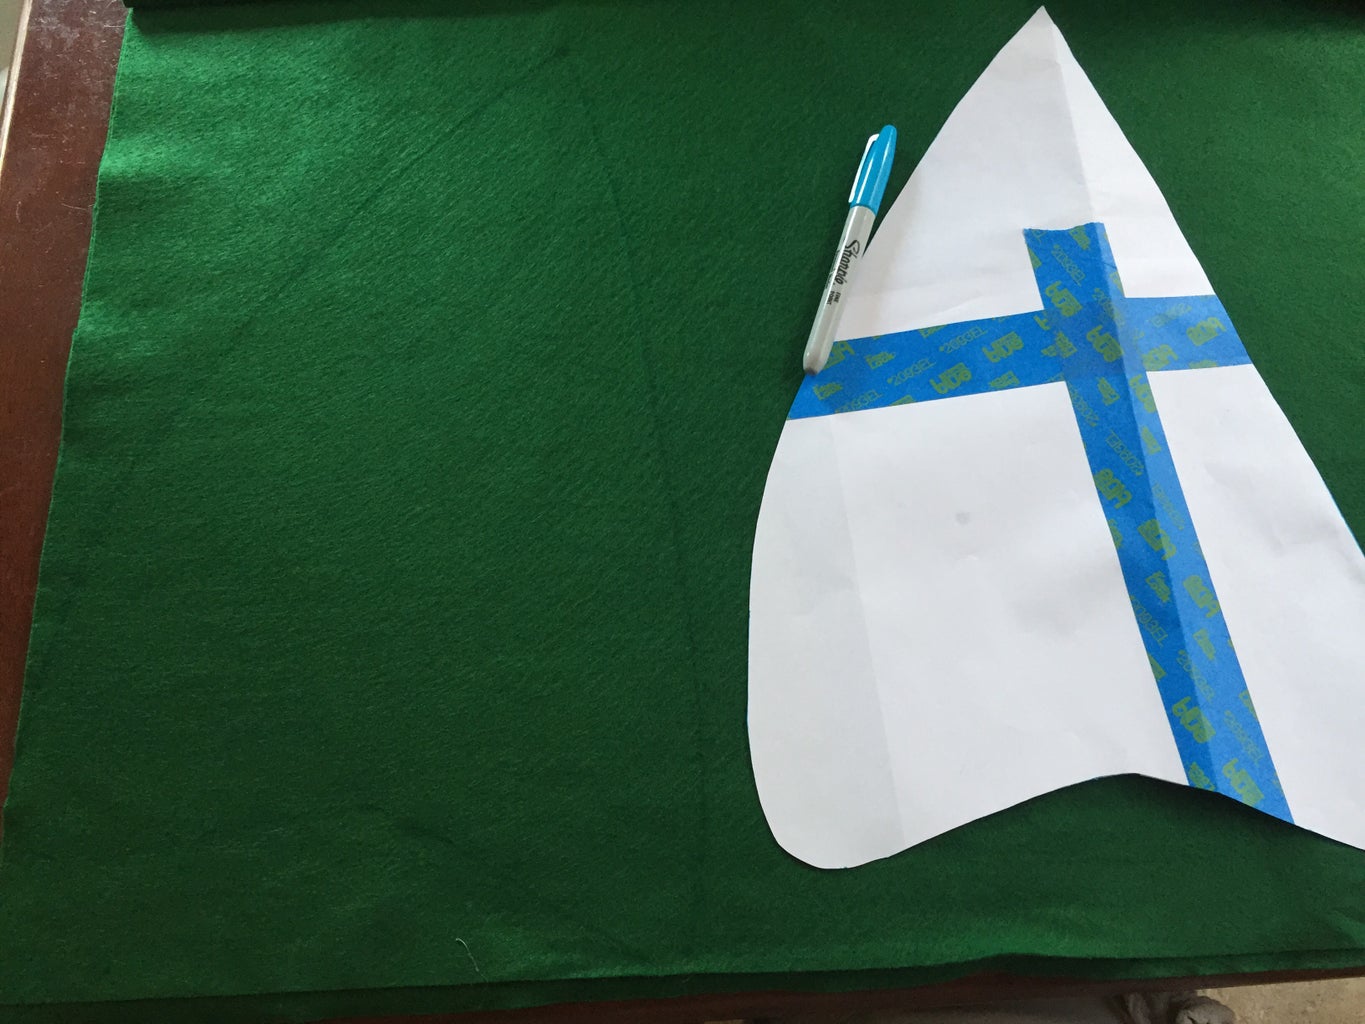
To begin, download the pattern, and print it out.
Place the pattern in one corner of your felt, and trace the pattern there. Then, flip the pattern over and trace it again.
Now, cut out each of the pieces, and stack them together.
Attachments

Step 2: Get Sewing!

As you'll see in the pattern, there's a top and bottom half to the design. Use your sewing machine to sew along the top line of the pattern where it says "Sew this First" on the pattern.
Once you've done that, turn the hat inside out.
Step 3: Sew the Bottom Half

Now that the top half of the hat is done, it's time to focus on the bottom half of the hat, where the pattern says,
"Sew this Second". While in the previous step, you sewed through both sides of the hat, now you'll focus on each side individually.
To give the bottom folded up area a finished edge, fold out along the bottom fold line as you sew that down.
Do this on both sides.
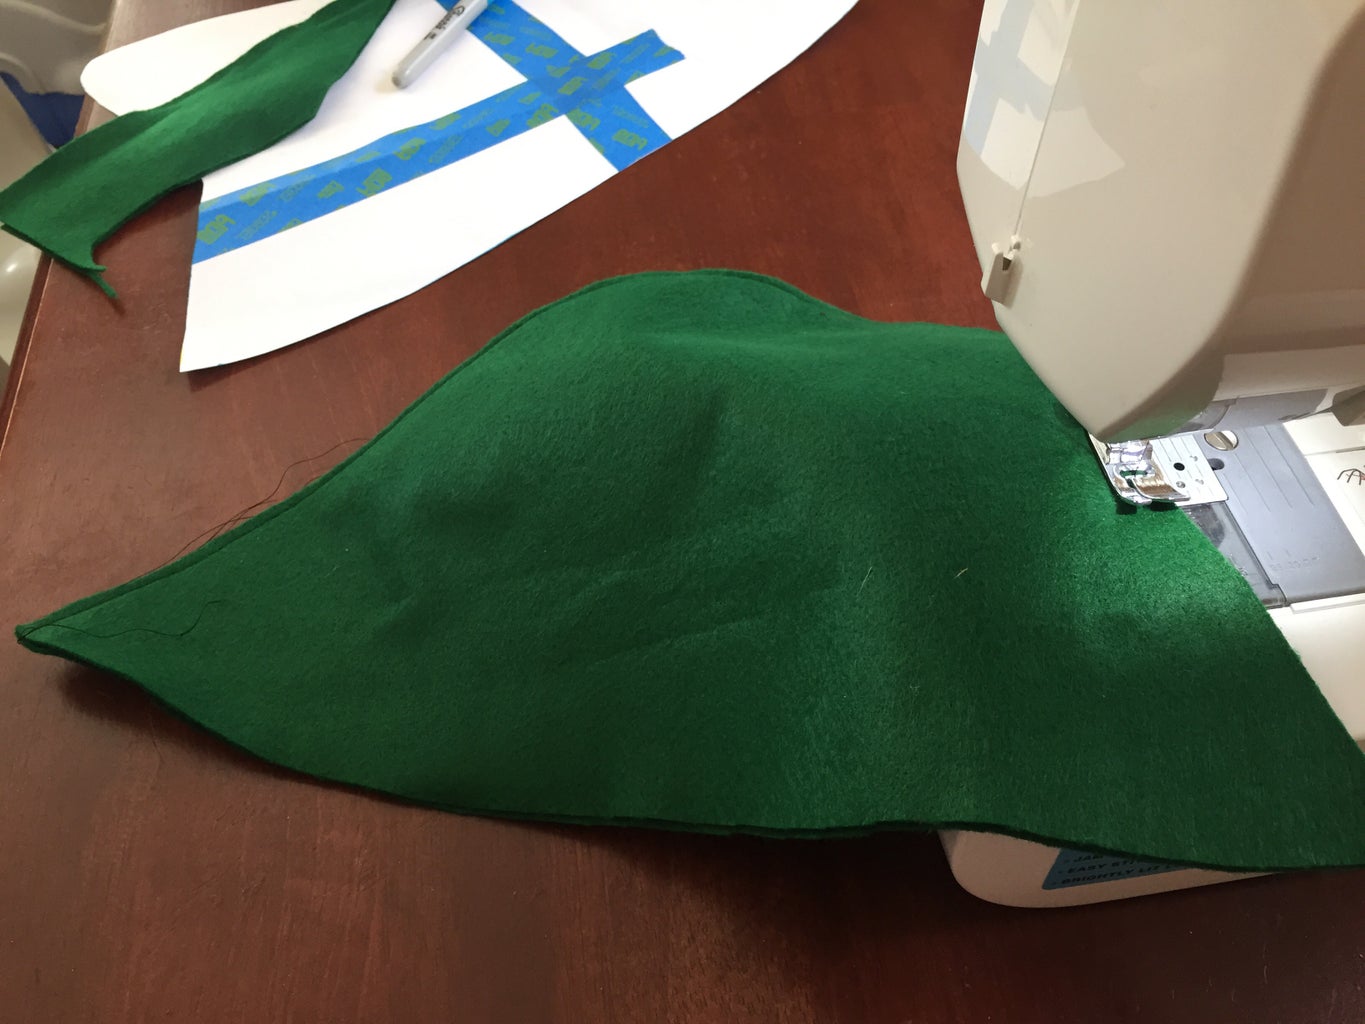
Step 4: Nearly Done


At this point, you should be left with something like the image pictured here.
Next, fold up the bottom of the hat, and be amazed! Robin Hood would be proud!
At this point, you can skip to adding the feather, but since I have young children who were in constant need of help fixing the fold of their hats, I decided to tack down the fold. It only take a couple of minutes, and it's helped their hats to look less whacked after epic battles.
Step 5: Tack Down That Fold


To keep the fold in place, I first taped down the folds so that they were matching on either side. Then, I used my sewing machine to sew four small areas, about .25" each, along each side of the hat.
It's quick, and if you're making this for a young child, it will save you a ton of time.
Step 6: Add That Feather!

Now the hard work is done, and it's time to add the final flourish - the addition of the feather.
Place the feather where you want it on the hat, and then carefully cut two very small lines for the feather. You can see the cuts here if you look closely.
Thread the feather in one hole and out of the other, then tape the feather down on the inside of the hat.
You're done! Good work!
Step 7: Enjoy the Fun!

I hope you've found this helpful. If so, I'd love to hear from you in the comments!


