

Introduction: How to Program an AVR Board Using an Arduino Board


Do you have an AVR microcontroller board laying around? Is it tricky to program it? Well, you are in the right place. Here, I will show you how to program an Atmega8a microcontroller board using an Arduino Uno board as a programmer. So without further ado, let's get started!
Step 1: Gather All the Stuff
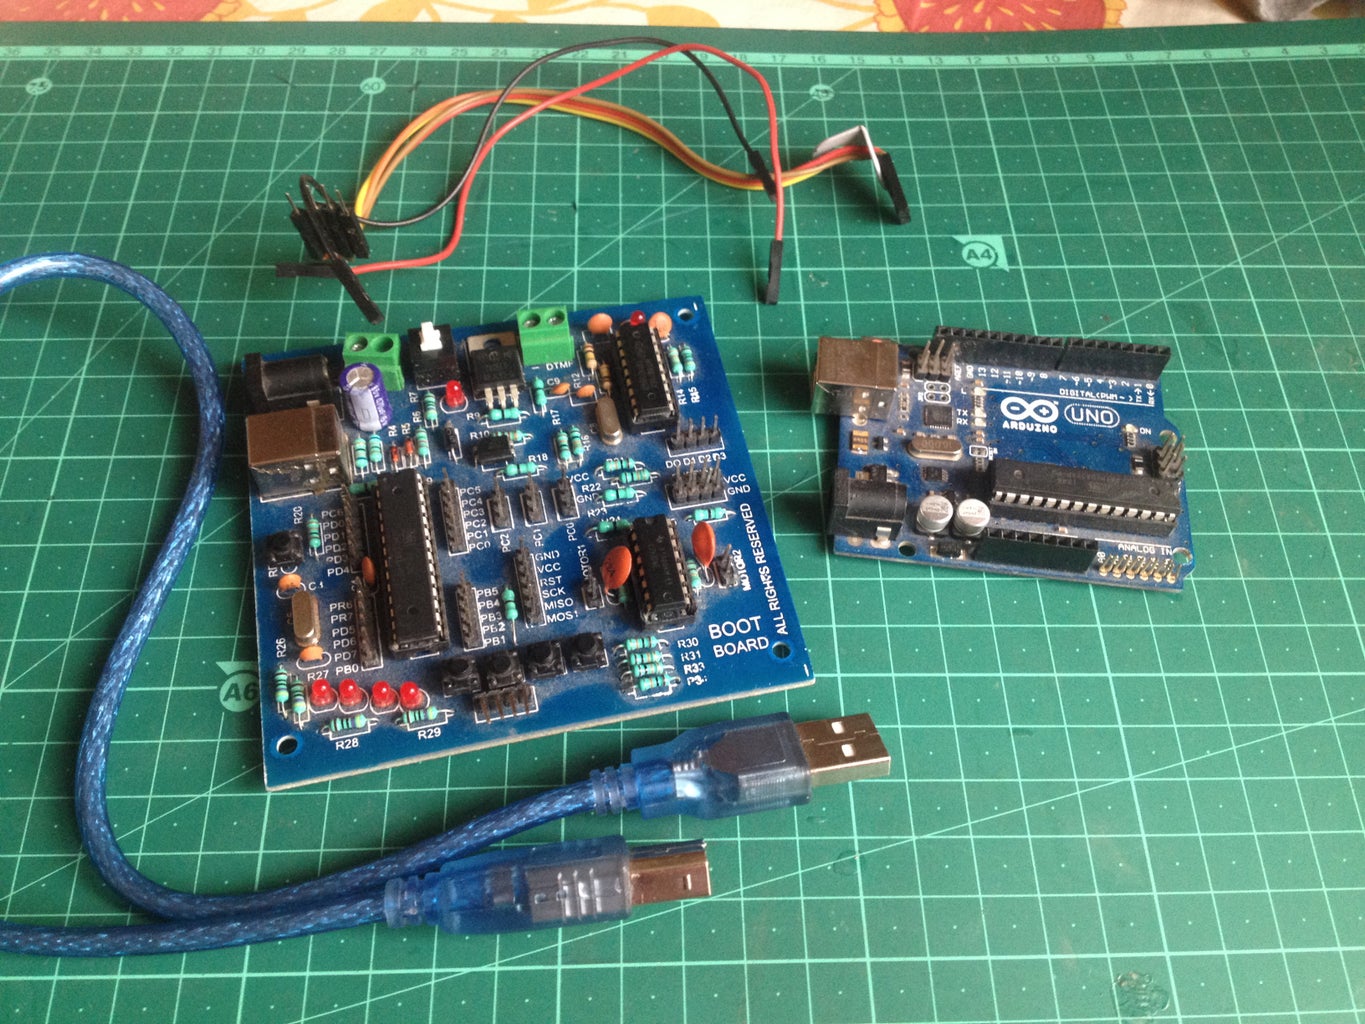
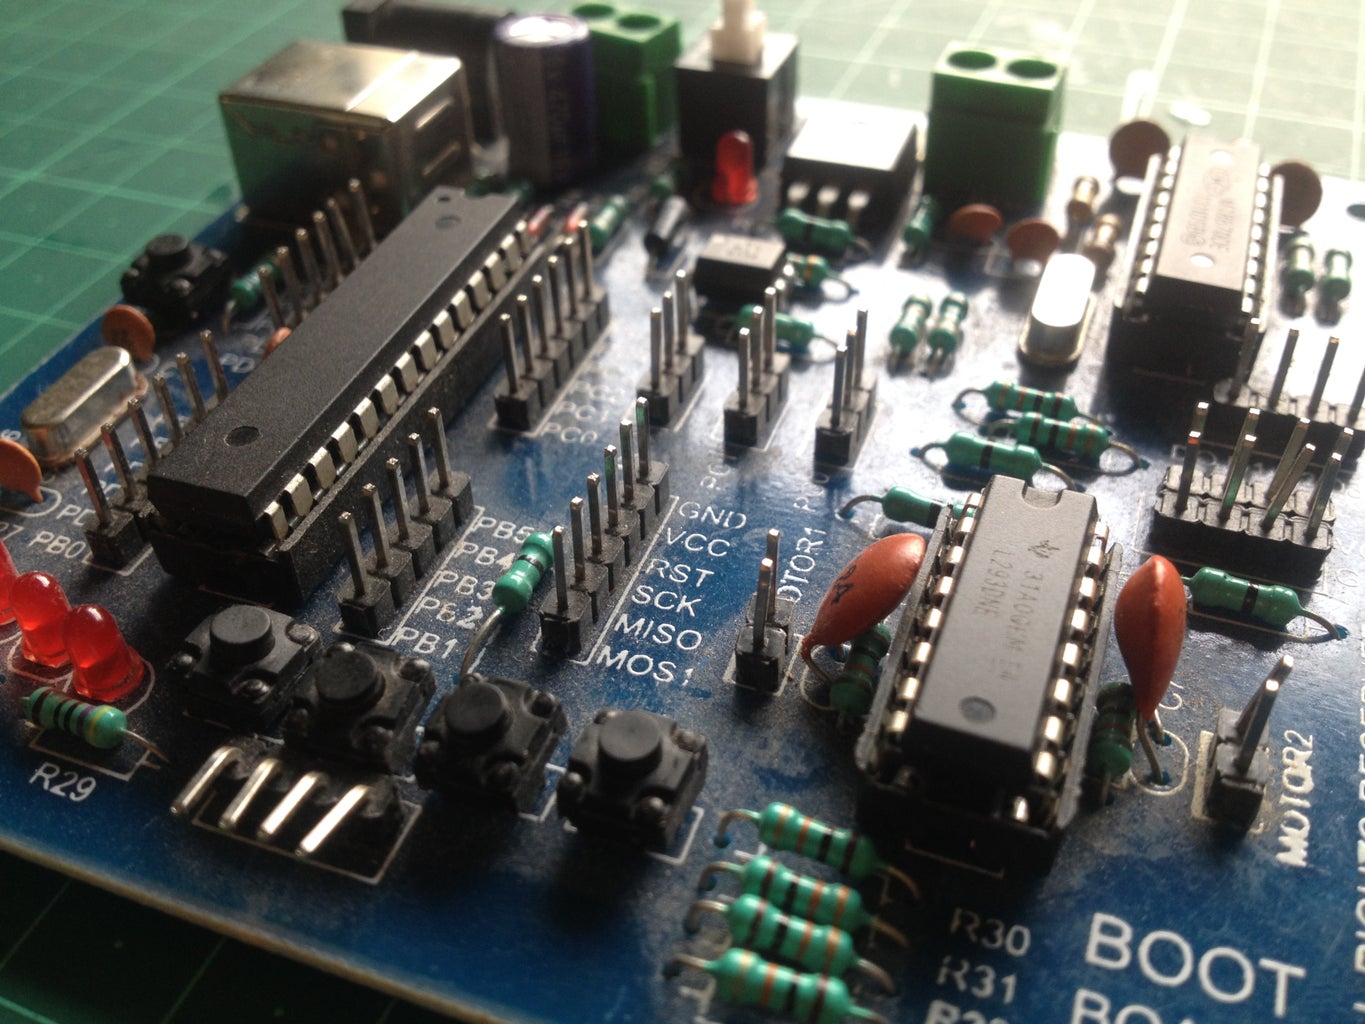
Here is all that you will need:
- An Arduino UNO/MEGA/nano microcontroller board.
- An AVR microcontroller board with a compatible microcontroller(such as an Atmega 8a)
- An appropriate USB cable for the Arduino board
- Six jumper wires(two for power, one for resetting the target AVR board and the rest three for communication)
Click on the above image to know more.
Step 2: Upload the ISP Program to the Arduino Board

Start the Arduino IDE and go to Files>Examples>ArduinoISP. Select the appropriate board from Tools>Boards. Upload the program to the Arduino board.
Step 3: Connect the Target AVR Board to the Arduino Board
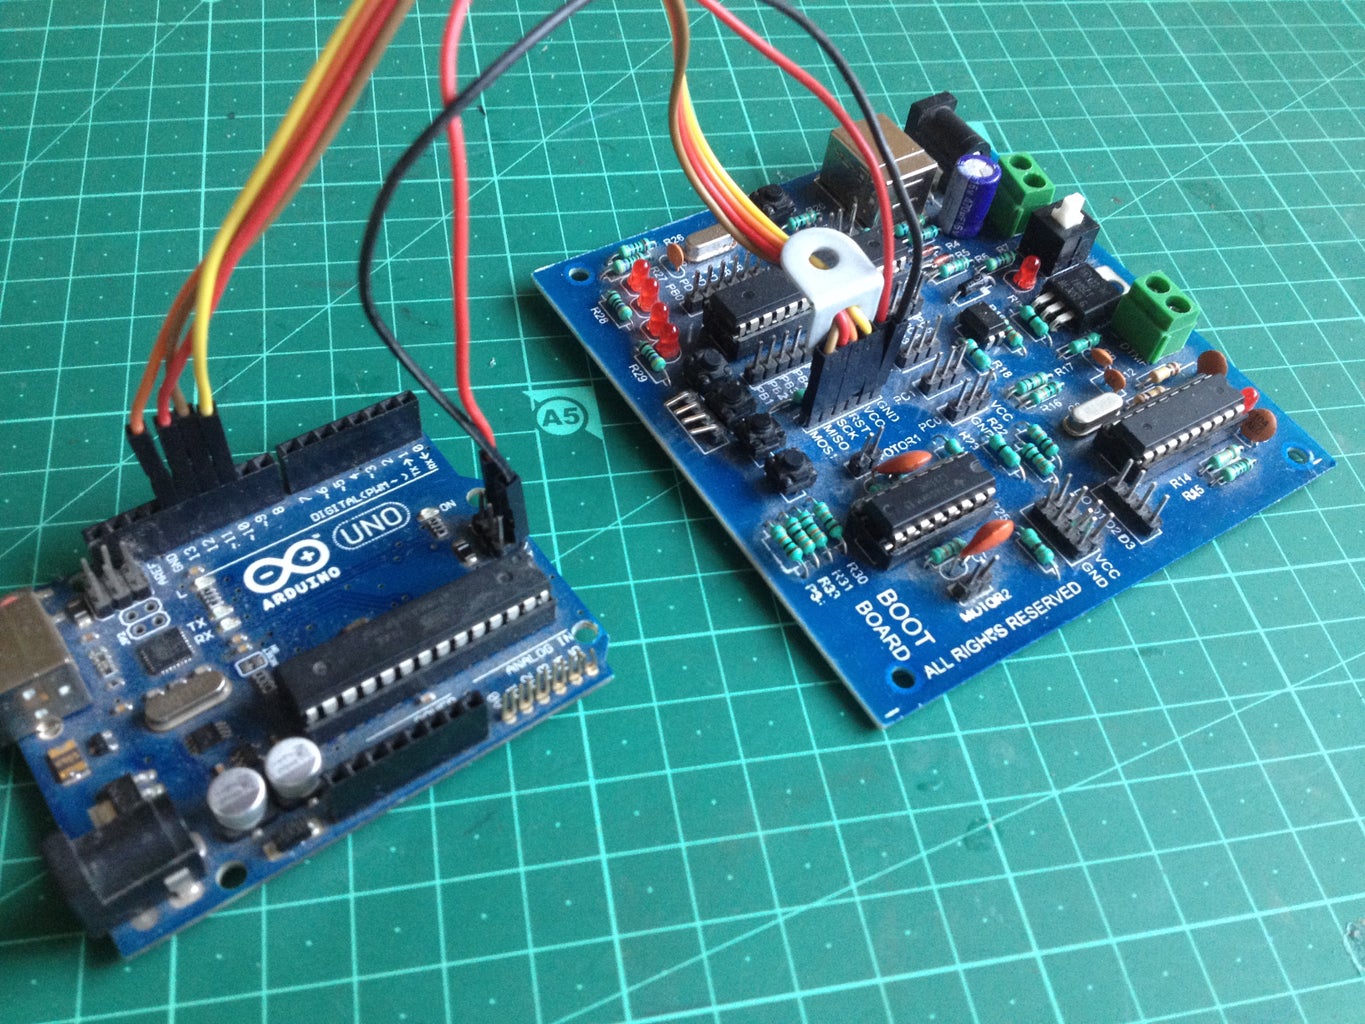
Make connections as following(AVR to Arduino board):
VCC to 5-volt
GND to GND
RST/RESET to D10
MISO to D11
MOSI to D12
SCK to D13
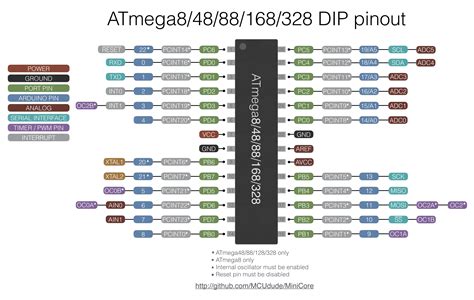
If you can't find any such labeled pins, check out the datasheet of the microcontroller chip on the web. I've added a pinout diagram of some popular Atmega microcontroller ICs above. My AVR board had an Atmega 8a on it. Also, all important pins on the board were labeled. Make sure you don't use loose and flimsy wires.
Step 4: Burn the Bootloader on the AVR Board

Goto Tools>Boards>Select Arduino NG or older. Then go to tools>Processor and select the one present on your AVR board. Goto Tools>Programmer and select Arduino as ISP. Now go to Tools again and then click on 'Burn Bootloader'. The RX and TX LEDs on the Arduino board should flash quickly a couple of times and if a message appears, stating 'Done burning bootloader' without any error, then your AVR board is ready to be programmed!
Step 5: Test the AVR Board

Upload a simple program, such as LED blink. Goto Files>Examples>Basics>Blink. Hold the shift key and click on the Upload button. After uploading is complete, you can remove the connection wires and power up your AVR board and test whether it has been programmed properly.
Step 6: It's Done!
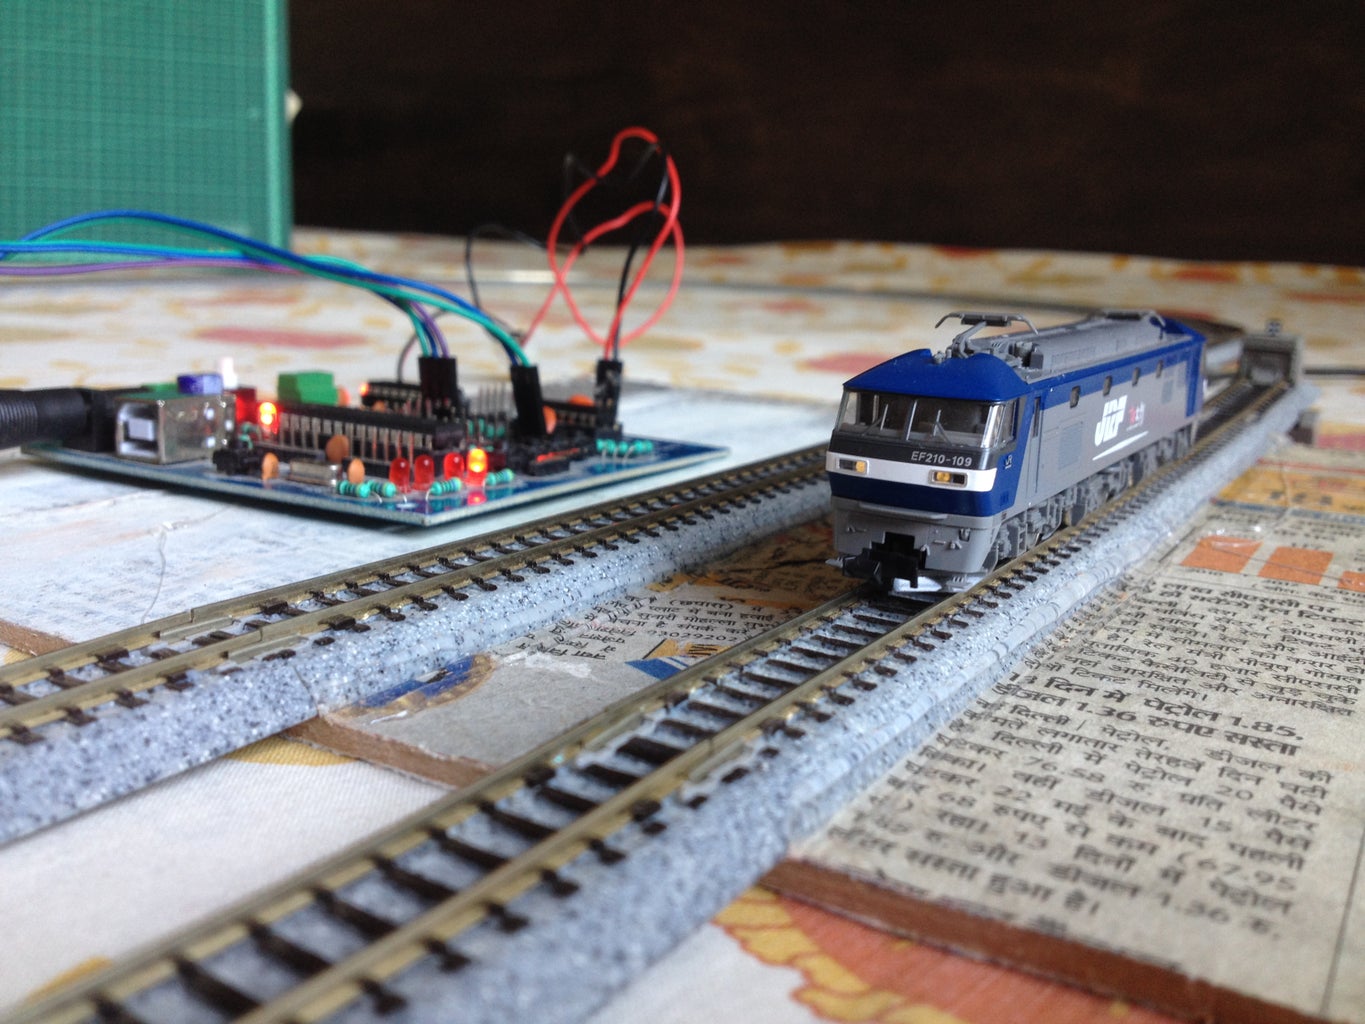

Now you can use an AVR board to make cool electronics projects. Since I love model railroading, I uploaded a simple program to run a locomotive on an automated layout. Since my AVR board has two motor outputs, I can use them to control the locomotive and a turnout. The program file of this code can be found in the next step. If you are interested, you can check mine too.
I would love to know what you made today with it. All the best!


