

Introduction: How to Write a Simple Drivetrain for FRC (Java)


More by the author:


About: I am currently a student in highschool just about to finish my junior year and I am on a first robotics team where I do programming in java, python, c# and many other things. I also have experience with Autode…
This is a tutorial on how to make a simple drivetrain for a FRC robot. This tutorial assumes that you know that basics of java, eclipse and already have wpilib installed, as well as CTRE libraries.
Step 1:

Open Eclipse
Step 2: Create a New Robot Project


- Right Click on the package explorer, click new, then other.
- Scroll down till you see WPILib Robot Java Development (if you don't see it you don't have the wpilib resources installed.)
- Click on Robot Java Project
- Then fill in the project name and click the command-based robot project type.(Package should already be filled out and same with simulation world.)
Step 3: Create/Fill in RobotMap

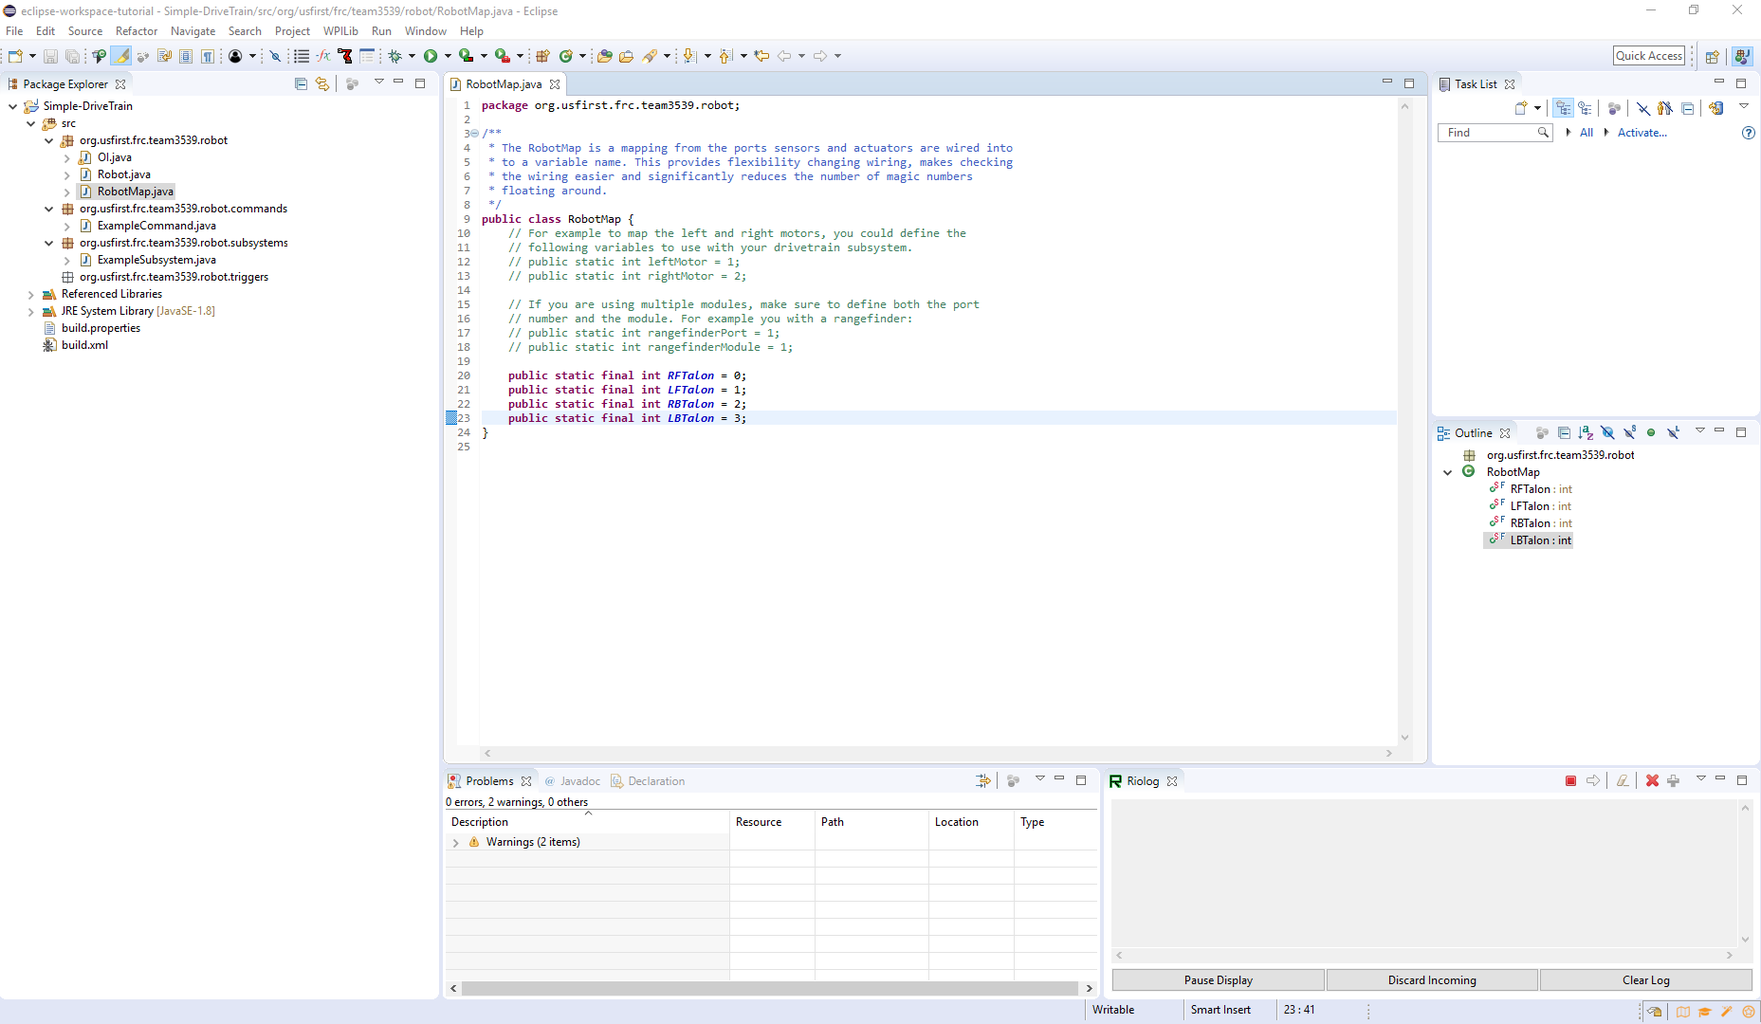
- Create final variables that contain the number of the different talon ports.
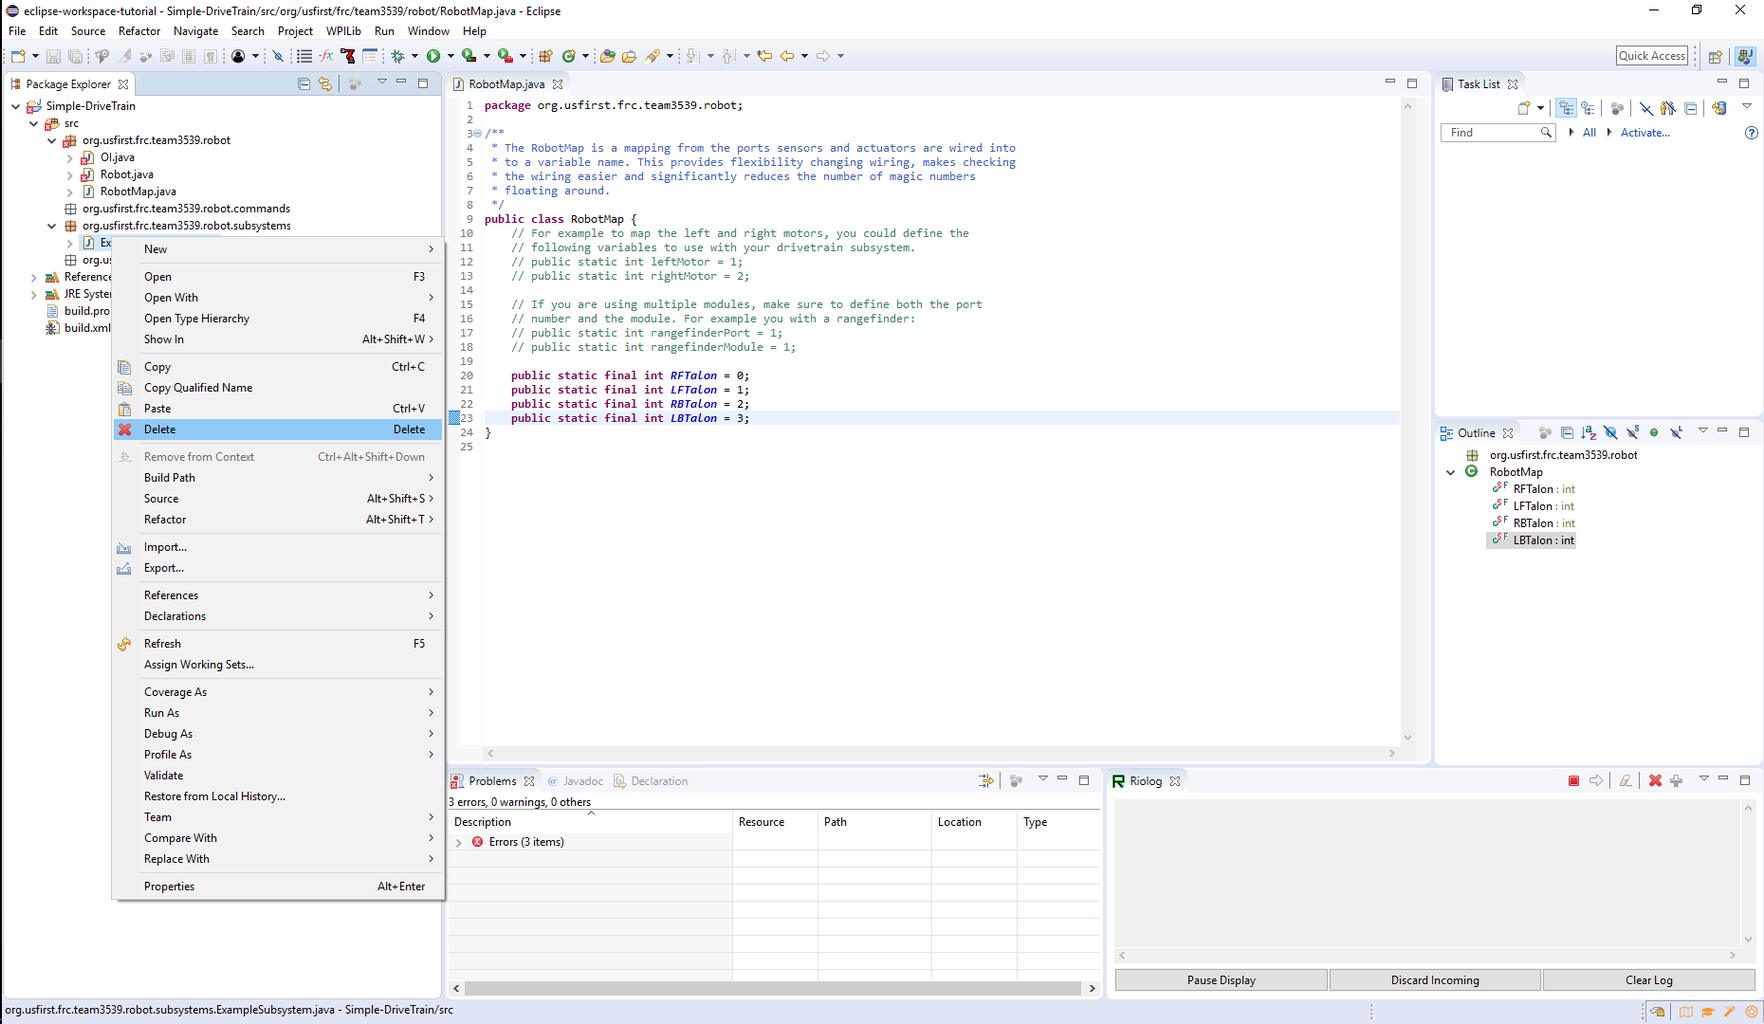
Step 4: Delete Example Command and Example Subsystem

Step 5: Create DriveTrainSubSystem


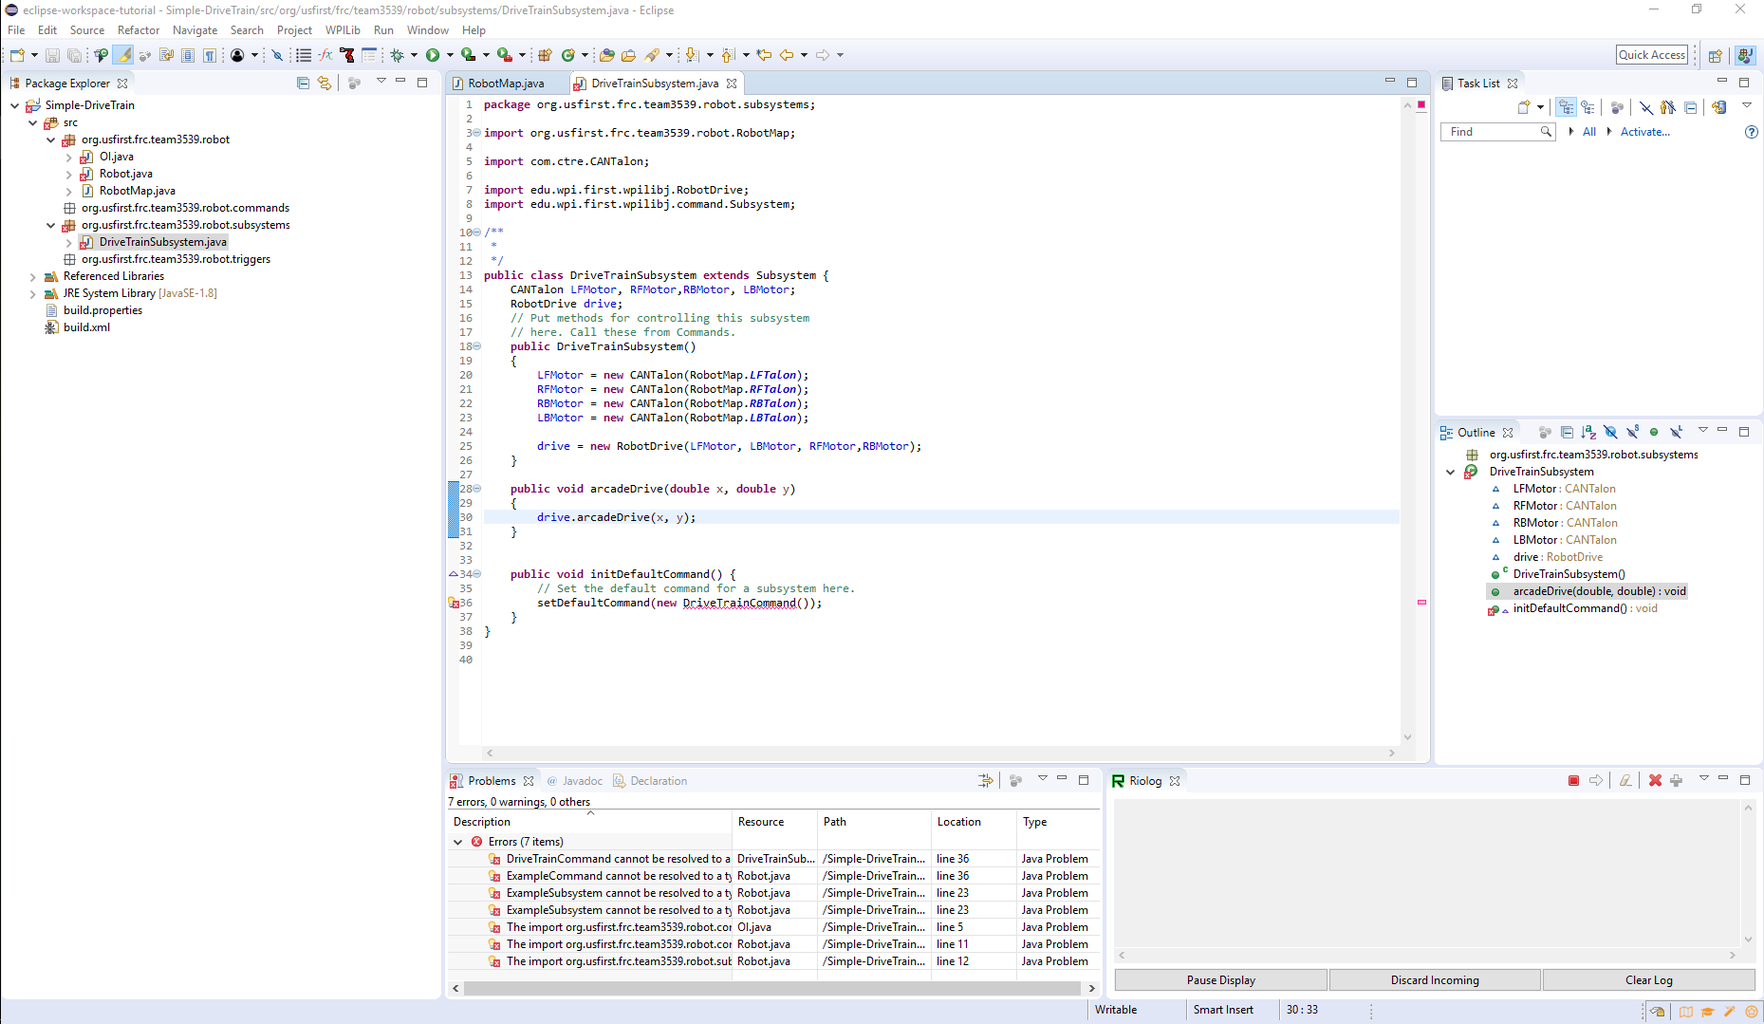
- Create a new constructor in the newly created drivetrain subsystem. Then create CANTalon objects that correspond to the talons on the drivetrain.
- Create a RobotDrive called Drive
- Instantiate these Objects in the constructor(make sure to use the values for the talons that we created in the robot map). For the Robot Drive we will use the constructor that uses 4 Motor Controllers (RobotDrive(SpeedController frontLeftMotor, SpeedController rearLeftMotor, SpeedController frontRightMotor, SpeedController rearRightMotor))
- Then create an arcadeDrive() method with two input variables were x is forward and backward and y is right and left. Inside you will call the drive.arcade with the forward and rotate values
- Then change the initDefaultCommand() to contain the line setDefaultCommand(new DriveTrainCommand());.
- Don't worry about all the errors yet.
Step 6: Create the DriveTrainCommand

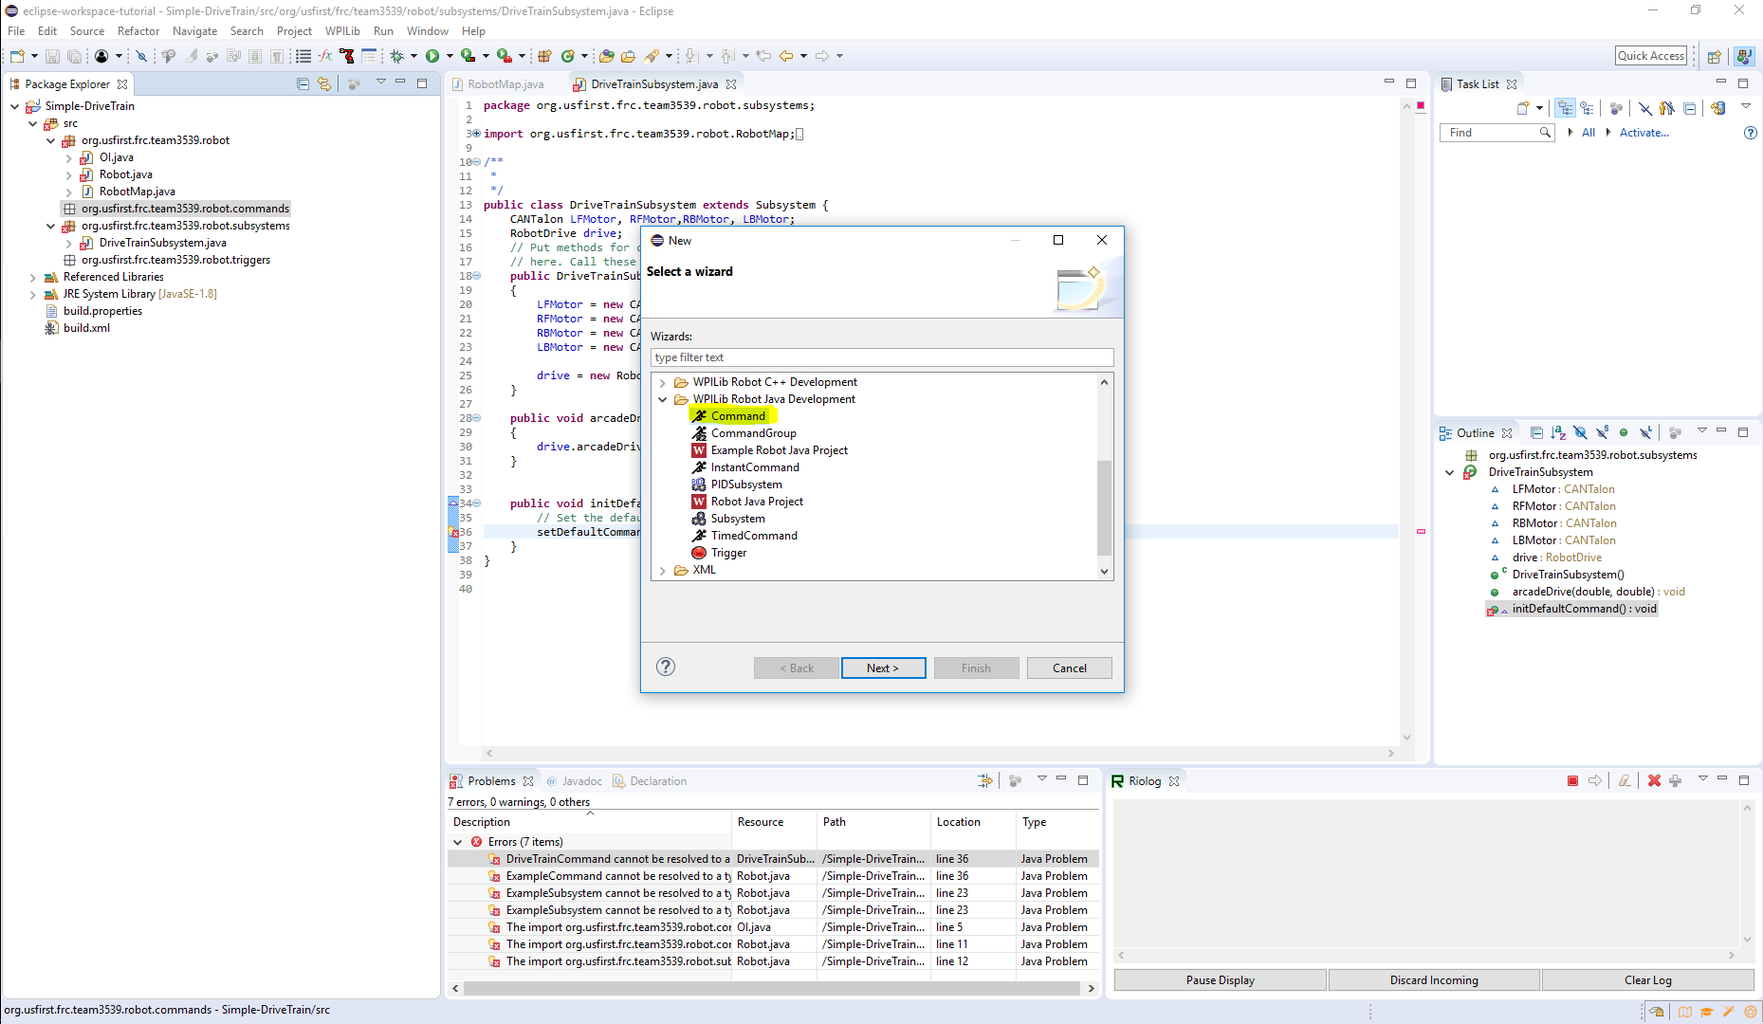


- First start off by going to the menu that we have used to create the subsystem and the robot project its self( this is the last time I will show this actual step in the future steps I will say just to make a command or to make a subsystem and you will assume that it is in this menu.) Click command and fill in the class name with DriveTrainCommand (if you do change the names of these file you can not have them be the same).
- In the new DriveTrainCommand you will see that there are 6 methods one is the constructor and the other 5 are parts of the code that robot will call when the command is running. We know what the constructor does so lets explain Initialize, execute, isFinished, end, and interrupted. Initialize is called once each time the command is called, the execute method is called continuously until the command ends, which is caused by the is finished when the isFinished method returns true the command will stop running, The end method is called once after the isFinished method is called, and the interrupted is called when the commands resources are being used by another command and the command will end (without calling the end method).
- First in the DriveTrainCommand in the constructor you need to add the requires line(requires(Robot.DriveTrainSub)) notice that the DriveTrainSub is not the same as the subsystem name and that is on purpose.
Step 7: Jump to Robot


- Next we are going to jump to the Robot Class
- then we are going to change the line (public static final ExampleSubsystem exampleSubsystem = new ExampleSubsystem();) to (public static final DriveTrainSubsystem DriveTrainSub = new DriveTrainSubsystem();) notice the first name after final is the same as the subsystem name and the name after new also notice that the DriveTrainSub is the same as the name that we put in our last step and that it is not the same as the subsystem name (You MUST have a object name(DriveTrainSub) that is not the same as the subsystem name).
- Then import our DriveTrainSubSystem.
- Next we will remove the line(chooser.addDefault("Default Auto", new ExampleCommand());)
- Then remove the unused imports.
- Then save.
Step 8: Go Back to DriveTrainCommand

- import Robot(the second one in the image)
- Then Save
Step 9: Go to DriveTrainSub

- Import DriveTrainCommand
- Then save.
Step 10: Next We Will Create the OI Code.
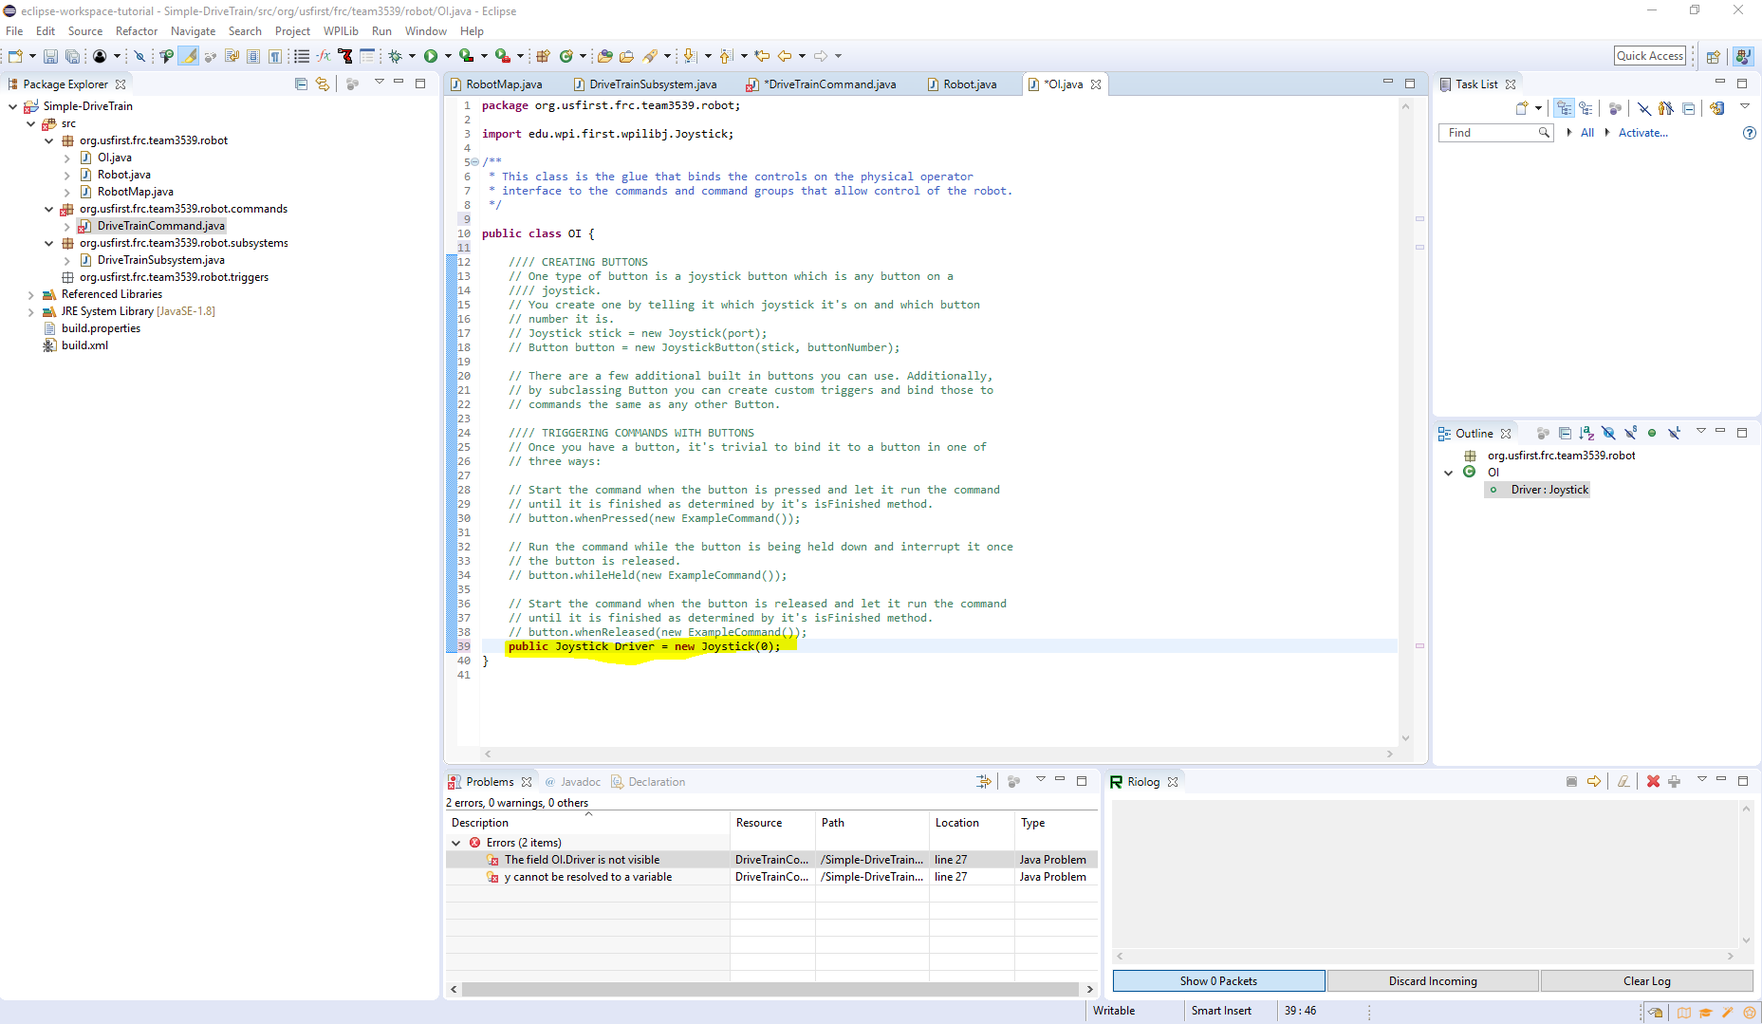
- Go to OI.
- Create a new public joystick object with the port of 0.
- And remove the unused imports.
- Save.
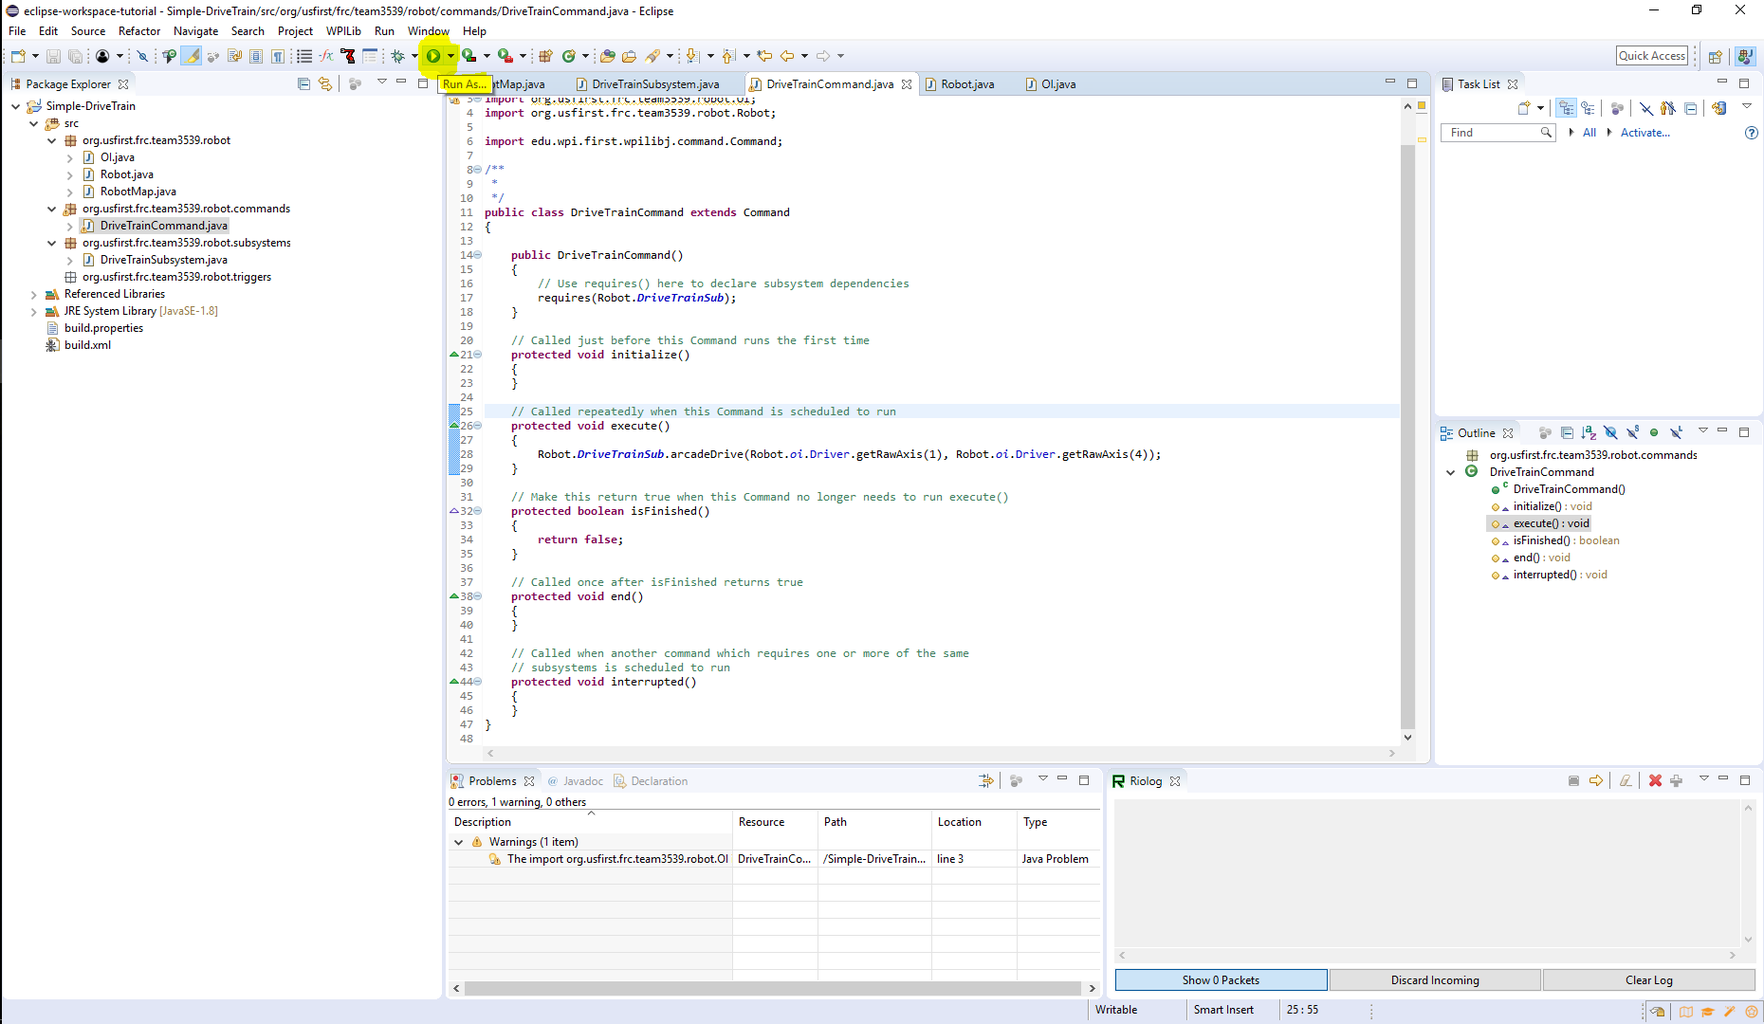
Step 11: Go to DriveTrainCommand

- Go to DriveTrainCommand.
- Now we will do the part that take the joysticks and apply them to move the robot. Inside the execute(because it runs constantly) add the line (Robot.DriveTrainSub.arcadeDrive(Robot.oi.Driver.getRawAxis(1), Robot.oi.Driver.getRawAxis(4));) where we call the arcadeDrive in our subsystem with the values of Robot.io.Driver.getRawAxis(1) which returns the value of the joystick and where 1 is the axis of the left y axis and the same for the second value except 4 is the right x axis. so this would mean that the left stick would go forward and backward and the right stick would go right and left. (if you wanted you could go back to the RobotMap and create new values for the joystick axis then call them with RobotMap.(name of axis) and don't forget to make them final if you do it this way.)
- Next remove any unused imports from the whole project.
Step 12: Finally Compile and Upload the Code to the Robot

- Click the green arrow in the eclipse toolbar and go down to the WPILib Java Deploy (don't forget to connect to the robot before doing this :P).


