

Introduction: LED Path Lights
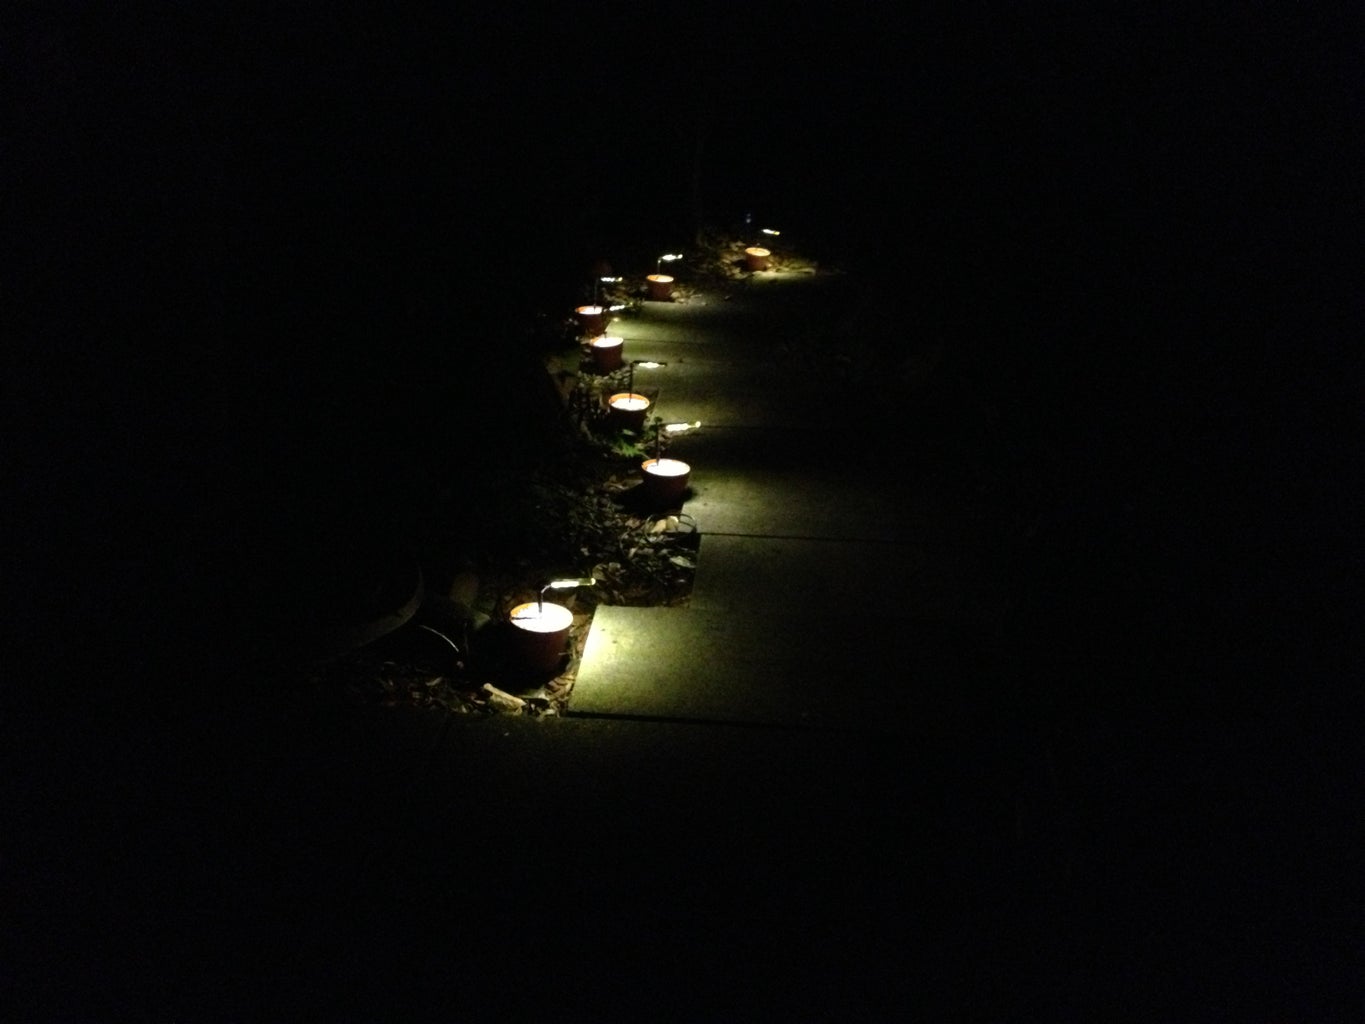
Wife bought some of those outdoor solar led lights. I told myself that I might be able to do something like that, except I wanted it to be cheap and still look good. Think I hit it. But mine isn't solar.
Step 1: Get Stuff


I already had a lot of this on hand, but you can change materials if need be. You'll need: 1. 12 volt led strip lights ( Got mine at 5meter roll for 12 bucks off of ebay.) 2. 12 volt power supply. This is your choice, be it solar, battery, or, like mine, a little cheapy 2amp plug in type. 3. Timer or CdS cell controller 4. Fiberglass resin w/ activator. 5. Little tiny test tubes about 3/8 inch dia. 6. I used 1/16 inch stainless tig rods for the supports, but i' m sure you can be a little more creative. 7. Ceramic pots from the dollar store (they have to have about a 1 inch hole in the bottom). 8. Wire 18- 24 awg should work fine.
Step 2: LEDs


Strip lighting comes in a roll. Its made to be cut. When you get it, there will be a red and black wire attached. Red to positive black to negative. I tested the whole roll to make sure i didnt have any dead leds. Get out your scissors, time to cut! In the first pic, you can see where the factory wires are attached. The red wire will remain on the same side for the length of the roll. Dont lose your orientation. Second pic show the strip rotated 180. You will cut between the two soldering pads(copper color) and the little strip of silver colored solder. Dont cut between the pads and the little black resistor.
Step 3: Solder Time
You or someone else can solder this up. Pre-tin the wires to make it easier. On my strips, with the pads down, the positive wires were on the left. Put the pre-tinned wire on the pad wait for the wire to flow a tiny bit of solder onto the pad, done! Awww, one thing I think you should do is test each little strip after you solder, that way you are not putting a dead LED into encapsulation.
Step 4: Resin Encapsulation
For this step, you'll be using the test tubes, the leds, tig wire, and electrical wire. 1. I was lucky enough to have quickset, amber colored, fiberglass resin on hand. Please use caution when using ANY resin as it will generate heat after mixing, and can cause FIRE. Find someone that kind of knows what they're doing when it comes this stuff. 2. Set the led strips, and tig wire into the test tubes. I guess most strip lights have self-adhesive tape on the back so you can put the led directly onto the tig wire before placing it into the tube. 3. Use a disposable plastic eye dropper to put the properly mixed resin into the test tube. 4. Wait for the resin to cure, usually 24 is safe.
Step 5: Connections

All right. You have your leds entombed in resin. You have wires running down the tig wire. Connect everything in parallel ( red to red, black to black ) I dont have a schematic for you , so hopefully you know what I'm saying here
Step 6: Finishing It Up


Feed the assembly and wires through the hole in the bottom of the clay pot. Fill it with rocks and soil. Top it off with whatever color zeolite pebble suits you. Plug it in to your timer. Stick a fork in it, you're done.


