

Introduction: Laser Transmission With Arduinos


This project was for the BT Young scientist in 2019.
I was in charge of the "Demonstration Model".
The demonstration was two arduino-controlled lasers that flash to send a signal to another arduino some distance away. It was tested to work as far as 100m, beyond that focusing and aiming the lasers was a major pain in the ass. We calculated a theoretical maximum distance (assuming a very collimated laser) of some thousands of km.
Pretty proud that I got it to work. We were interviewed by a few politicians and professors and even made it to the local newspapers and TV in Dublin. We were even Tweeted about by a lecturer in DCU!!!
In terms of prizes, we were awarded "Highly commended".


Supplies
For the demonstration transmitter I used:
An arduino uno clone
A power supply for the lasers. The arduino was powered from a laptop.
2x high-power green lasers
Relays to control the lasers (we didn't have any MOSFETS or anything)
A large LCD screen with an I2C backpack to display the text etc.
2x LEDs to flash at the same time as the lasers, one green and one red (mostly for effect but also for debugging) flashing lights tend to attract people and make it look cooler.
For the receiver we used:
An arduino uno clone
2x photodiodes
Assorted resistors to tune sensitivity
2x LEDs to show what signal is coming in for debugging and troubleshooting. Also for effect as with the transmitter.
An LCD screen to display received transmissions
A switch to reset the arduino
Step 1: Step One: Assembly


Everything was assembled as shown in the schematics.
One laser and photodiode pair was used for data, the other was for clock. It is possible to use just one laser for both, but I didn't know that at the time.
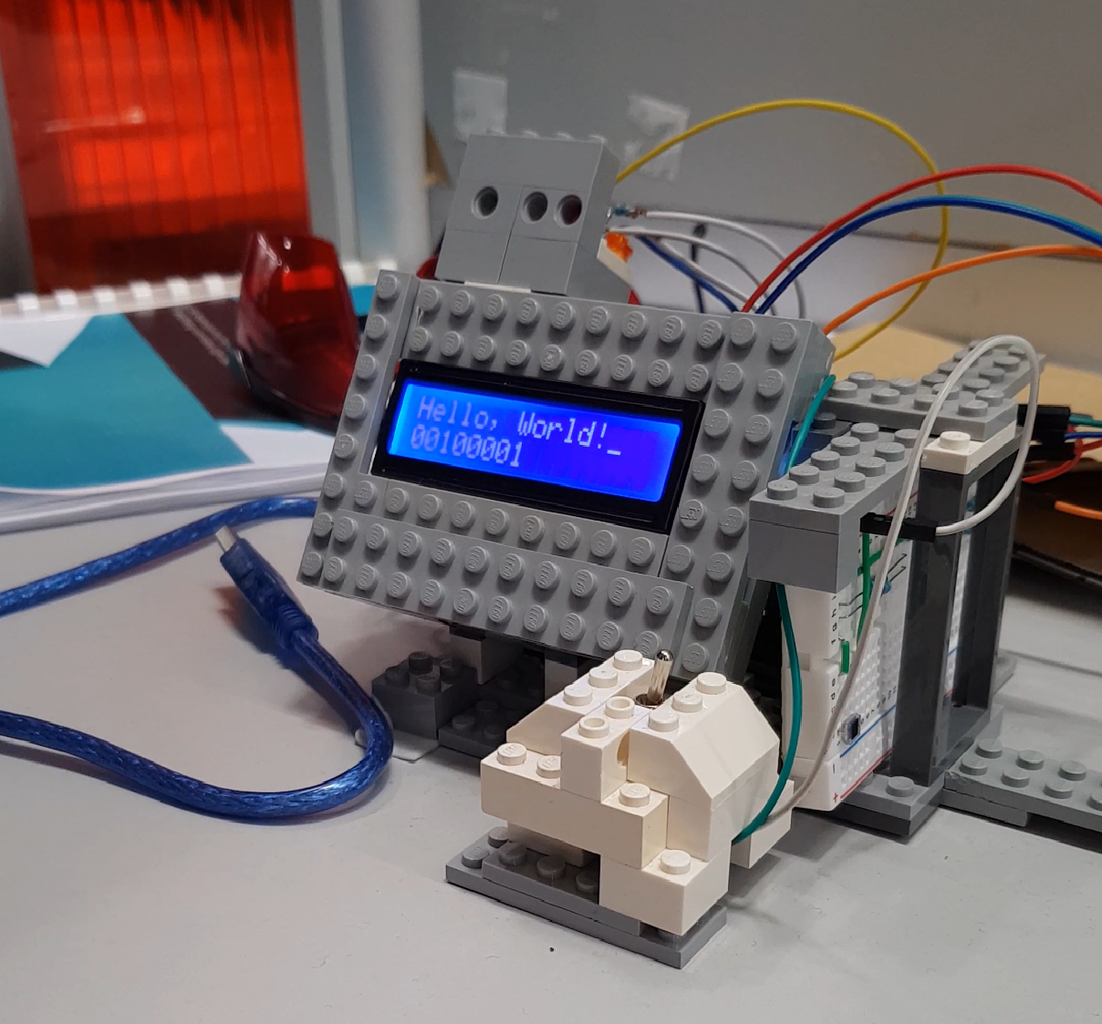
We made some makeshift cases for the transmitter and receiver modules out of Lego for presentation.
To ensure it was clear that there is no wired connection between the two devices a seperate power supply was used for each. The two lasers, having differing voltages, were powered seperately by a wall wart and voltage regulators. I know using relays is not ideal as it limits the transmission rate, but that's all we had to hand at the time.
Step 2: Code

The code is what took the longest as I didn't have too much experience before attempting this project.
My code is available on my github
Step 3: Testing


If you are to make this yourself, it will need to be tested.
I did this by recording the outputs of one of the photo diodes and pasting the results into a spreadsheet.
From there I tweaked the value of the resistors on the receiver until the graph that was outputted was as defined as possible. Speed was then the next aim. The faster the laser flashes, the lesser brightness, and therefore the lesser the signal quality. We were limited by the relays to 60hz or so but managed speeds of up to 50 bits per second (each character being 1 byte, about 6 letters every second) with the more powerful lasers we had and with the photodiodes set to be more sensitive. Any more than that and the relays began missing clock cycles.
Step 4: Final Product

it worked like a charm almost every time, especially over the short space available on our stand.
We found that the flashing lights, wires, screens, etc attracted crowds pretty nicely.


