

Introduction: Lessons Learned While Building a Useless Box Using an Arduino and an Instructable

So, I found an Instructable on the site that seemed pretty good. You see, I wanted to harness the power of an Arduino to run a Useless Box. I was going to build it and program it using the Instructable I found on the site. Not only that, but I was going to add some functionality to the box by making it tweet useless things to its very own Twitter account. The Instructable seemed straight forward and the code provided was legitimate. I even found a great product called 1Sheeld that was made to simplify the process (many processes actually) of sending a tweet via the Arduino. It should have been a simple issue of combining the code, programming the Arduino and the 1Sheeld, building the box, and there you go. But I as I progressed through the Instructable I found that it wasn't going to be as easy as I thought. Some important information seemed to be missing. Not the kind of stuff you would most likely even realize until, much like me, you were knee deep in building this Useless Box.
Let me be clear, this Instructable is not about how to build a Useless Box that also Tweets. Currently my end product only kind of works. No. This Instructable is about all those little details that were left out and the insights I can share so maybe you won't spend as much time as I did trying to get this thing together.
Here is a link to the Instructable I used: https://www.instructables.com/id/Arduino-Most-Usel...
This is not a bad Instructable by any means. It gives a list of supplies, step by step instructions, and the code works. But the devil is in the details and it does leave some details out. Again, in this Instructable, I'm going to touch on some of those missing details.
Step 1: Step One: Supplies/Parts
Below is a list of supplies, tools, and parts you will need. I have made notations next to some of these items.
You will need:
- wooden jewelry box
*I went to Michael's for this. I bought two so the hinges would match and so I would have the extra lid in case anything went wrong. Keep in mind, the wood is thin and light on these most typically. This can be a blessing and a curse.
- Arduino UNO
-1Sheeld
*I added this to try and get the Twitter functionality. Make sure you read all the tutorials on their site before attempting to use this. I never actually got it working correctly, but Twitter also locked me out of the account when I was trying to get it working right. Keep in mind that using this requires the use of an Android phone as a go between. Supposedly an iOS version is on the way.
- Laptop (I use a Macbook Pro)
*I found out the hard way that the new Mac OS (as of November 2015) causes complications with the current Arduino software. Evidently this has to do with System Integrity Protection (SIP) that the new OS uses. Be aware that the new Mac OS could cause some problems. Hopefully this is fixed soon and not everyone is having the problem. I did.
- 10k ohm resistor
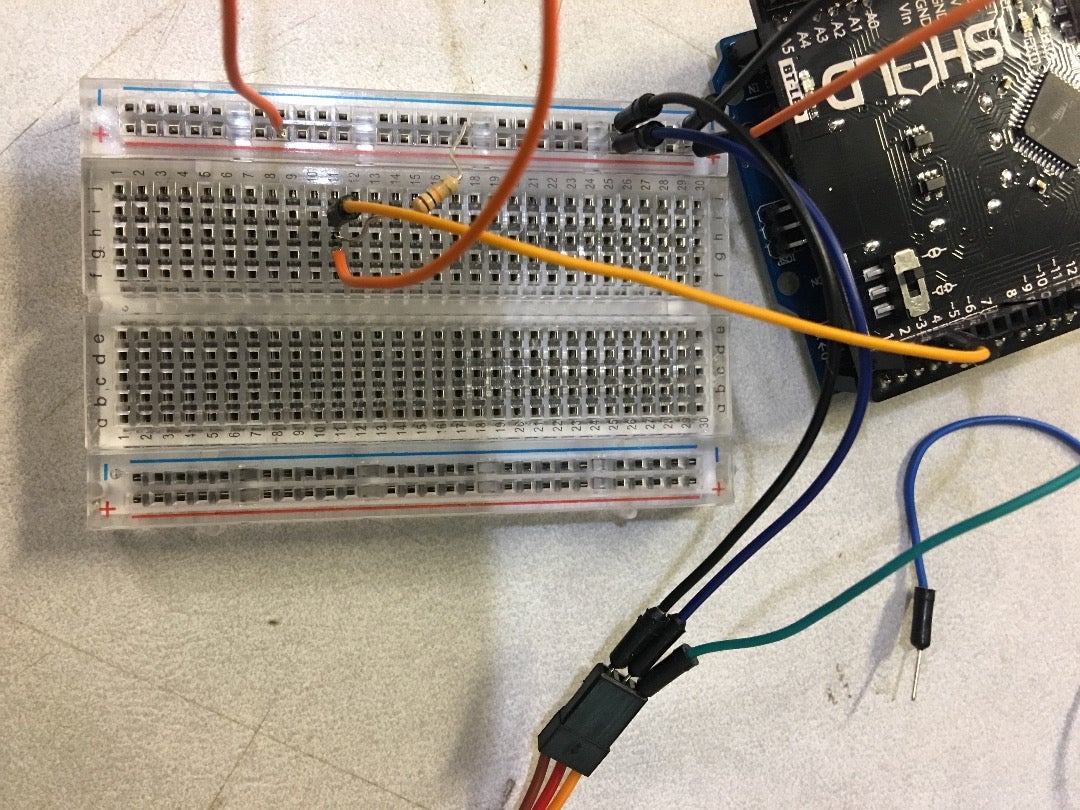
*He breadboards this in his schematic, but then solders the resistor directly into the wire. He also ends up with extra, useless wires from the schematic to the execution. This was confusing to me, as I have never really worked with Arduinos or breadboards extensively before this project. This might confuse the novices like myself.
- small SPDT switch
*This seems simple enough, right? Well, it's not. Don't do like I did and order one from an online retailer. Do like I did when I got my second switch and go to an auto parts store and buy your switch. That way, if the switch is too tight or big, like my first one was (the pictures never tell the full story, do they?), you can return it.
- servo motor
*Here is one of the biggest failings of the tutorial I used (see link in intro). It does not specify anything about the servo motor. What kind of servo motor? What brand was used? Size? Power? Etc. I took a guess. I may have guessed wrong. While the servo initially had the power to flip the switch (once I got the right one), it didn't last. Once the battery started to die, so did the servo's ability to flip the switch reliably. Do some additional research into the servo (as I am now doing).
- wires
- 9v battery
*Speaking of batteries... a 9v battery did not have enough juice to run my Useless Machine. It does for the one in the tutorial I used, but not for mine. This could have been due to a few factors. I most likely purchased a different servo motor than he did. Mine could have had a larger power requirement than his. I also added in the 1Sheeld. This may have caused the additional power needs. Also, it could be a combination of the two. Be aware that if you add additional complexity as I did, your power needs may increase. I ended up using a portable USB battery to power the whole thing.
- popsicle sticks
- wood glue
- some 0.5" x 0.5 " wooden rod
*This is to build the cage for the servo. I will discuss this later.
- old coax cable
*I found this to be a waste. I used tacks and Gorilla Glue to attached the servo lever to the arm. Worked like a charm.
- 2 pcs of small hinges (approximately the same size of the hinges that comes with the box)
*Again, I bought two boxes (they were cheap enough) so this wasn't a problem for me.
Tools:
- Dremel tool
*I never used this once. Still not too sure why it is listed on the other Instructable.
- saw
*Get a hacksaw with a super fine blade in order to cut the soft, thin wood of the box without too much cracking or splintering.
- screw driver
*Should only need a philips here, but have a flat on hand in case. They need to be small to work with tiny screws.
- pliers
- miters box
- wire stripper
- soldering iron, lead solder
- voltmeter
- breadboard
- electrical tape
- sandpaper - fine grit
- fine wood file - small in size
Step 2: Code
Here is the code we assembled. The original code, which does work if you only want to build a Useless Box, and not one that Tweets, can be found on the original Instructable (link is in the intro). Keep in mind that I never was fully able to test this code as Twitter kept locking me out. Also remember, that this code requires a 1Sheeld to send tweets.
#include
const int buttonPin = 2;
int buttonState = 0;
Servo myservo; // create servo object to control a servo
// a maximum of eight servo objects can be created
int pos; // variable to store the servo position
long timeDelay;
#define CUSTOM_SETTINGS #define INCLUDE_TWITTER_SHIELD
/* Include 1Sheeld library. */ #include
/* A name for the button on pin 12. *
* A name for the LED on pin 13. */ int ledPin = 13;
void setup()
{ /* Start communication. */ OneSheeld.begin(); /* Set the button pin as input. */ pinMode(buttonPin, INPUT); /* Set the LED pin as output. */ pinMode(ledPin, OUTPUT);
pinMode(buttonPin, INPUT);
myservo.attach(9); // attaches the servo on pin 9 to the servo object
}
void loop()
{
/* Always check the button state. */ if (digitalRead(buttonPin) == HIGH) { /* Turn on the LED. */ digitalWrite(ledPin, HIGH);
int rndnum; rndnum = rand()%11;
switch (rndnum) { case 1: Twitter.tweet("test tweet 1"); break; case 2: Twitter.tweet("test tweet 2"); break; case 3: Twitter.tweet("test tweet 3"); break; case 4: Twitter.tweet("test tweet 4"); break; case 5: Twitter.tweet("test tweet 5"); break; case 6: Twitter.tweet("test tweet 6"); break; case 7: Twitter.tweet("test tweet 7"); break; case 8: Twitter.tweet("test tweet 8"); break; case 9: Twitter.tweet("test tweet 9"); break; case 10: Twitter.tweet("test tweet 10"); break; case 0: Twitter.tweet("test tweet 11"); break; }
OneSheeld.delay(300); } else { /* Turn off the LED. */ digitalWrite(ledPin, LOW); }
buttonState = digitalRead(buttonPin); // Read the button position
if (buttonState == HIGH) {
for (pos = myservo.read(); pos >= 20; pos -= 1) { // goes from 90 degrees to 20 degrees in 1 step
myservo.write(pos); // tell servo to go to position in variable 'ONpos'
timeDelay = random(15, 30);
delay(15); // randomize wait time for the servo to reach the position
}
}
else {
timeDelay = random(1, 4);
for (pos = myservo.read(); pos <= 90; pos += timeDelay) { // goes from 20 degrees to 90 degrees in 1 step
myservo.write(pos); // tell servo to go to position in variable 'OFFpos'
delay(15); // randomize wait time for the servo to reach the position
}
}
}
Step 3: Building the Box and Wiring the Arduino/1Sheeld/Servo
Here is where I ran into the most problems. In the original tutorial (link in the intro) there is no mention of what servo he used or what servo to buy. He also was building a straight forward Useless Box whereas I was adding the 1Sheeld. But as I mentioned, other complications arose. I wish that the tutorial I used mentioned some of these things and was a little more thorough in explaining why certain things were done.
I built the box and cut the top first. Thorough instructions can be found at the Instructable I used. I needed the hacksaw and a screwdriver and miters box for this.
The cage that is built to house the servo needs to be mounted to the bottom of the box in some way. Screws? Glue? Velcro? I don't know. It's never specifically stated. It's also not specifically stated you need to secure it at all. He actually secures his to the top of the box, I believe. But I found that didn't work. I found it needed to be mounted off the walls and on the bottom to work for me. But this created a problem. I assume this would be a problem no matter the mounting position. When the servo engages, if the cage isn't secure, it can cause the cage and servo to lift up or twist inside the box. The cage needs to be mounted, braced, and secured pretty well. It also can push the lid up, so latches should be added to the side housing the servo so only the side the arm pops out of can be raised.
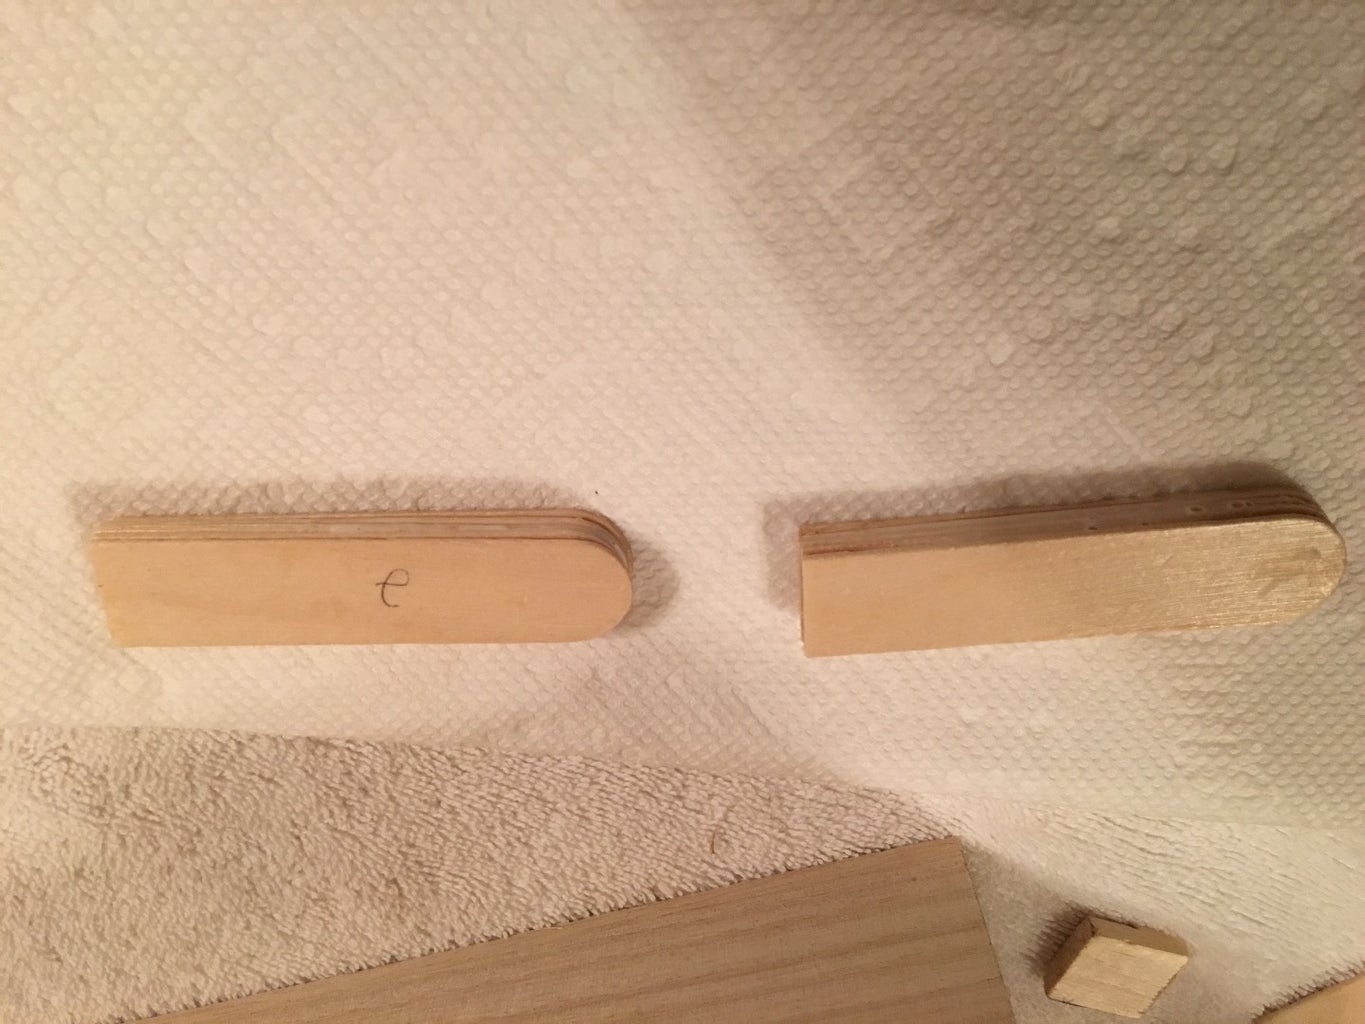
The arm is a guessing game. In the original Instructable I used, he drew the arm out on paper and then kind of went from there. I actually built the arm in stages. I built the first two halves of the arm using one full popsicle stick and seven glued together popsicle sticks that were trimmed down to a little less than half their original size. I then mounted them to each other with glue to create the first part of my arm. That first part was then mounted to the servo using tacks as I described in the parts section. I then sketched on the box top where I wanted my switch to go and made sure the switch and the arm would make appropriate contact by running the program and flipping the unmounted switch (by this point the wiring was done). The switch was then under-mounted so only the actual switch stuck out of the box top. To mount it I drilled a whole relative to size of the switch itself and then used a small and fine wood file to get the hole to the proper size to pass the switch through.
Speaking of wiring, I did the wiring after building the box and the first stage of the arm. While the glue dried, I started the wiring. Problem was, the wiring schematic that used the breadboard from the Instructable did not match the wiring picture from the same Instructable. And while the resistor was breadboarded, it was just soldered directly into the wiring in the pics. This became confusing and caused me to seek help. I would advise any novice to seek help for the wiring. I ended up keeping it breadboarded as trying it the other way caused the servo to loop repeatedly, despite the code telling it not too.
These are the main issues I ran into while attempting to build the Useless Box via the linked Instructable.
I hope maybe this will or has saved you some time.
Pictures with notes are included in the next section.
Step 4: Pictures!


Step 5: More Pictures!


