

Introduction: Life Changing Box

Well I've decided to tie the knot and wanted to make it special. I've been looking around for a ring box that was different and not obliviously a ring box. After a few weeks of looking around and not luck I decide to make my own.
Step 1: The Start


One night while everyone was asleep it snuck into my garage and decide I'll just wing it. I had some old walnut that was milled out my Grandpa's walnut tree that I spent my childhood playing in. I was lucky enough to get some logs from that tree when it was cut down knowing I wanted to make something special with the wood. To add some character I added a strip of cherry down the middle. After everything was cut to the right size I glued up one long strip. Out of this I would be able to cut out the three section that make up the box. During the whole build I didn't measure once. I wanted it to feel good in the hand, if it was to wide I just trimmed some off until it felt right.
Step 2: The Design


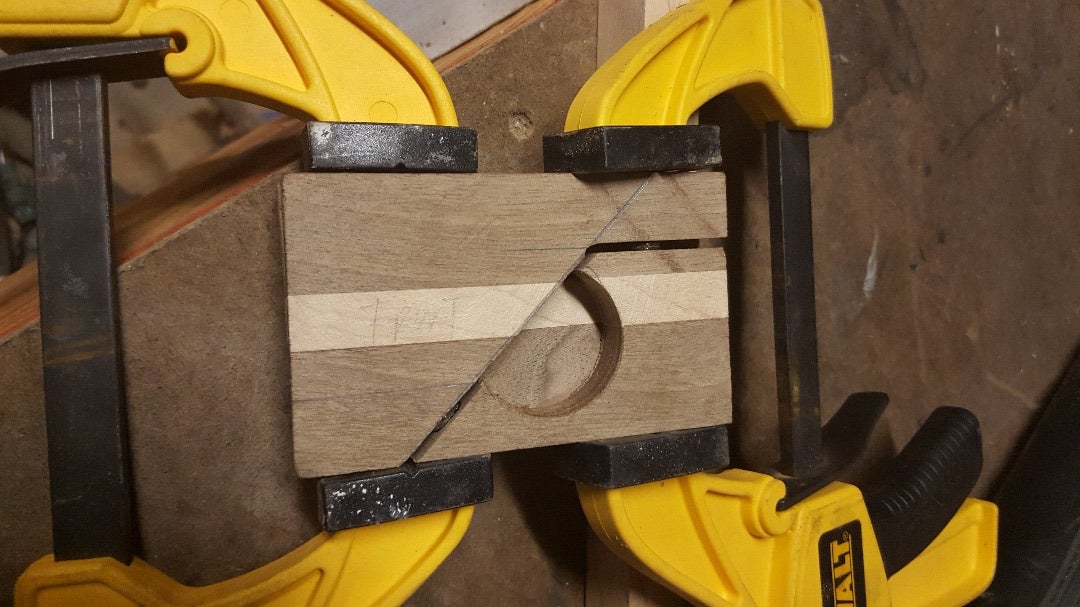
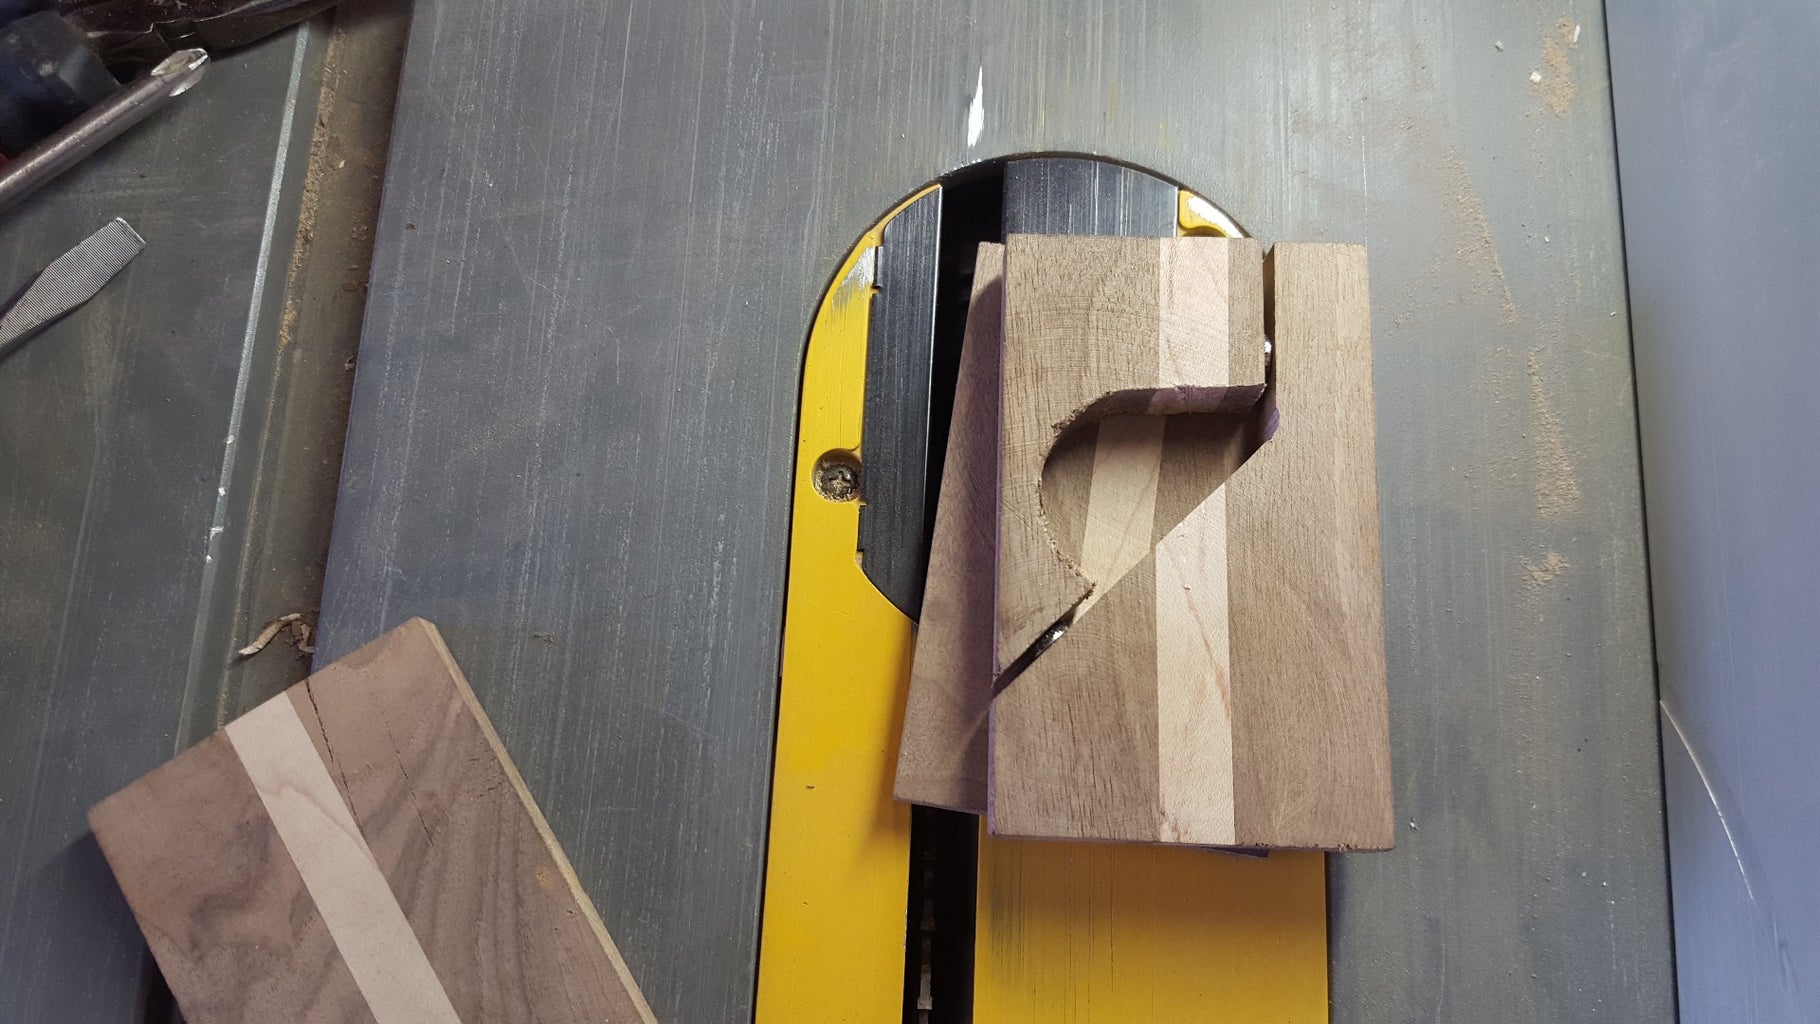
The basic idea behind the box would be the three sections glued together with the center sections siding out exposing a secret compartment. The center sections was cut into two so that one piece would stay glued to the outer sections and the second center piece could slide out holding the ring. I drilled out a hole to make the secret compartment. Then I drilled out a hole to hold the ring in place. Later that will be filled with foam to keep it tight. To keep it all together I added magnets and set in screws. The magnets were set in place by adding some epoxy and clamping the whole thing in place.
Step 3: Coming Together


Once the magnets were set it was time to glue the thing together. Glue was only added to the center section so it didn't get everywhere. It was all clamped up with the sliding section floating around so that it would fit after the glue was set. It looked very nice all glued up, ready for sanding.
Step 4: Sanding


Well........ lots of sanding. Started with 80 grit and get everything flat and square then moved up in grits until I hit 600 grit.
Step 5: The Finish


Here's where the hard work paid off. I went with a spray on poly, after the first coat the grain really stood out. After about 5 coats of the poly it was time to add the foam and felt. I just used some packing foam I got from work and stuffed the ring hole with it. I spayed the felt with some spray adhesive then glued it in place then some trimming was needed.
Step 6: All Done


Here it is all together. I had to borrow a ring for the pictures(still haven't found the right one just yet.)
