

Introduction: Light-Chest


Hello everyone!
In this instructable i will show you how i made my first wooden chest. From the zero step to the finishing step:) I hope you are gonna love this and maybe it will inspire you to make your own light-chest! So let's start.
Step 1: What We'll Need
Materials:
- Wooden sheet (i used a 30cm*80cm*1,8cm pine wood sheet).
- Acrylic (I used some parts of an old unsed acrylic board, but i had to clean it a bit).
- Polywood (for the bottom part)
- 20pcs crew nail
- a few peg (for the polywood bottom)
- some leds water clear but you can use diffused also (color is optionally i used 12pcs green 12pcs blue 18pcs red)
- Resistors for the different color leds(22R for green,10R for the blue,200R for red).
- 2pcs 9v battery
- 2pcs 9v battery clip
- some wire
- 1pcs slide switch
- Glue for wood and acrylic parts
- 5pcs pcb prototype board (5*7cm)
- 2pcs wooden box hinge
- 6pcs corner hinge
- 8g woodstains
Tools:
- Hand drill
- Jig saw
- Hole saw cutter
- Flat rasp
- Sandpaper
- Brush
- Soldering iron
- Gluegun
The cost of the materials was about maximum 10$(maybe in your country the materials are much cheaper)
Step 2: The Wooden Parts


First I draw the "blueprints" of the parts on the wooden sheet.But for the safety if you working with electronic tools you must wear a safety glasses and gloves. After that I drilled a hole for every shapes's every corner. It makes easier the cutting with the Jig saw. After cutting out the holes I dismembered the sheets. So I already have the sides. After you cutting or do something with wood worth to polish the parts. Remove the aristas. (It's important becouse you must do this before you pickling or painting or varnishing the wood). it's a little hint: We can use the cutted out parts as a support for the sandpaper as you cn see it on the last picture.
The parts:
- Front 30*16,5cm
- 2 Sides 15*16,5cm
- Back 30*16,5cm
- Top 30*18cm
- Bottom 30*18cm(Polywood)
The holes:
- Center 9cm high 8cm wide
- Side (2pcs on the front part) 8cm high 4cm wide
- Center (1-1 on the side parts) 8cm high 8cm wide
Step 3: The Acrylic Parts


First step is the cleaning of the material. It's pretty easy with a sponge and some dish soap.
A few times i worked with acrylic, so according to my experince the best way to cut acrylic is the metal hand saw, but much faster if you use a jig saw.But if you choose the jig saw you should care about the acrylic,it could melt because of the friction. After a few failed cutting I got the little acrylic "windows". With sandpaper you can make the acrylic diffused. I think it much cooler. The parts fit in the holes .But sometimes i needed to use the wood and the metal rasp(the metal one for the acrylic) to make them fit.
Step 4: The Colouring


A few word about woodstains: it's a bit similar to the paints but it isn't give any protection to the wood it is just for coloring the material and highligth the veins.It's good when you make something for indoor use, but usually good to use also a protective lacquer layer.
I used water-soluble woodstains. It's really easy to use. You only need 3dl hot(about 40°C/104F) water. 1dl solution is enough for about 1m². So 3dl solution is more than enough. Be carefull when you pickling the wood this solution is irritant. After 1 hour you can touch the parts. I made the legs in this step. I had a remaining wooden sheet. So i used this to cut out the legs(i used the hole saw cutter for this). I also pickled the legs and the polywood(for the bottom).
After the parts are driead. I luted the acrylic parts into their holes. The glue what I used is the first few hours is white, but after it dried it became transparent.
Step 5: The Electronic Parts


If you use different types of leds you must made them parallel. Every colour and type have their on physical parameters. In this project for blue light i used 3 blue led in series with a 10R resistor and repeat it 4 times. For the green light 22R resistor and 3 led in series 2times. The red light is a bit interesting, but a good example for the different physical parameters. For the red leds you gonna need 200R resistor and the circuit is the simple for the green light panel but in this case i made it 3 times. If you don't have any idea what resisitor you need for your leds just do the math:) A led need about 20mA current less current lower brightness more current can roast the led. You can calculate this with a simple Ohm's law (U/R=I). Or you can measure it with a multimeter:)
Step 6: Assembling


I have every parts. So start make a box from the parts:)
Screws the box hinges and the corner hinges to make the box structure. Nail the polywood to the bottom. And glue the legs to the bottom. And with a gluegun attach the pcb-s to the part of the sides. Solder together the wires add the switch and the batteries. From a little pieces of polywood i made a little battery holder. So i can hide the batteries under this holder. To hide the wires i glued them to the corners of the chest.
Step 7: What We Made:)


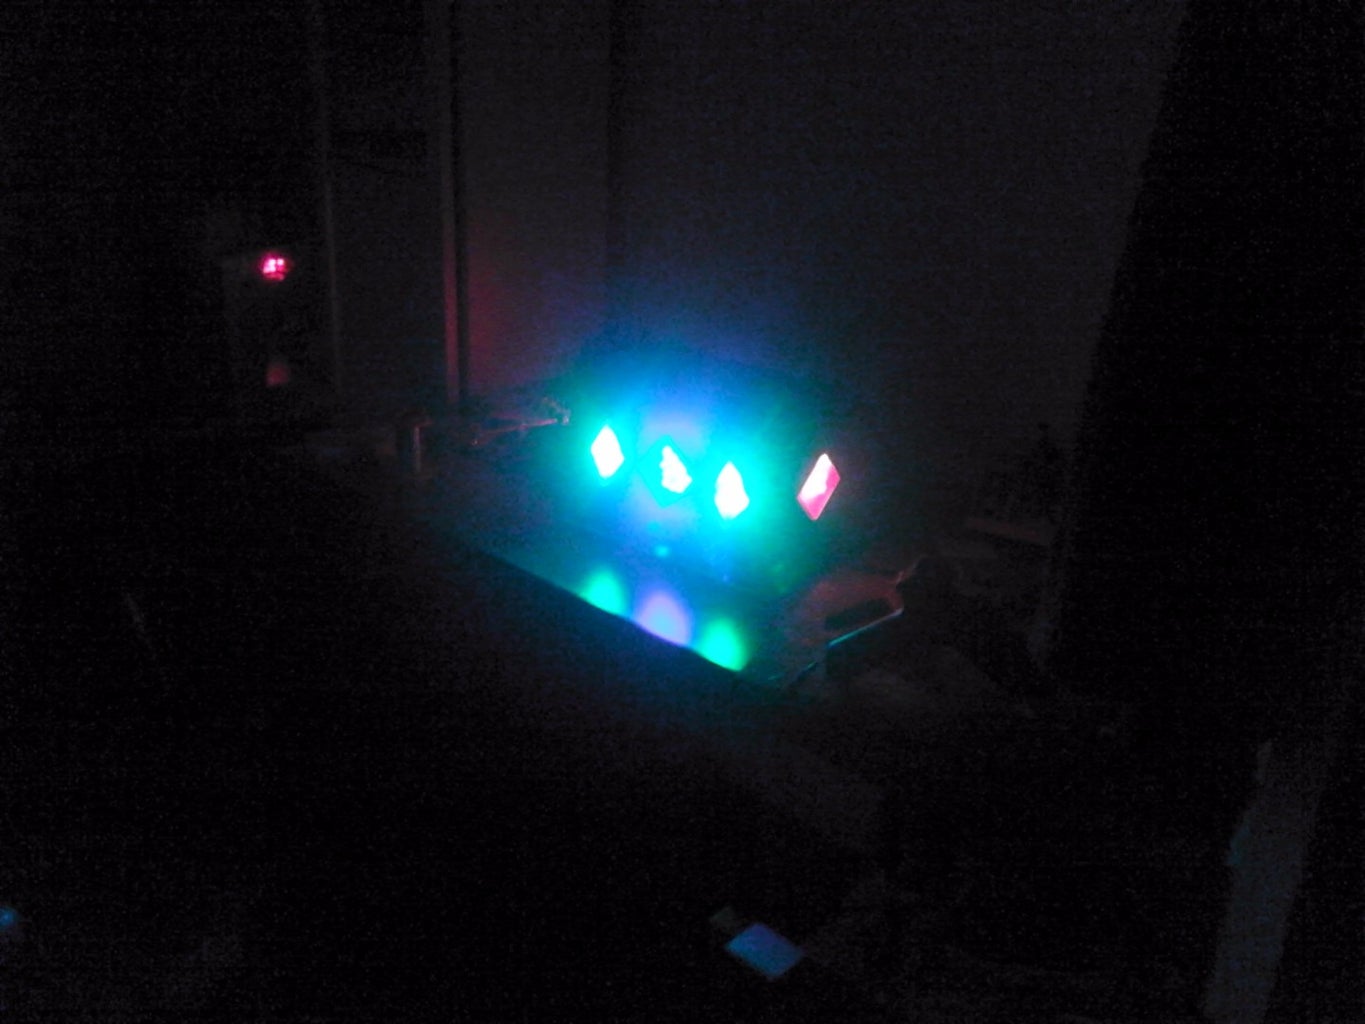
I hope you liked this project. I always enjoy making something what comes to my mind. And I gonna over the moon if some of you make his/her own light-chest. if you do please share with me the result:) Think big make it happen!
Thanks for wathcing. And if you want to support me please vote in contest:)
Have nice day and good DIY!

Participated in the
Make a Box Contest

Participated in the
Full Spectrum Laser Contest 2016

Participated in the
Hand Tools Only Contest 2016


