

Introduction: Making Custom Buttons

In this instructable, we will be teaching the steps to make your own button pins. This instructable is intended for ages 18 and up, or with adult supervision to avoid injury while using the equipment. It is also directed towards those who own the specific model of button press, The Machine 250.
The materials needed include
(1) button press
(2) hole puncher
(3) shells
(4) pinbacks
(5) mylar sheets
You will also need a piece of paper with a design you want to turn into a button and scissors or a paper cutter to cut the paper into strips.
Step 1: Draw Your Desired Image in a 1.5 Inch Circle

Only 1.25 inches will be visible on the face of the button.The rest will appear around the inside edge. You could also use any piece of paper that is no thicker than standard printer paper. Thicker paper can jam the press.
Step 2: Cut Paper Into 2.5 Inch Strip

Wider will not fit in the hole punch.
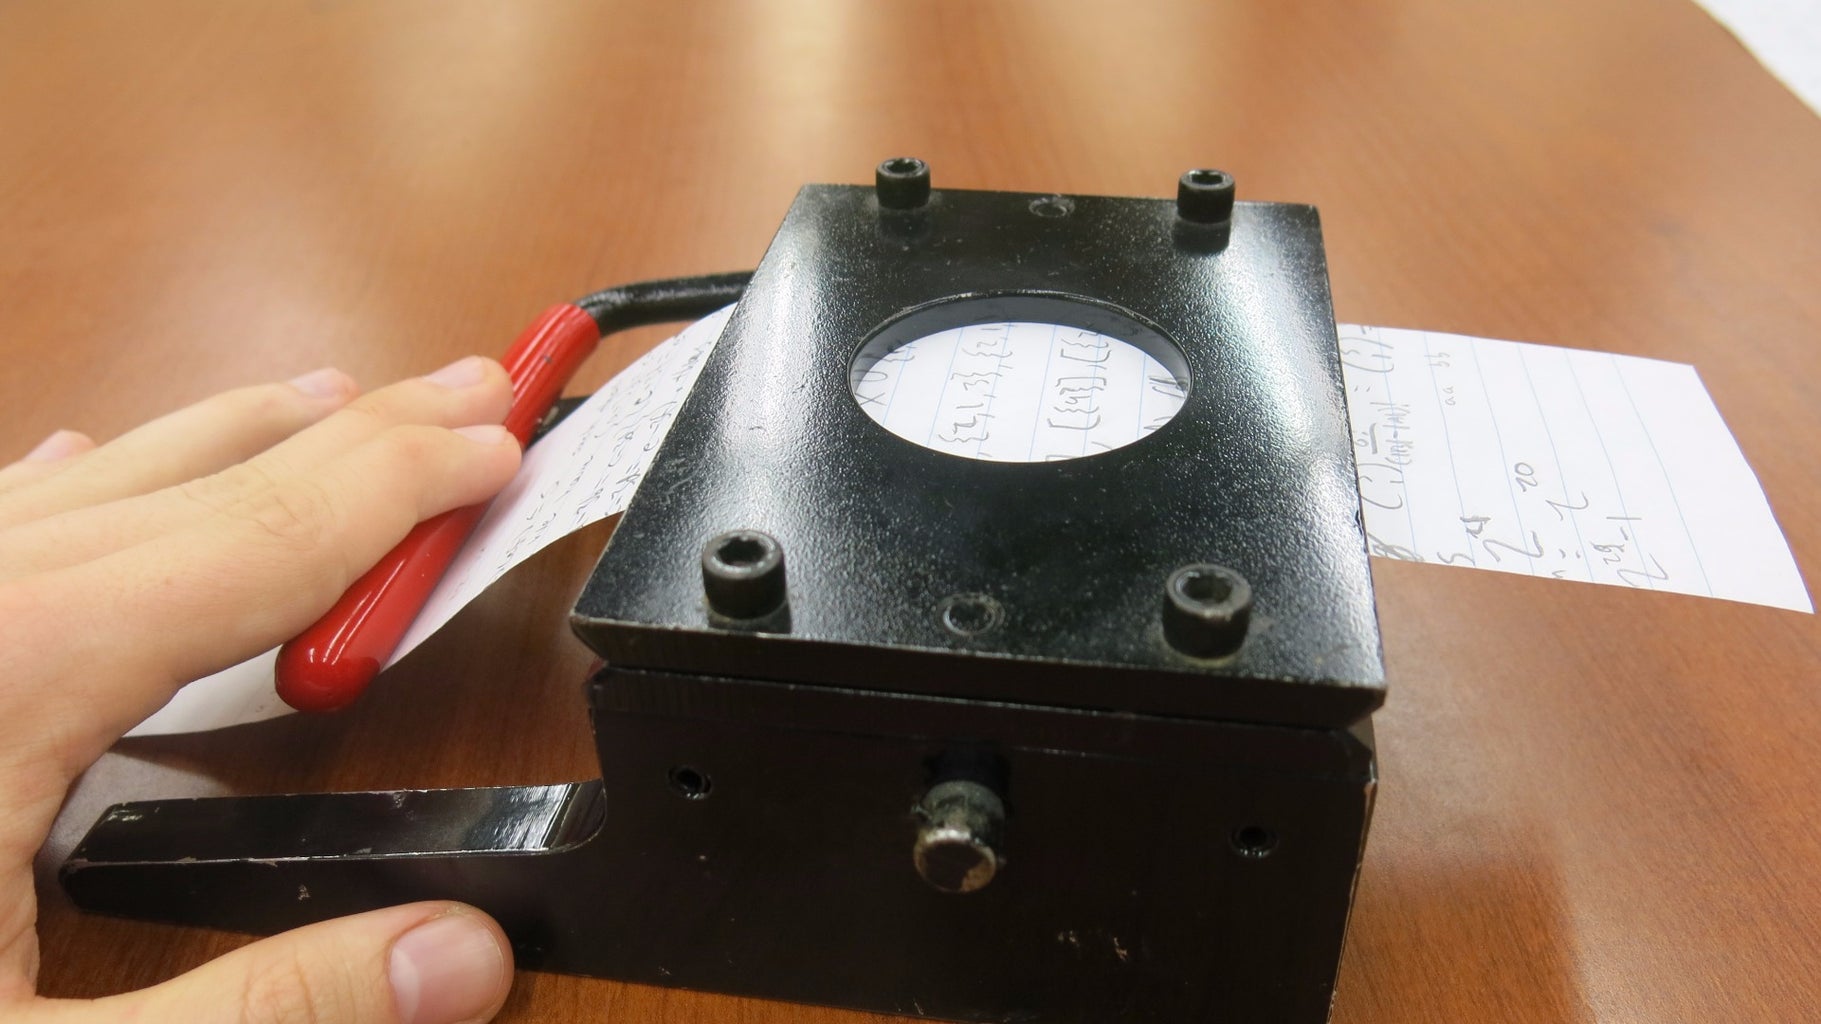
Step 3: Put Strip Into Hole Puncher

Line up image with hole to make finished button centered.
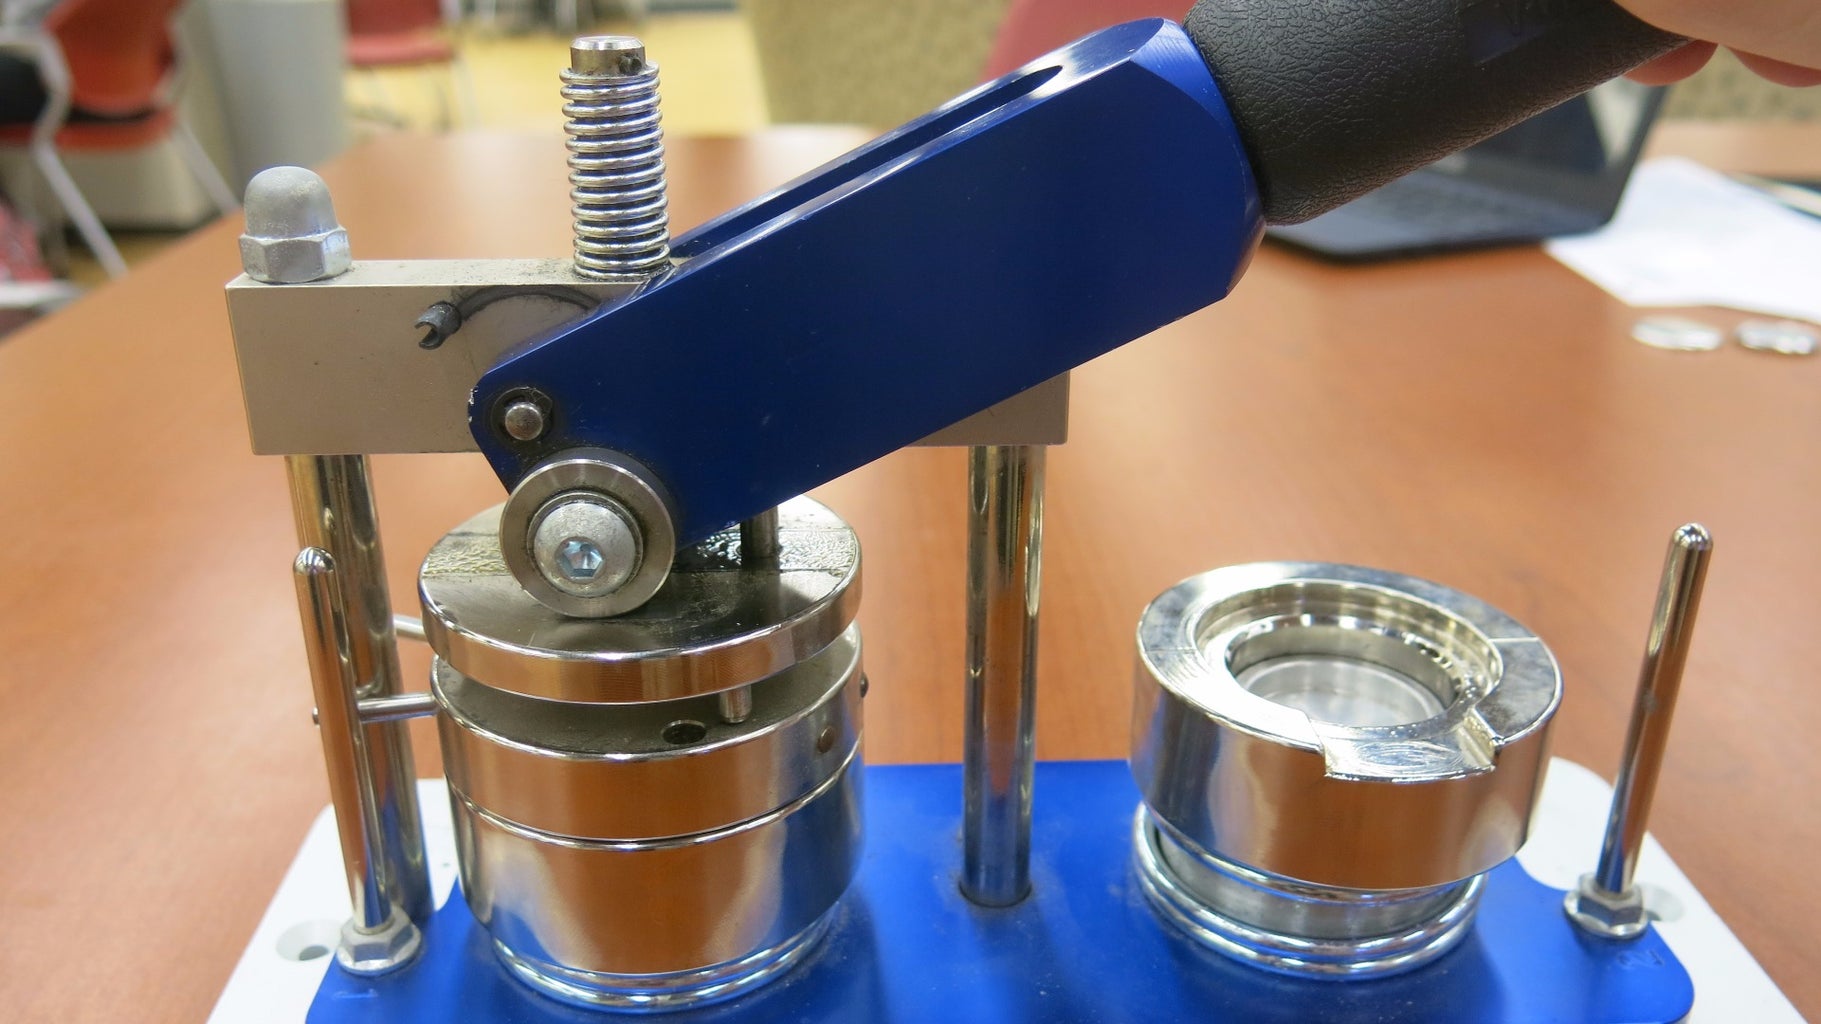
Step 4: Push Lever Down Until the Handle Meets the Base
Step 5: Push Bottom Cylinder Up to Remove Insert

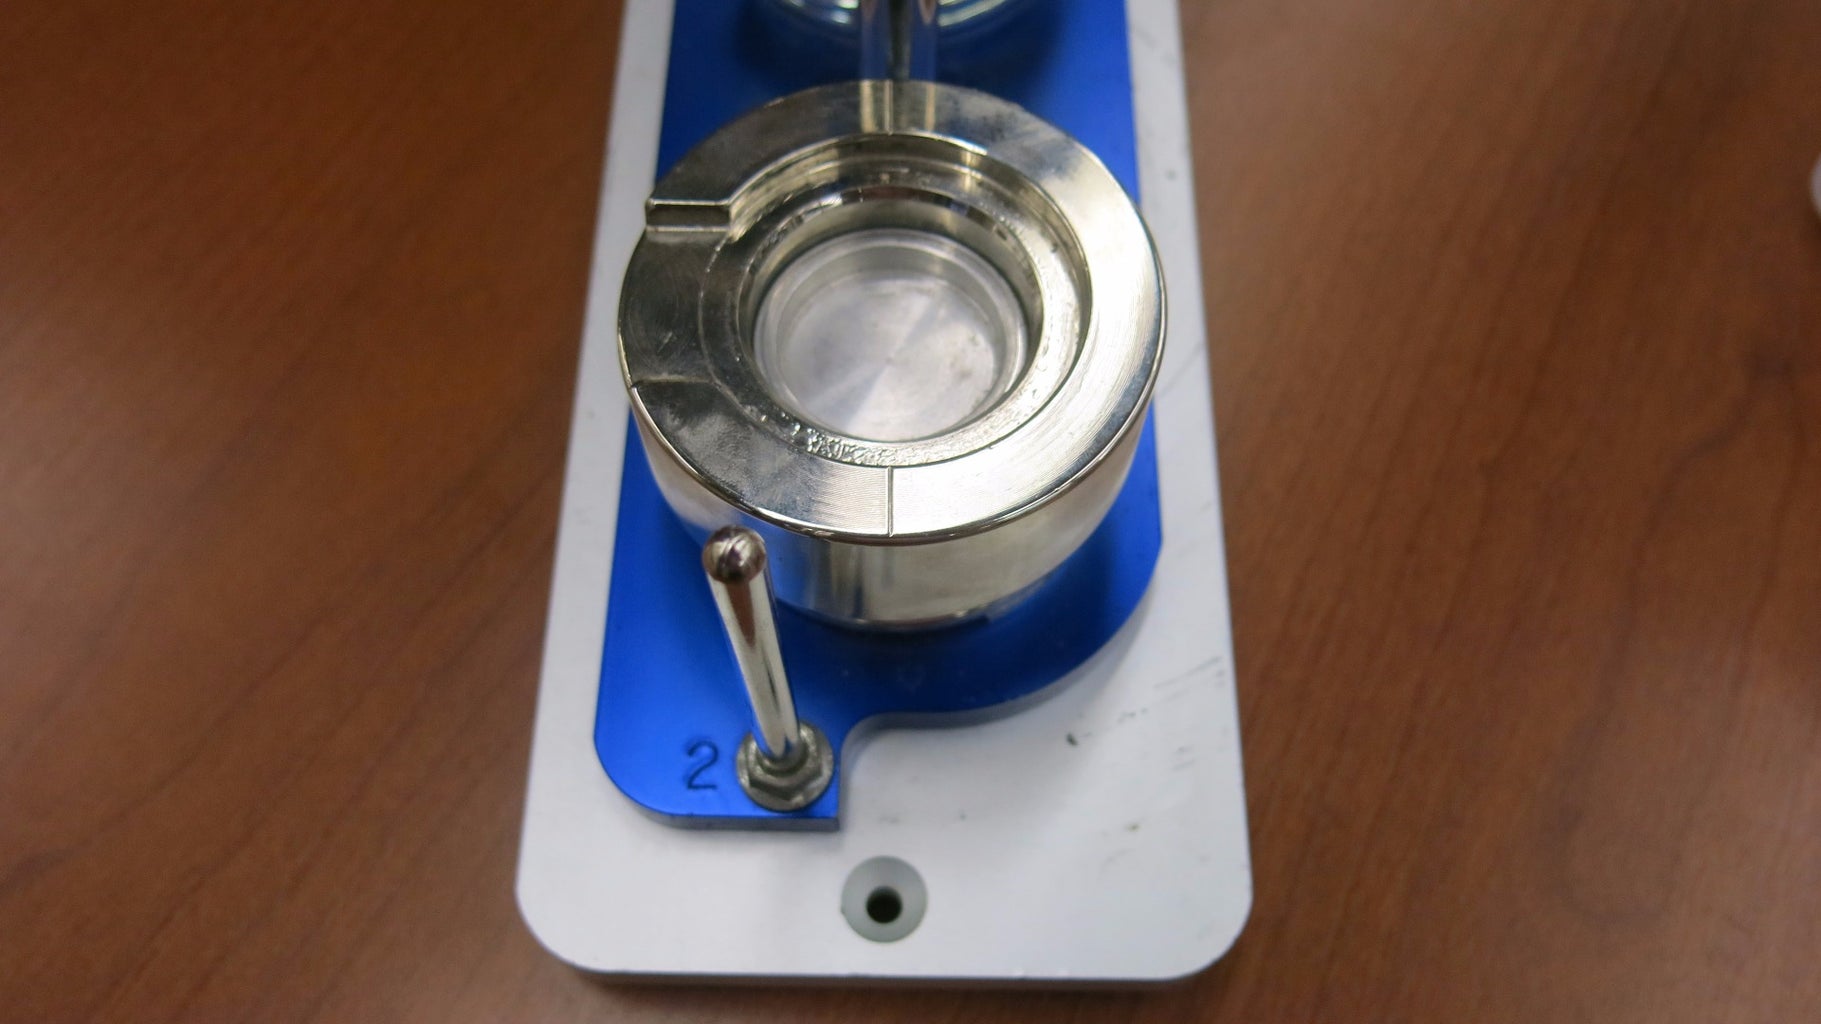
Step 6: Find the Stage 1 Side of the Press

The number is indicated by an engraving in the blue metal.
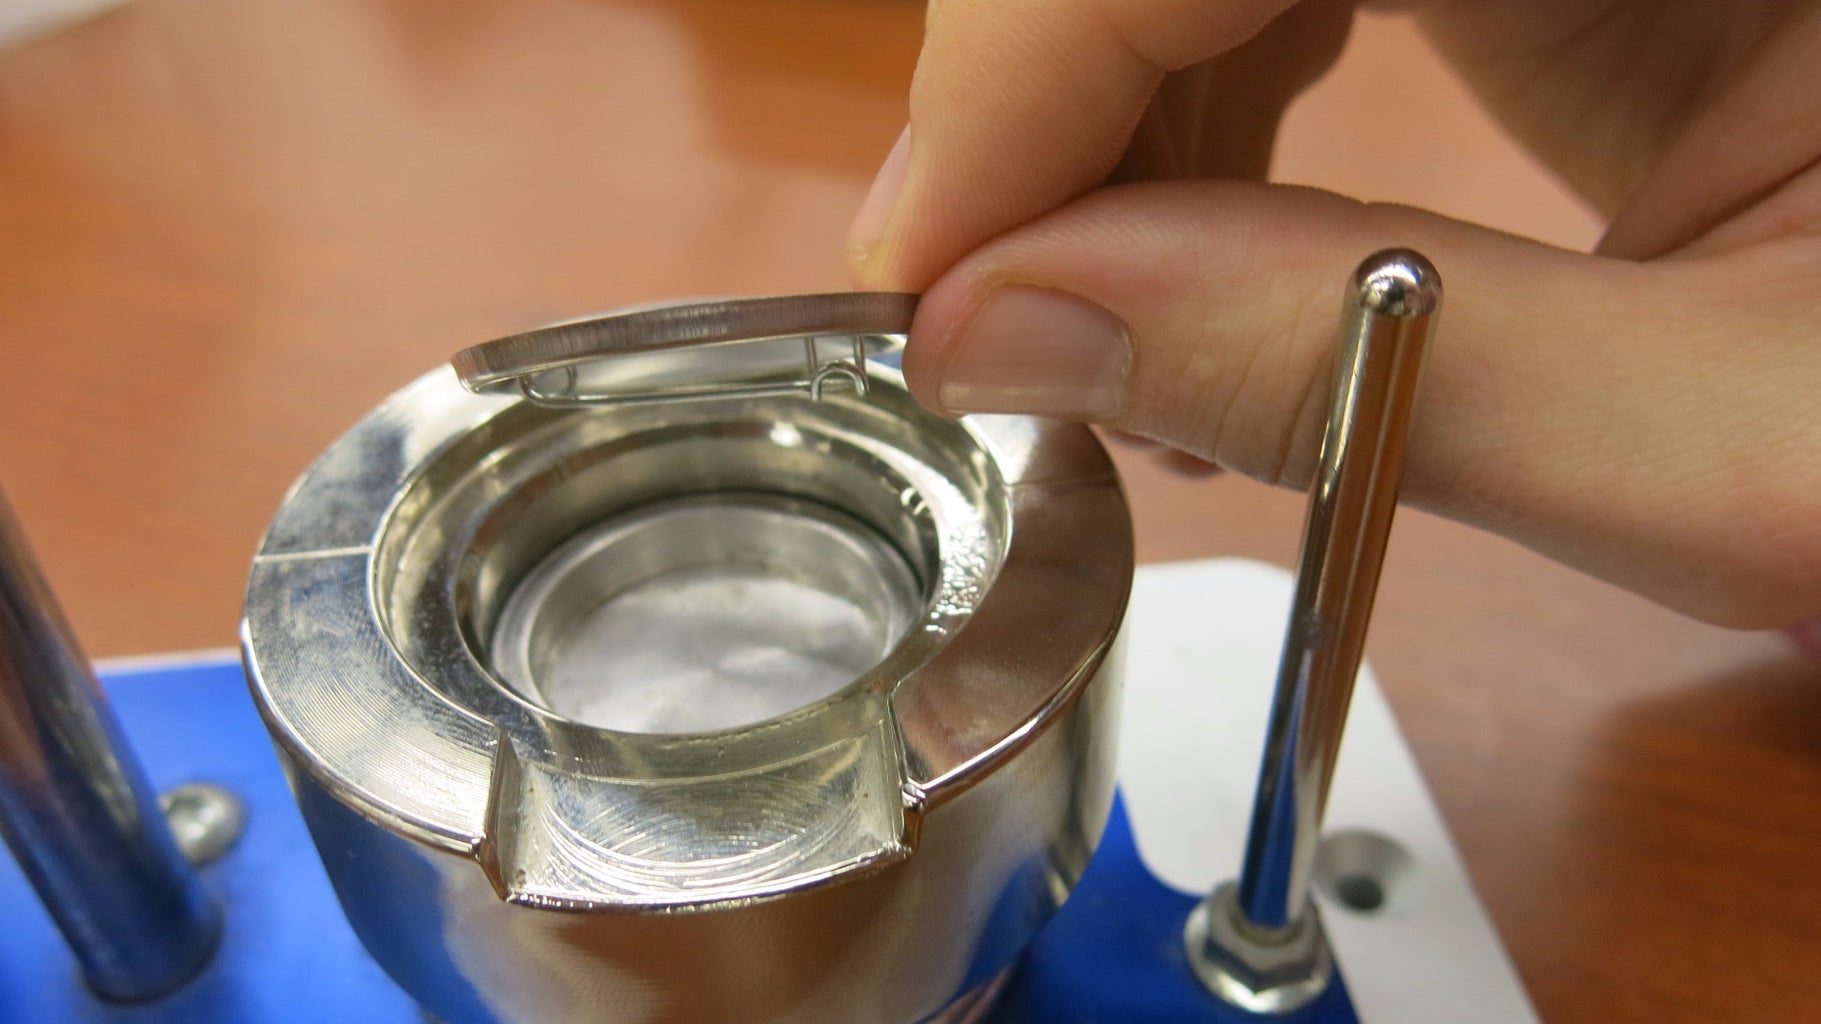
Step 7: Put Shell With Outside Face Facing Upwards Into the Pedestal

Step 8: Put Paper Insert on Top of the Shell With Image Facing Up

Step 9: Line Horizontal Axis of Image Up With Alignment Marks

Make sure to keep the right side of the image facing the outside edge to ensure proper alignment.
Step 10: Put Mylar on Top of Paper Insert

Make sure to wipe away any fingerprints off of the mylar. They will show up clearly on the finished button.
Step 11: Rotate Stage 1 Under the Lever

Make sure it is pushed all the way until it won't turn anymore.
Step 12: Push Lever Down Until There Is Less Resistance
Don't push the lever too hard. Applying excessive force can cause crimping around the inside edge of the button. Release lever once finished.
Step 13: Find Stage 2 of the Press
The number is indicated by an engraving in the blue metal.
Step 14: Put Pinback in the Pedastal With Outside Face Facing Down
As you place it in make sure the hook on the bottom side is facing the outside edge to ensure proper alignment.
Step 15: Line Up Pin With Alignment Marks

Step 16: Rotate Stage 2 Under Lever

Make sure it is pushed all the way until it won't turn anymore.
Step 17: Push Lever Down

Don't push the lever too hard. Applying excessive force can cause crimping around the inside edge of the button. Release lever once finished.
Step 18: Rotate Stage 2 Out From Under Lever

Once it is clear remove the completed button.
