

Introduction: Mr. Potato Head


My wife keeps a large collection of Potato Head pieces in her office for people to play with when they come to visit. Our youngest daughter especially loves to build things with them so when it came time to build her Halloween Costume we thought a life-sized, fully-functional Potato Head would be incredibly cool.
Step 1: Creating the Pattern


After doing a bit a research online, we felt that the key to a really successful Mr. Potato Head Costume was getting the shape of the tater right. It's not as simple a shape as you first envision when you think of the toy. His butt sticks out a bit. We wanted to reproduce this shape as accurately as possible.
We began by creating a flat pattern from an actual Mr. Potato Head toy. To do this we first wrapped it in a plastic shopping bag then, over that, in a tight layer of packing tape. This creates a rigid shell around the toy. Then you cut the shell off in sections and make relief cuts in the shell until it lays as flat as possible. We then transferred those pattern shapes to card stock.
To test our work before enlarging, my wife used the pattern to create a plush version of the Potato Head out of headliner foam. We were quite happy with the results.
Step 2: Enlarging & Creating the Foam Base


This was the tedious part. We laid a 1/4" grid pattern over our original pattern pieces. Then, because for our purposes we needed to enlarge it 4x we created a 1" grid which would be our finished pattern. After that it was simply a matter of transferring the grid points from the smaller to the larger paper. It was time consuming but in the end we had a very faithful reproduction of our original pattern pieces.
We then traced the enlarged patterns onto 1" green foam sheets and cut out the shapes. The foam pieces were assembled using a craft glue.
The last part of this step was to cut eye, arm and leg holes so our daughter could begin wearing and getting used to the feel of the costume.
Step 3: Accessories - Part 1


We really wanted our Potato Head to be interactive so it wouldn't do just to glue or draw on some eyes and a mouth. The accessories needed to be as faithful to the real thing as the body. For the majority of the pieces we went with a technique involving carved styrofoam. WARNING: This is messy. Do it outside if possible.
The foam sculpting was done with just some basic carving tools. Once we were happy with the shape, the foam was covered with fabric. We did this rather than paint because we felt it helped create a smoother finished look in keeping with the toy.
To attach the accessory to the body we used the same peg-and-hole system that the toy uses. Toilet paper tubes were just the right size for this. a tube was painted to match the accessory and glued to the back of the foam piece. Lastly, a piece of felt was used to finish off the back side of each piece.
We used this technique to create the eyes, nose, teeth, tongue and ears. The best thing was that, when finished, you could switch the pieces around on the costume just like on the actual toy!
Step 4: Accessories - Part 2


There were a few accessories we wanted for which the styrofoam wasn't the best option.
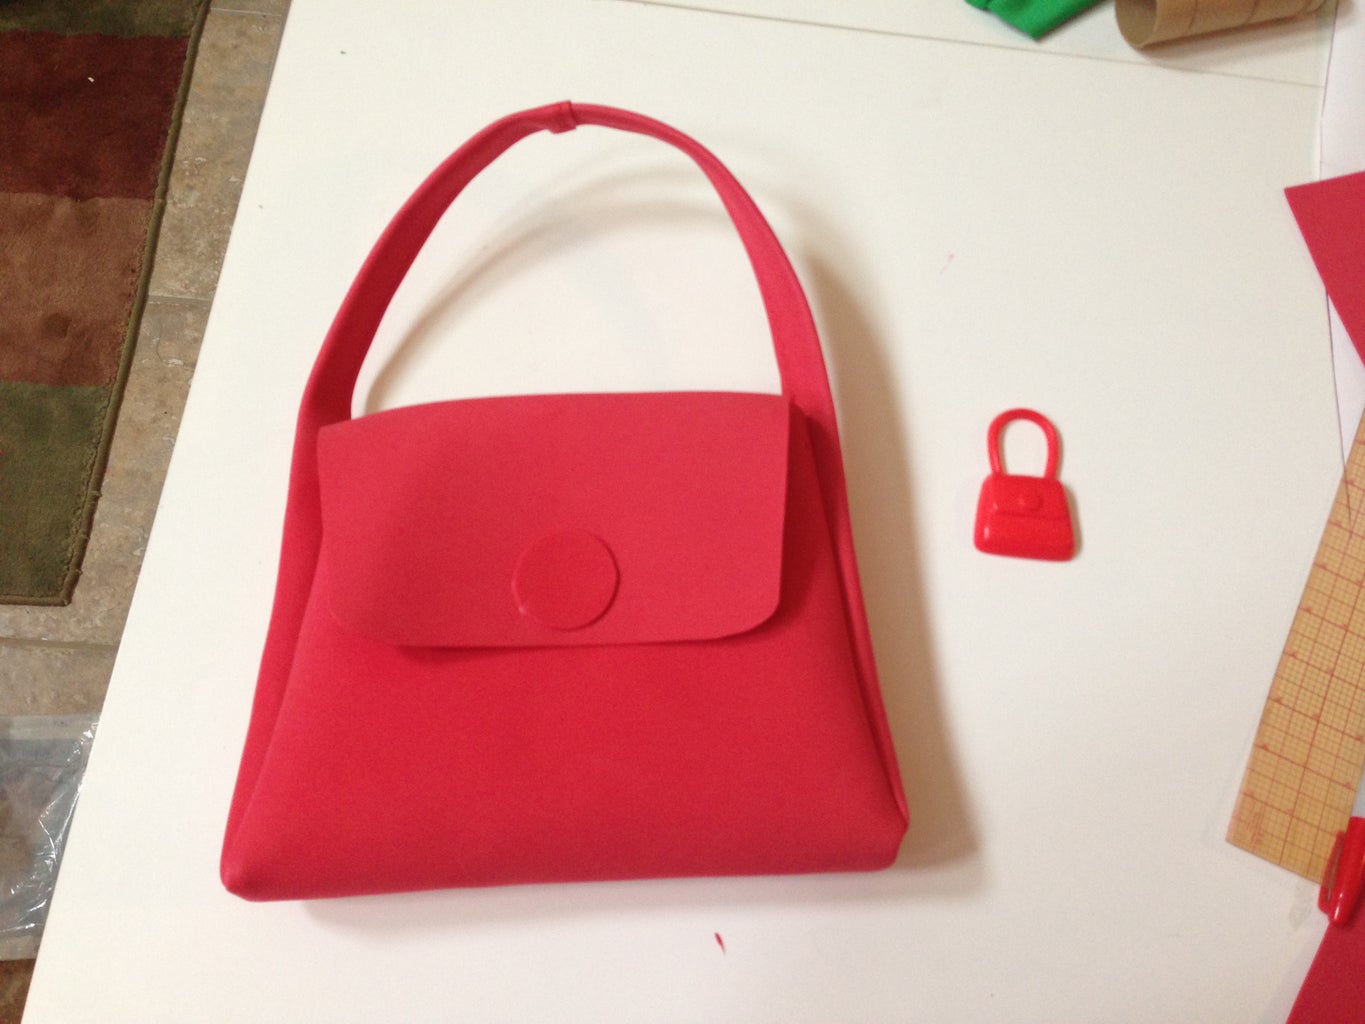
We made the Potato Head Purse from craft foam. This acted as her candy bucket for trick-or-treating. We also cut out a mustache from black craft foam.
The big blue shoes were built over a pair of slippers so she could pull them on and off easily.
The bowler hat was a bit more complicated. For this we used a specialized craft fabric call FossShape which, when heated will stiffen and hold it's shape. We used a clothes steamer to form our hat over a metal salad bowl and then did the final shaping on the costume itself. Be careful with this step. Steamers get very hot.
Step 5: Finishing Touches


The eye slot that our daughter would see out of would be disguised as eyebrows so we did a little final shaping and then covered the opening in a black screen.
The green foam tater body got covered in a brown fabric. This was patterned the same as the foam. It was mostly just slipped over the foam base and only glued in place around openings. We added an elastic pocket on the butt to hold the extra parts.
The finished product was a huge hit! Thanks for reading.

Participated in the
Halloween Costume Contest

Participated in the
Wear It! Contest


