

Introduction: Overhead Camera Rig


Im going to show you how to make a simple overhead camera rig. I used some left over scrap plywood to make this project. I used a table saw, nail gun, and glue for this project but it can be done with a pull saw and hammer if you wanted.
Check out the video to see how I made it.
Step 1: Tools & Materials
1. Saw
2. Glue
3. Wood
4. Nails
5. Clamp for camera
6. Paint or Stain (optional)
Step 2: Cutting the Wood


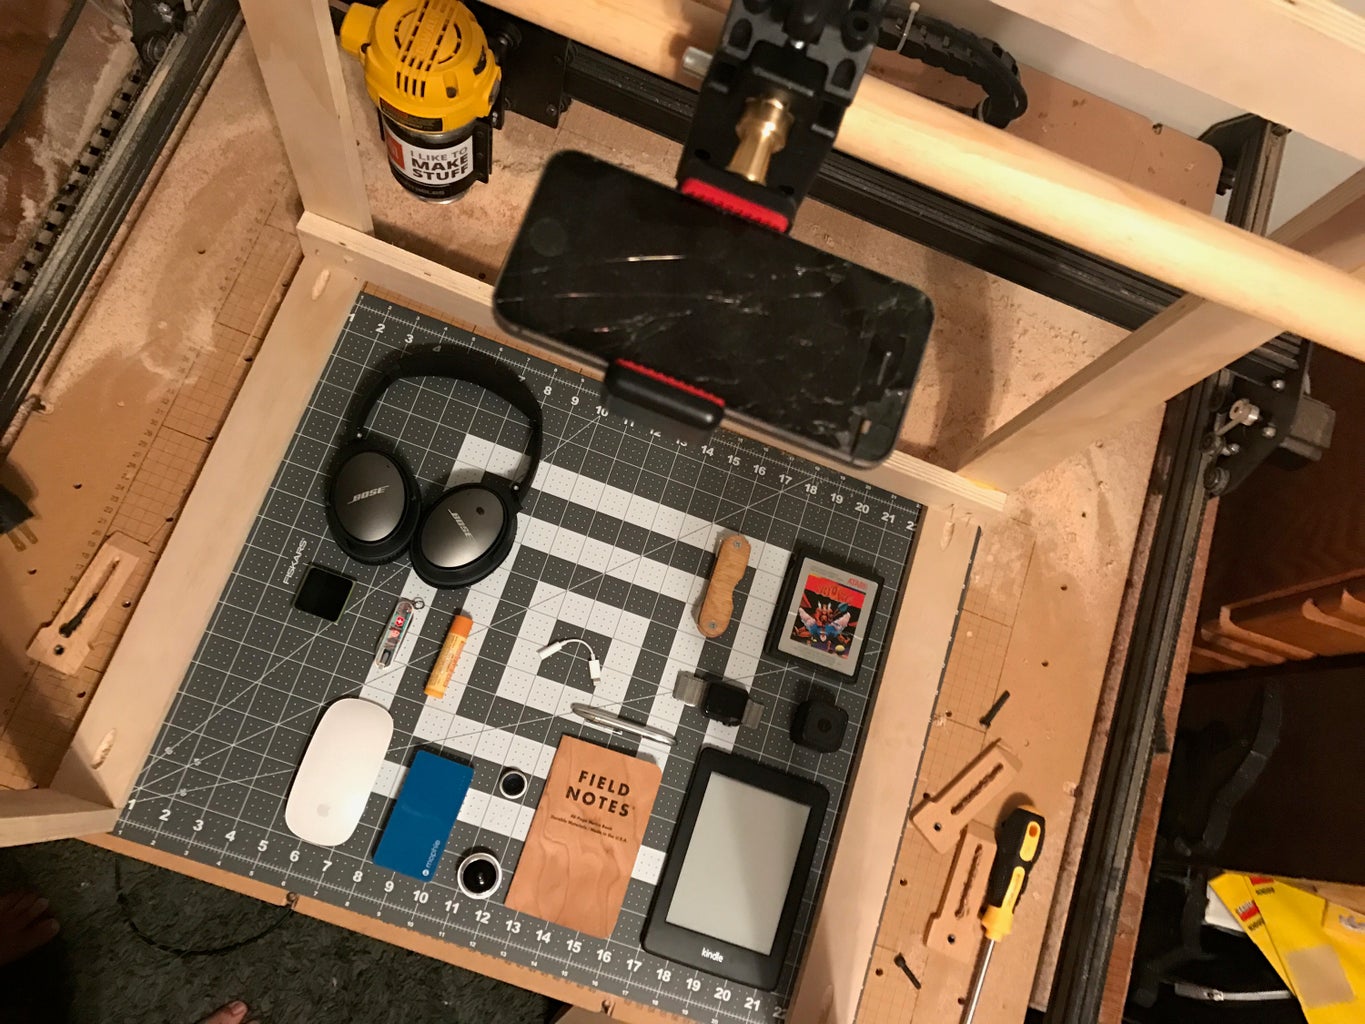
To make this rig I used a cutting mat i have as the size guide. Overall, the size is 25" x 19".
To make the two sides of the camera rig I ripped down 6 pieces of plywood to about 2in thick. I then measured out the length of each piece and cut them out on the miter saw. If you are going to make it the same size as mine then you need to cut 6 pieces at 25" and 4 pieces at 19".
Step 3: Plan A


I recently got a pocket hole gig and wanted to try it out. This jig is really easy to use. You just put in the correct thickness of wood and drill out the holes. I had some trouble with the drill getting stuck so I pull the bit out a little as I drill so it doesn't get caught.
Step 4: Plan B and Attaching the Frame


So pocket holes didnt work for me. I think my drill wasn't strong enough to really drive the screw in.
Once I had all the sides cut out it was time to assemble the two sides. I used corner clamps to hold the pieces of wood together as I drilled.I decided to glue and nail the frames together. All I had was 2 in nails which worked ok for the most part.
I glued two cross braces to the top and bottom. When I put the braces on the nails were too long so I had to cut them off. I bought a 1 in dowel to use for the camera to clamp to. I didn't think the design out too well so i had some issues with the dowel. I glued and stapled it to the frame.
Step 5: Camera Clamp

I bought a camera clamp off of amazon for around $30 to use for this project. I wanted a sturdy clamp since I was putting camera on it. I can attach various heads to it to have different ranges of motion for the camera.
Step 6: Enjoy Your New Rig!
Overall, the rig is pretty sturdy. It has been very cold and rainy here in La so I ran out of time to paint this. In the future I'm going to paint it black and add some lights.
This is a quick build and can be done in a day.
If you have any questions or make one let me know in the comments.

Participated in the
Build a Tool Contest 2017

Participated in the
Epilog Contest 8


