

Introduction: PIR Controlled Relay


This may appear like an exceptionally straightforward instructional exercise, and in a way it is!
Be that as it may, knowing how to associate and utilize these little Relay Modules the correct way is essential since we are playing with High Voltage (220v) and we would prefer not to harm our Arduino or ourselves… In this instructional, exercise we will utilize an IR Motion Sensor to recognize development and turn on a 120V light utilizing the hand-off module.
check out my online electronic store https://hackelectro.ml/ where I sell electronic parts and modules at least 20 percent discount as compared to Amazon.flipkart,eBay.
Step 1: Disclaimer
Since we are utilizing LINE VOLTAGE of 220V, you ought to avoid potential risk when managing high voltage. On the off chance that you are concerned or not certain, you ought not to continue any further.
Step 2: Parts Required


1N4007 Diode 1A 1000V
Half size Breadboard
IR Motion sensor module
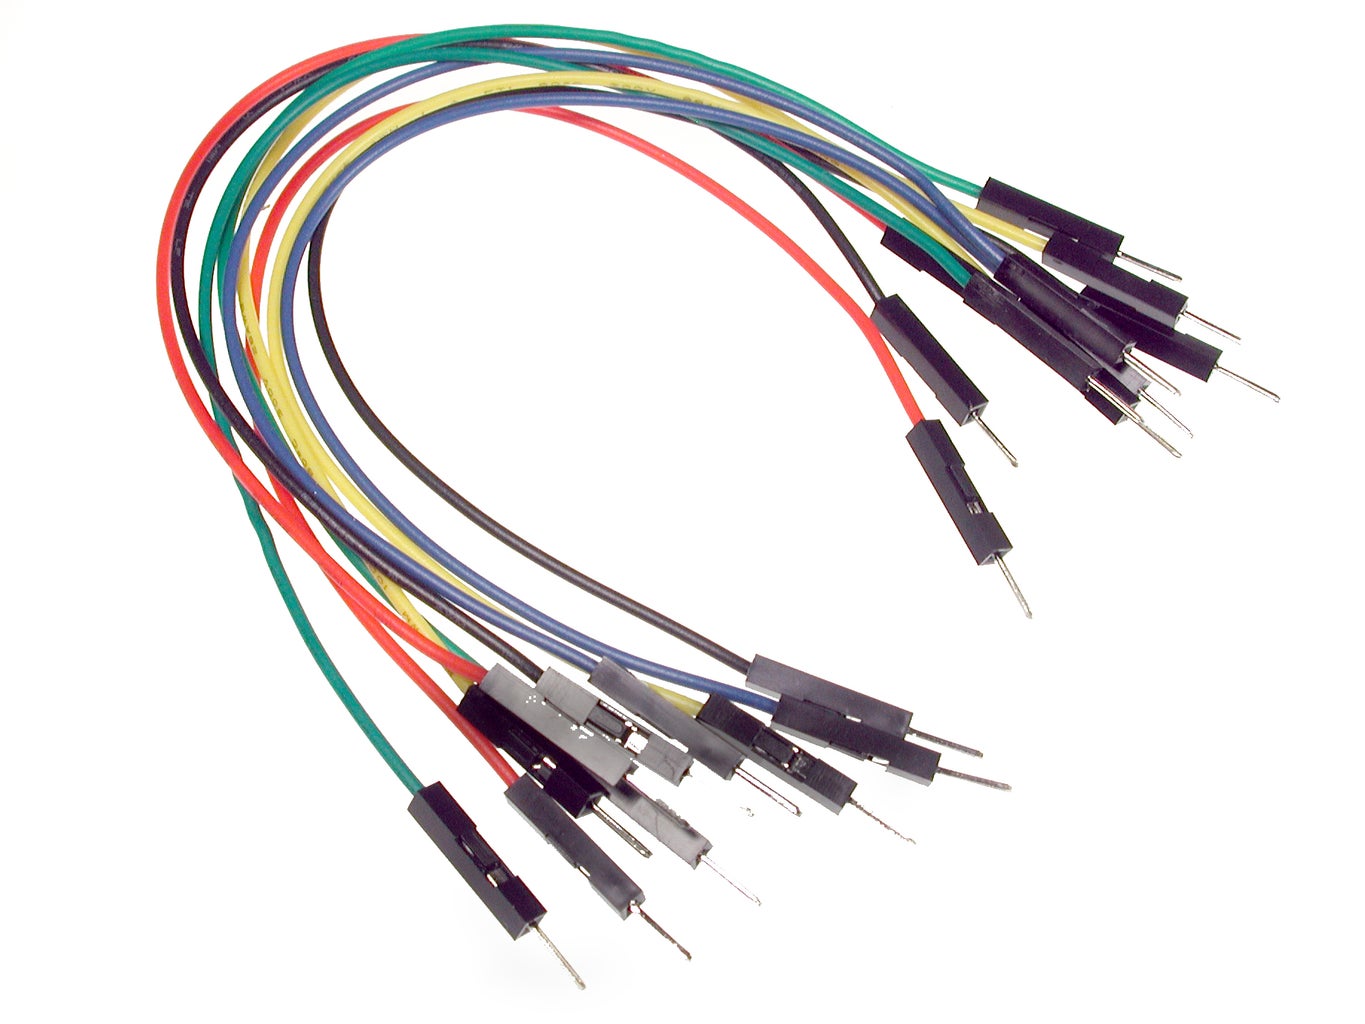
Jumper Wires male to female
Jumper Wires male to male
Relay Module 1 channel
Arduino UNO
Step 3: SCHEMATIC

We interface the IR Motion sensor “OUT” to Pin 4 and the Relay “IN1″ to Pin 8.
The light has one of the 120V wire grafted to associate the end associated with the power attachment to the COM(Common) Pin of the Relay module and the one heading off to the light is associated with the NC(Normally Closed) Pin. We utilize a breadboard to interface the VCC and Ground to both modules from our UNO, however, we associate a 1N4007 rectifier Diode to the VCC line of the Relay Module to permit the current to go just a single way. One critical thing that is at some point overlooked is to utilize a Rectifier Diode when exchanging High Voltage. Some Relays have this security incorporated, however, these Diodes are so shabby, why not add another layer of insurance to our circuit. Putting the Diode between the Relay and Arduino will shield us from power surges when the Relay switches since the Diode just permits current to stream one way.
Step 4: THE CODE
No libraries or muddled stuff here…
All we are doing is taking a glancing at the Pin the IR Motion sensor is associated with. On the off chance that the Pin 4 is LOW, it implies no movement is identified, if HIGH then the movement is distinguished. We are utilizing a WHILE circle to check if Pin 4 is HIGH, if yes then we make Pin 8 HIGH turning on the Relay module. On the off chance that Pin 4 is LOW, then we make Pin 8 LOW killing the transfer.
int irmotionPin = 4; // Pin of IR Motion Sensor
int relayPin = 8; // Pin of Relay Modulevoid setup(){ Serial.begin(9600); pinMode(relayPin, OUTPUT); // Set Pin connected to Relay as an OUTPUT digitalWrite(relayPin, LOW); // Set Pin to LOW to turn Relay OFF }
void loop(){ while (digitalRead(irmotionPin) == HIGH) { // If Motion detected digitalWrite(relayPin, HIGH); // Turn Relay ON Serial.println("Relay is ON"); delay(500); }
digitalWrite(relayPin, LOW); // Turn Relay OFF Serial.println("Relay is OFF"); delay(500); }

Participated in the
Microcontroller Contest 2017


