

Introduction: Phone Stand


Quick, easy, and simple Lasercut phone stand
Step 1: Dimensions

Create your phone stand plan. I used Autodesk inventor. Gap where phone will be must be slightly bigger than phone or biggest phone. this gap will determine the angle your phone stands.
Step 2: Drawing Sheet

I needed to put my part on a drawing sheet in order to convert file into the printer programs required file format (.dxf). delete all borders and page alterations (page must be blank)
Step 3: Convert File
in order to convert the file format you must save the file first, normally then save it again but select save copy as. then you must click on the dropdown box and select .dxf and save
Step 4: Program


import your file into the program you use for your laser printer, along with anything else you will be printing. make sure that you change the page size correctly and position pieces to fit properly if there are already cut outs on the material sheet you use.
Step 5: Print

make sure to change properties of laser if you have any special adjustments (text, designs, etc.)
Step 6: Final Touch

add your final touches.(sanding, paint, stain, etc.) I left mine alone.
Step 7: Done

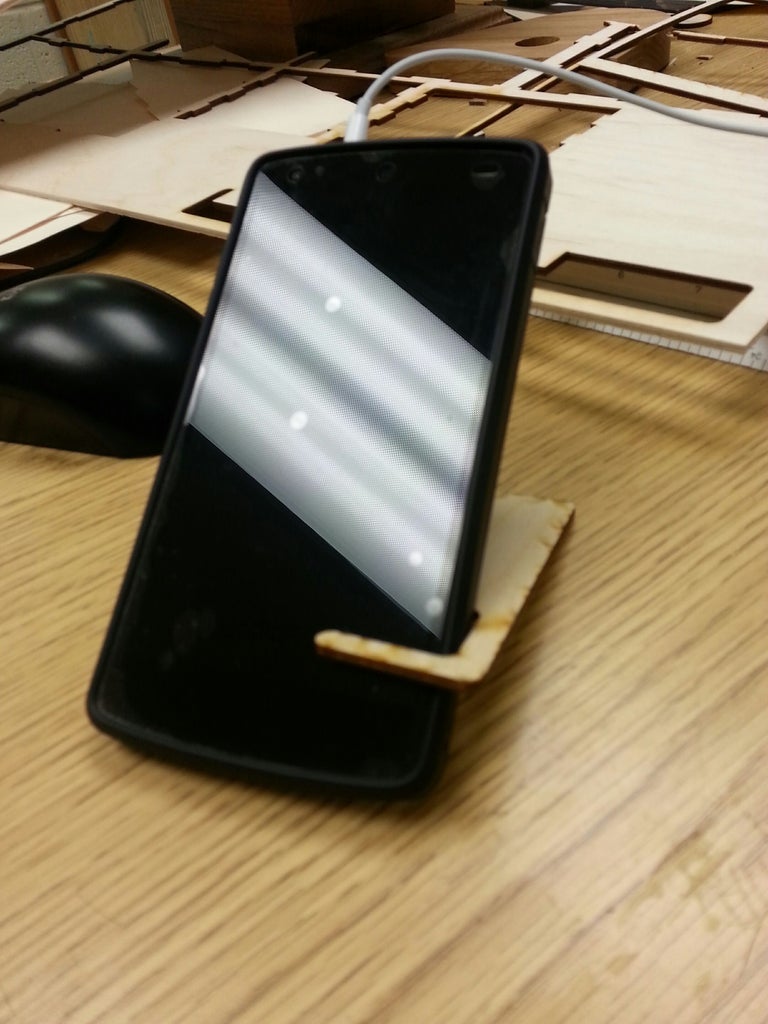
Enjoy
Step 8: ~~¤~~UPDATE~~¤~~

Changing these corners to come to a point instead of rounded may help hold curved phones better than the original design. DFX file will be posted soon.
Step 9:

Participated in the
First Time Author Challenge


