

Introduction: Program Linkit Smart 7688 Duo on Arduino IDE


Learn how to program LinkIt Smart 7688 in Arduino IDE!
The LinkIt Smart 7688 Duo development board uses MT7688AN as its MPU, complemented by an ATmega32U4 MCU. In addition to application development in Python, Node.js and native C for MT7688AN, applications for the MCU can be developed using the Arduino IDE.
Requirements
- Arduino IDE
- A micro-USB cable.
- A LinkIt Smart 7688 Duo development board.
Step 1: Install Arduino IDE
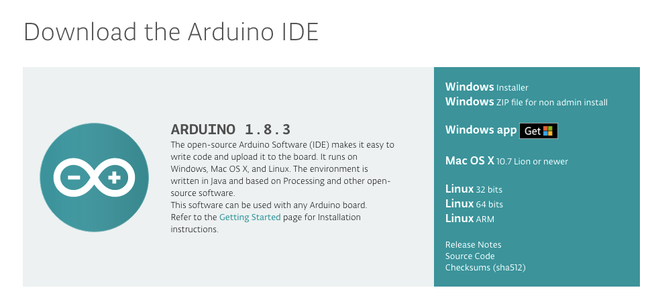
Download Arduino IDE here and install it.
The Arduino IDE provides your coding environment and is used to monitor the development board. LinkIt Smart 7688 Duo supports Arduino IDE version 1.6.4 or later.
Step 2: Install the Board Support Package


For Arduino IDE to recognize the LinkIt Smart 7688 Duo development board, you need to install a board support package.
- Open the Arduino IDE and on the File menu click Preferences. In Additional Boards ManagerURL add http://download.labs.mediatek.com/package_mtk_linkit_smart_7688_index.json as shown on first image above .
- A LinkIt Smart 7688 item should appear in the boards list on the Boards Manager, as shown below. Select the LinkIt Smart 7688 version and click Install.
- When installation completes, the Board Manager indicates that the package is installed, as shown below.
- LinkIt Smart 7688 is now available for use as one of the target boards in the Arduino IDE, as shown below.
Step 3: Install Com Driver (Windows Only)


If you’re working on a Windows PC you will need to install the COM port driver for LinkIt Smart 7688 Duo. If you are working on a Mac or Linux PC you don't need to install a driver:
- On Linux the board is in the /dev folder and mounted as ttyUSB0.
- On OS X the board is mounted as a serial device under /dev/tty.usbmodem1413 where the number (1413) may be different on your computer.
- On a Windows PC, to complete this section, you’ll: Connect LinkIt Smart 7688 Duo to a computer.Install drivers.
Install a Serial COM port INF driver from here or the folder: {ARDUINO_IDE_PREFERENCE_LOCATION}/packages/LinkIt/hardware/avr/0.1.5/driver/linkit_smart_7688.inf
You can find the ARDUINO_IDE_PREFERENCE_LOCATION from the File menu item Preferences. See the preference.txt path, as shown on the first image above.
Once you have downloaded or located linkit_smart_7688.inf on the shortcut menu click Install. A security windows will open, as shown below, click Install this driver software anyway. This completes the driver installation.
Step 4: Upload Your Test Sketch


Now that you have setup everything, its time to program our Linkit Smart 7688 Duo.
Go and upload the Blink sample sketch
Open Arduino IDEOpen File > Examples > Basics> BlinkPlug in your board.
Upload the source to Linkit 7688 Board Finally watch your built in LED blink!
Congratulation you have successfully program your Linkit Smart 7688 Duo with Arduino IDE.
Cheers!

Participated in the
Makerspace Contest 2017


