

Introduction: Programming Arduino Nano Using UNO


Hey Guys,
Recently I had just bought a new arduino nano clone (CH340) from ebay for my mini arduino project. After that I I I connected arduino to my pc and installed the drivers but not still working, After few days I just found out how to programme arduino nano using arduino UNO and it was pretty simple too! Follow my steps correctly to gain final results :)
Step 1: Materials Required !


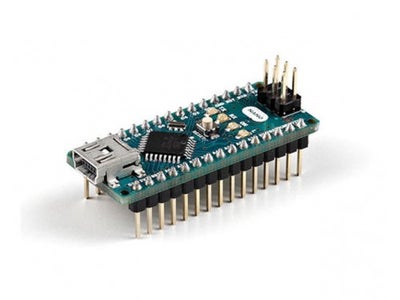
* Arduino NANO
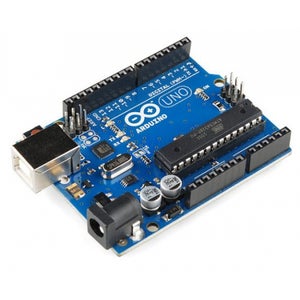
* Arduino UNO
* Bread board
* Jumper cables
Step 2: Connection !
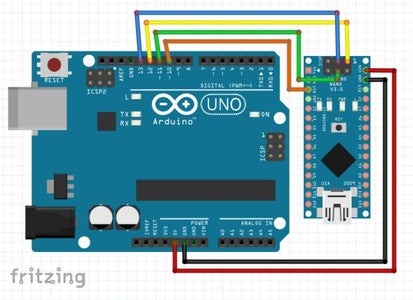
Connect
Uno to Nano
D13 > SCK
D12 > MISO
D11 > MOSI
D10 > RST (reset)
5V > VIN GND >
GND Note :
If your board's operating voltage is 3.3V then use 3.3V.
Step 3: Prepare Arduino IDE !
When wiring is done.
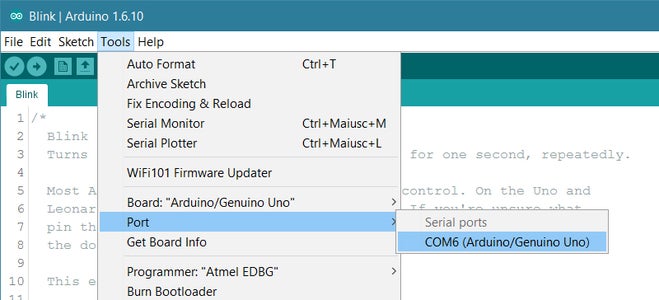
Now we have to do some settings in IDE.
Go to Tools >
Board & select Arduino UNO.
Select the right PORT
And Upload any code :)
The settings is done. Now, open up the sketch you want to upload on your Nano,In Menu, go to Sketch & click on "Upload using Programmer"IDE will compile the sketch & upload it to your Nano. The RX TX leds will blink rapidly on both board, & you will see done uploading. If not, then recheck all the wiring & settings. If you get any problem or you want to give me suggestion, you can write in comment section below. If any error occurs please press reset on nano and even on arduino uno
Happy Programming :)
Step 4: Conclusion !
I wish this Instructables helped you a lot, If it helped you please follow me. If any issue rise please comment below. :)


