

Introduction: Push-Up Counter


It's easy to cheat yourself when doing push-ups. Did you really go low enough, or was that one of those 'wimpy half-trying' push-ups? It also makes it difficult if you're trying to have a push-up competition. Are both competitors really going down the same amount? Is one working harder than the other?
Today, we'll fix all of those problems by creating an automated push-up counter!
Step 1: Supplies

We'll make heavy use of some Grove sensors here. If you haven't explored Grove equipment yet, I would highly suggest you do so. Grove sensors enable you to quickly prototype projects without having to build overly complicated circuits. A great way to get into it is to get the Grove Arudino Starter kit. It includes most of the pieces that you need for this project!
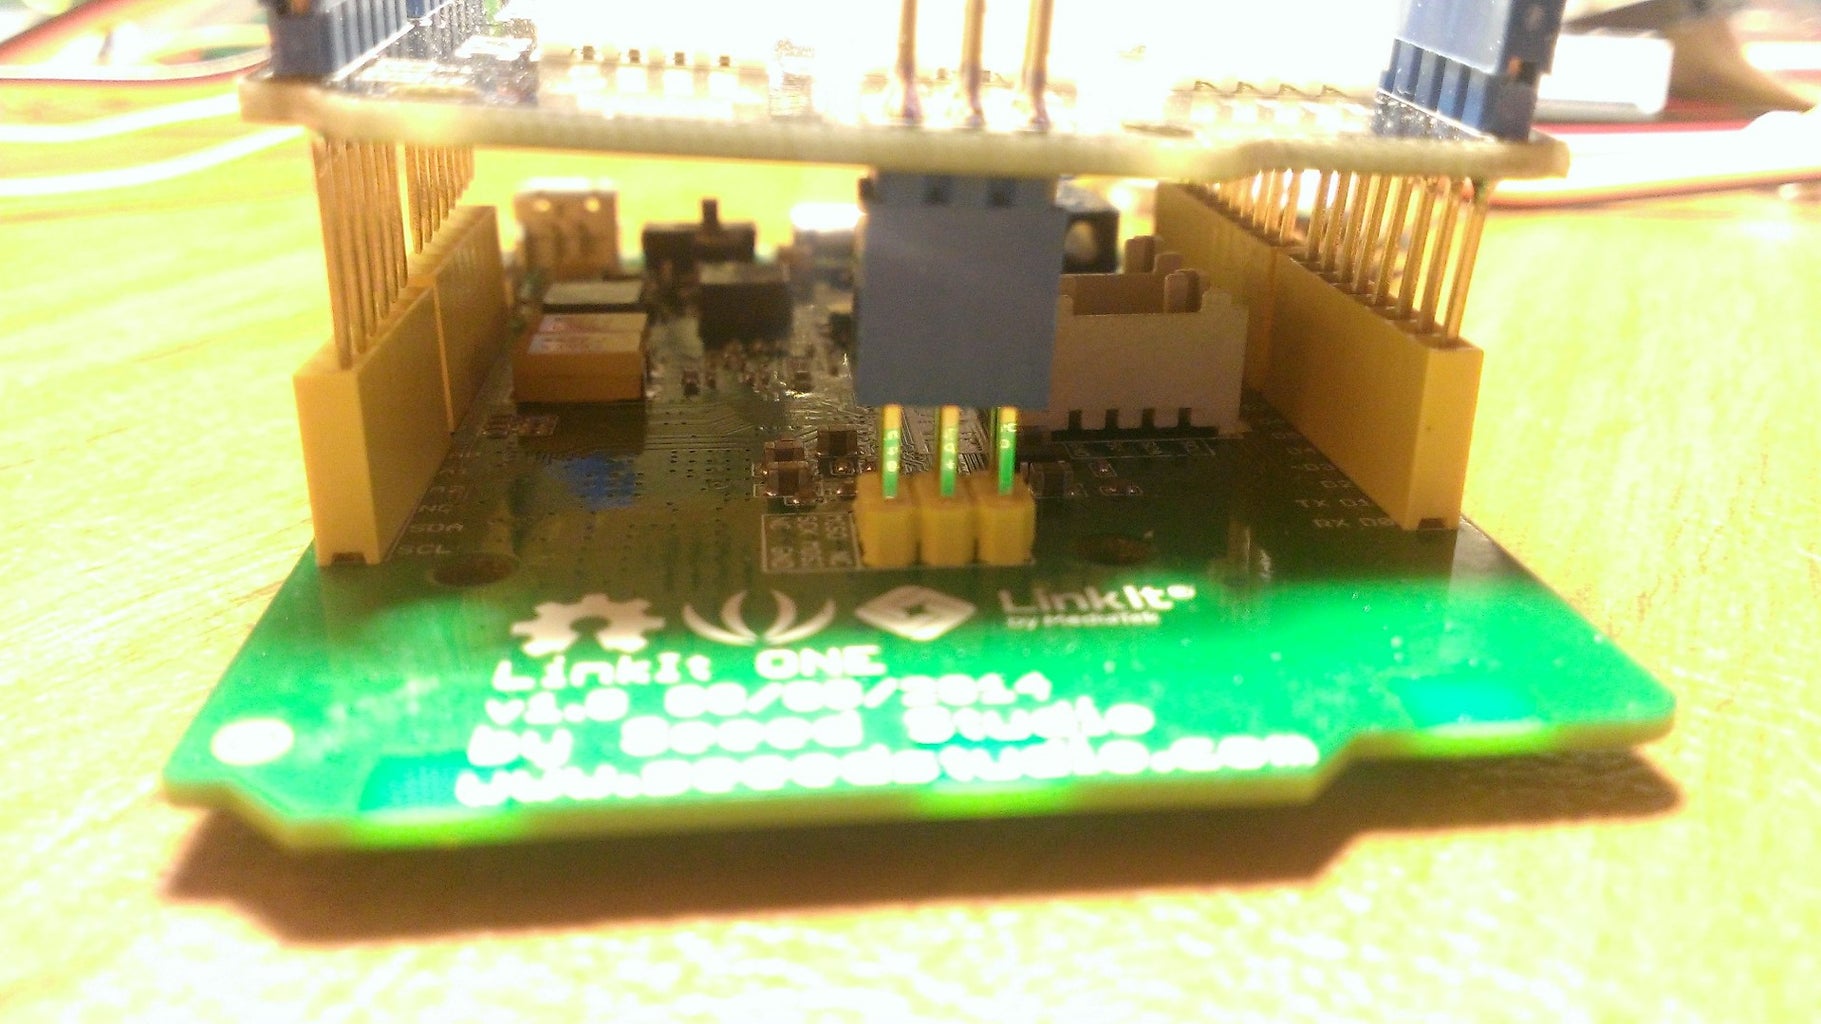
- LinkIT ONE board by Mediatek
- Grove Arduino Base Shield
- Grove RGB LCD
- Grove Buzzer
- Grove IR Distance Interrupter
Step 2: Getting Our Grove On
So, I previously stated that Grove sensors made it super easy to plug and play with a bunch of different sensors and now it is time for me to prove it!
The LinkIT ONE has the exact same pin layout as an Arduino. This will allow us to simply plug the Grove Arduino Base shield right into the LinkIT ONE and easily interface with it! All you have to do is line up the pins on top of the LinkIT ONE's headers and push it. I've found that it can sometimes be a little difficult, but rest assured, if your pins are aligned, just give it a firm press and it should slide in.
Step 3: Hooking Up Our Sensors


Now that we have our Grove Shield installed, let's get some of the sensors connected so we can started reading data!
First, let's take care of our RGB LCD. We will use this to display how many push-ups we have made in a row. Make sure to connect this to any I2C port on the LinkIt ONE.
Next, let's hook up our IR Distance Interrupter. This is the sensor that will tie everything together. This sensors figures out if something comes in range (and then goes out of range) for us, so we will use it as a principal sensor to tell us if a Push-up has been successfully completed or not. Keep in mind that you mind need to tweak the screw on the top of this sensor in order to configure the distance properly.
Finally, let's get our buzzer hooked in. Go ahead and plug it into one of the standard digital ports (any of them that starts with a D). We'll use this sensor to notify our workout buddy when a push-up was successfully made, so we don't have to constantly watch the screen!
If any of this was confusing, feel free to take a look at the diagram above for helpful labels about where everything should go!
Step 4: Getting Our Code On

Time for Coding Fun! The code for this project may seem complex, but the logic is really pretty simple. I've commented it heavily to help you understand it more, but lets's do a breakdown just to make sure we understand the logic:
- Every time the IR Distance Sensor detects a sensor, rewrite to the LCD display to reflect that (increment it!)
-Give off a Buzz every time we detect a successful push-up! This way the user doesn't have to constantly look down at the screen to see if they were successful or not
Hopefully that helps! Go ahead and download the code and deploy it to your device!
Attachments

Step 5: Go Get Your Bulk On!

TA DA! You now have your own personal trainer! OK, it's not as great as an actual personal trainer, but you've created a fun little device that can at least give you an accurate reading for push-ups! Start making some friendly wagers with your friends of who can do more! That should encourage you to bulk up in no time!
Happy Push-upping! Stay Fit and keep tinkering!
