

Introduction: 3D Printed Servo Driven Tracked Rover W/suspensions (self Tightning Belts)


There are ment to be glued on some rubber square`s at the flat side of the tracks to make more friction, but thats optional.
Step 1: What You Need:


- Filament
- Glue
- 2 Self tapping screws with a wide head M4,2x25
2 Self tapping screws with a normal flathead M4,2x13
http://www.ebay.com/itm/4-2mmx13mm-Thread-8-Phillips-Pan-Head-Self-Tapping-Screws-Fastener-100pcs-/351732086817?hash=item51e4ddb821:g:m4QAAOSwWntXNGun
for the selftapping screws you can use screws for wood or plastic.
they do not need to bee exact the length i linked to, those are just the length i used :)- 6xM5x25 screws (do not use any countersink screws on this project)
- Bearings 16x 5x10x4 MR105ZZ
- 2x standard size servo w/mod for continus rotation (I used Towerpro 966MG)
- 6x ballpen springs (the stiffer type)
Step 2: STL Files

You need 33 track pieces per belt.
This is also at Thingiverse
Attachments


Step 3: Print Settings

- Rafts: No
- Supports: No
- Resolution: 0.2
- Infill: 25%
Not all STL files are right side up, you may have to rotate some of them before you hit print.
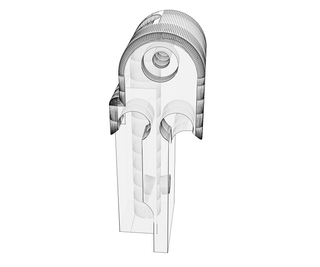
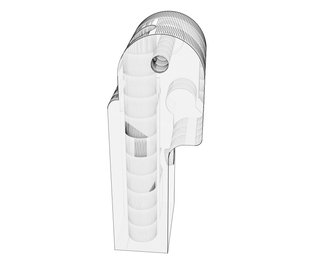
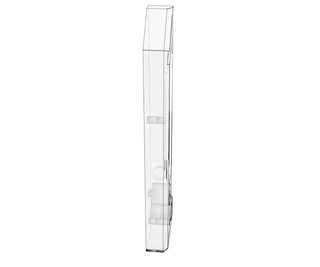
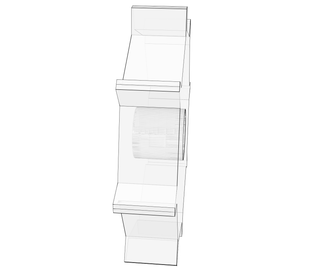
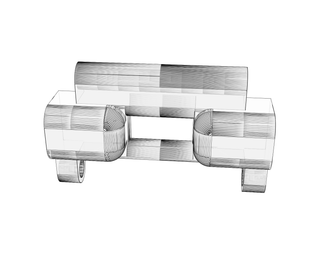
Step 4: Assembly


- Start by fasten the front to the middle part, use 2 self tapping screws and glue.
- Fasten servo with servohorn tap heading forward.
- Screw in the back parts thrught the hole in part.
- center and fasten the servohorn to gear, fasten gear to servo.
- screw on side skirts
- use 3mm filament, burn the end and stump them flat. do this at both sides, make it tight.
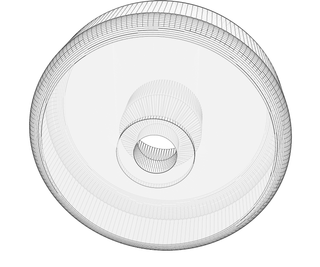
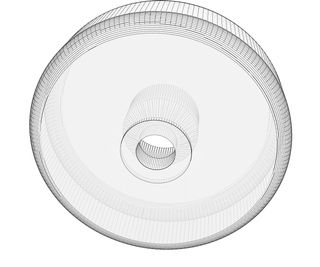
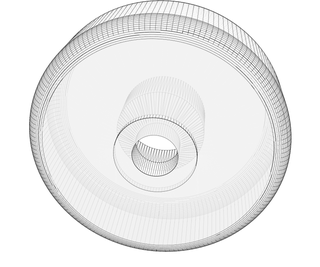
- Assembly bearings to back part, suspension pins and wheels.
- Sand suspension pins to fit the chassi, they have to turn pretty free. use grease.
- secure the back suspesion pin with a wide head screw.
- Fasten wheels to suspesion pins.
- Fasten back wheel (all wheels are assembled bearing turning out)
- Set in the springs, easiest if you set it in the chassi first.
- Assemble belt, use the filament trick. 33 tracks per belt. you can change belt tension by changing wheels to smaller or bigger ones. (depence on what springs you have)
- assembly the last track when belt is stretched on place, and last chain over the gear, makes it easier
- Ready to connect to RC, arduino or what ever you like :)

Participated in the
Maker Olympics Contest 2016

Participated in the
Drones Contest 2016


