

Introduction: Simple IOT Alarm
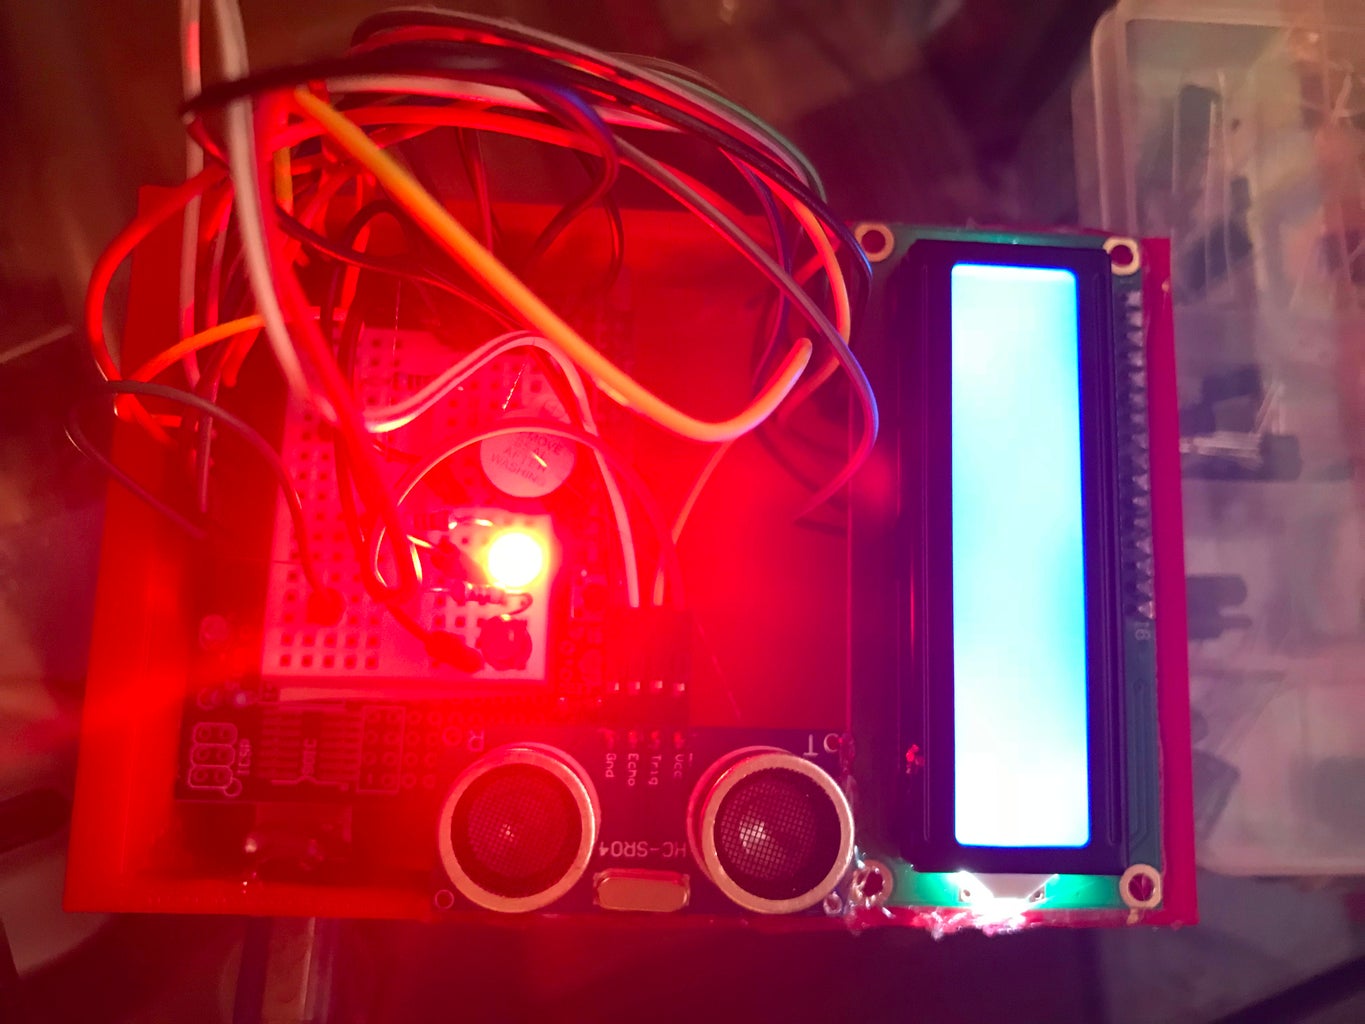


In this you will be creating a simple alarm controlled by IOT. The sensor will detect motion and will "go off" if it is with in a certain value. The materials u will need are:
breadboard
arduino
male to male wires and male to female wires
ultrasonic sensor
lcd screen
green LED and red LED
buzzer
220ohm resistors
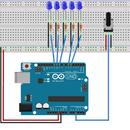
Step 1: Connecting the Lcd Screen

connect the wires just as they are shown in the diagram. Make sure the ground is connected to ground and power to power. For reference about the lcd screen, how it works and how to connect it, refer to
https://www.arduino.cc/en/Tutorial/HelloWorld.
Step 2: Ultrasonic Sensor

Connect the vcc(red) to the power and the gnd(black) to the ground. connect the trig and echo to the arduino board. make sure you connect the trig to 7 and echo to pin 8.
Step 3: The Rest

Connect the anode of each light to the resistor and then connect that to the pin on the arduino. look in the code to see what pins I placed them in. Connect the buzzer the same exact way.
Step 4: Code
//include and define
#define BLYNK_PRINT SwSerial
#include <NewPing.h>
#include <LiquidCrystal.h>
#include SoftwareSerial SwSerial(10, 11); // RX, TX
#include <BlynkSimpleStream.h>
//blynk app code
char auth[] = "a8ce70d36b9f4ac49957d65f7de046ef";
//set lcd pins
LiquidCrystal lcd(12,11,5,4,3,2);
int trigPin =7;//trig pin
int echoPin =8;//echo pin
NewPing sonar(trigPin, echoPin, 200);//sets up the sonar method for ping
int green = 13;//greed led
int red = 10;//red led
int buzz = 9;//buzzer
boolean tripped;//boolean value for loop and tasks to execute
void setup() {
lcd.begin(16,2);//sets up screen
pinMode(green, OUTPUT);
pinMode(red, OUTPUT);
pinMode(buzz, OUTPUT);
Serial.begin(9600);
Blynk.begin(Serial, auth);
}//end setup
void loop() {
//runs blynk app
Blynk.run();
//good
if(digitalRead(13)==HIGH)
{
tripped =false;//alarm is good
}
if(tripped==false)
{
lcd.setCursor(0,0);
lcd.print("ALARM IS GOOD");
lcd.setCursor(0,1);
lcd.print(sonar.ping_cm());
digitalWrite(red, LOW);
digitalWrite(green,HIGH);
digitalWrite(buzz, LOW);
}
//BAD
if(sonar.ping_cm()<100&&sonar.ping_cm()>1)
{
lcd.clear();
digitalWrite(red, HIGH);
digitalWrite(green,LOW);
digitalWrite(buzz, HIGH);
lcd.setCursor(0,0);
lcd.print("ALERT!");
lcd.setCursor(0,1);
lcd.print(sonar.ping_cm());
tripped = true;
digitalWrite(1,LOW);
}
delay(200);
}//end loop
Step 5: Blynk
Download and install blynk app on your phone and on your computer. For less confusion, just follow the instructions on this link. After you have it set up, make a project, and copy the access code into the arduino code. then make a button on pin D13 for a switch to turn the alarm off or reset. then make a slide for the brightness of the lcd on pin D6.


