Introduction: Strip and Tin Wires Like a Pro
Once stripped using this method it also lets you twizzle the wires perfectly before soldering them, leaving you with a very neat tinned wire.
These tricks were some of the first things that Steveastrouk taught me when I started working for him after we met on Instructables. I use the wire stripping trick almost every day and has saved me hours.
Read on to find out how!
Step 1: Tools & Materials
Tools:
- side cutters
- soldering iron
- wet sponge or soldering iron cleaning gumpf of choice
Materials:
- wire (duh!), single or multi core.
- solder
Step 2: Holding the Wire & Side Cutter
Grip the wire in one fist or wrapped around your fingers. Leave your thumb free. For shorter or thinner wires it's more important that you wrap it around your fingers so that it doesn't slip out.
Hold the side cutters in your other hand with the beveled edge facing the wire and put light pressure on the insulation with them a short way down the wire. This method works for both multi and single core wires, but for multicore, place the side cutters further down the wire if you want to twist them perfectly.
Step 3: Push Firmly With Thumb
Place the thumb of the hand holding the wire on the pivot of the side cutters (picture 1), apply light pressure on the insulation of the wire with the side cutters and then push against the pivot with your thumb.
This should cause the blades of the side cutters to dig in to the insulation and push it back along the wire, breaking the insulation but not the core (picture 2).
Definitely the trickiest bit of this Instructable, you just need a little bit of practice at knowing how much pressure to place on the insulation with the side cutters. It's really not hard, it just sounds hard. Give it a try!
Single core wire:
Go ahead and just push the broken insulation off the end of the core then trim the core to the desired length,
Multi core wire:
This is the cool bit. If you strip a length longer than you actually require you can stop stripping before the insulation falls off the end of the cores. This leaves you a "handle" that may be used to twist the cores (picture 3).
Step 4: Multi Core Tricks
As described in the previous step, if you're stripping multi core wire, strip it longer than you require but don't push the insulation off the end of the cores.
Now use the remaining separated piece of insulation as a handle. Twist it between your fingers to neatly twist the cores of the wire together. If you don't require the wire tinned, trim the twisted cores to length.
If you require the wire tinned, now tin it, THEN cut the end off. The insulation you used to twist the cores holds them in place while you tin them, leaving you with a very neatly tinned wire
Step 5: Tinning
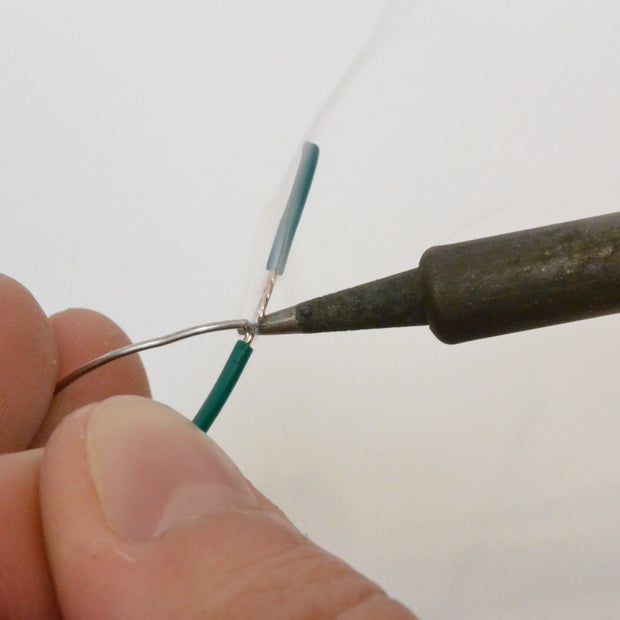
Hold the wire between your thumb and first finger and the solder between your second and third fingers. There's NO need for a third hand right now, your second and third fingers have plenty enough dexterity to feed the solder onto the heated wire. Try it, it'll help you time and time again if you learn this little trick.
Heat the wire with a clean soldering iron then feed the solder into the wire. Be sure to heat the wire's core first, the multi core wire will wick up the solder, tinning it nicely.

Now trim the excess length off the wire.
Done! These few simple tricks must have saved me dozens of hours over the course of the couple of years since I learned them. Hours saved from having to hunt for wire strippers, from switching between tools, from having to set up wires in helping hands and from having to retin badly tinned wires before soldering them to other components.

Participated in the
The Teacher Contest


