

Introduction: Taking Basic Electronics to the Internet (IoT)


After experimenting and having fun with IoT using a Spark Core, I realized I could add a series of tutorials up on Instructables. So this instructable is the first of a series of instructables, in which I'm going to show you how to connect your everyday electronics to the internet. The micro-controller I'm using for almost all of the tutorials is the Spark Core as it is fairly easy to setup and cheap in cost. The tutorials will feature taking everyday electronics like LEDs, LDRs, ultrasonic sensors, relays, etc, up on the internet so you can control or monitor them on a web browser which is pretty cool.
This the first of the series and I'm going to show you how to setup your Spark Core and how to connect your web browser to the spark cloud API. I'm trying to keep this as simple as possible so that even people new to electronics will be able to build it.
Check out the second instrucatble of the series.
Check out the third instructable of the series , which is an Internet Controlled Fish Food Feeder.
So lets get started...
Step 1: Tools and Components

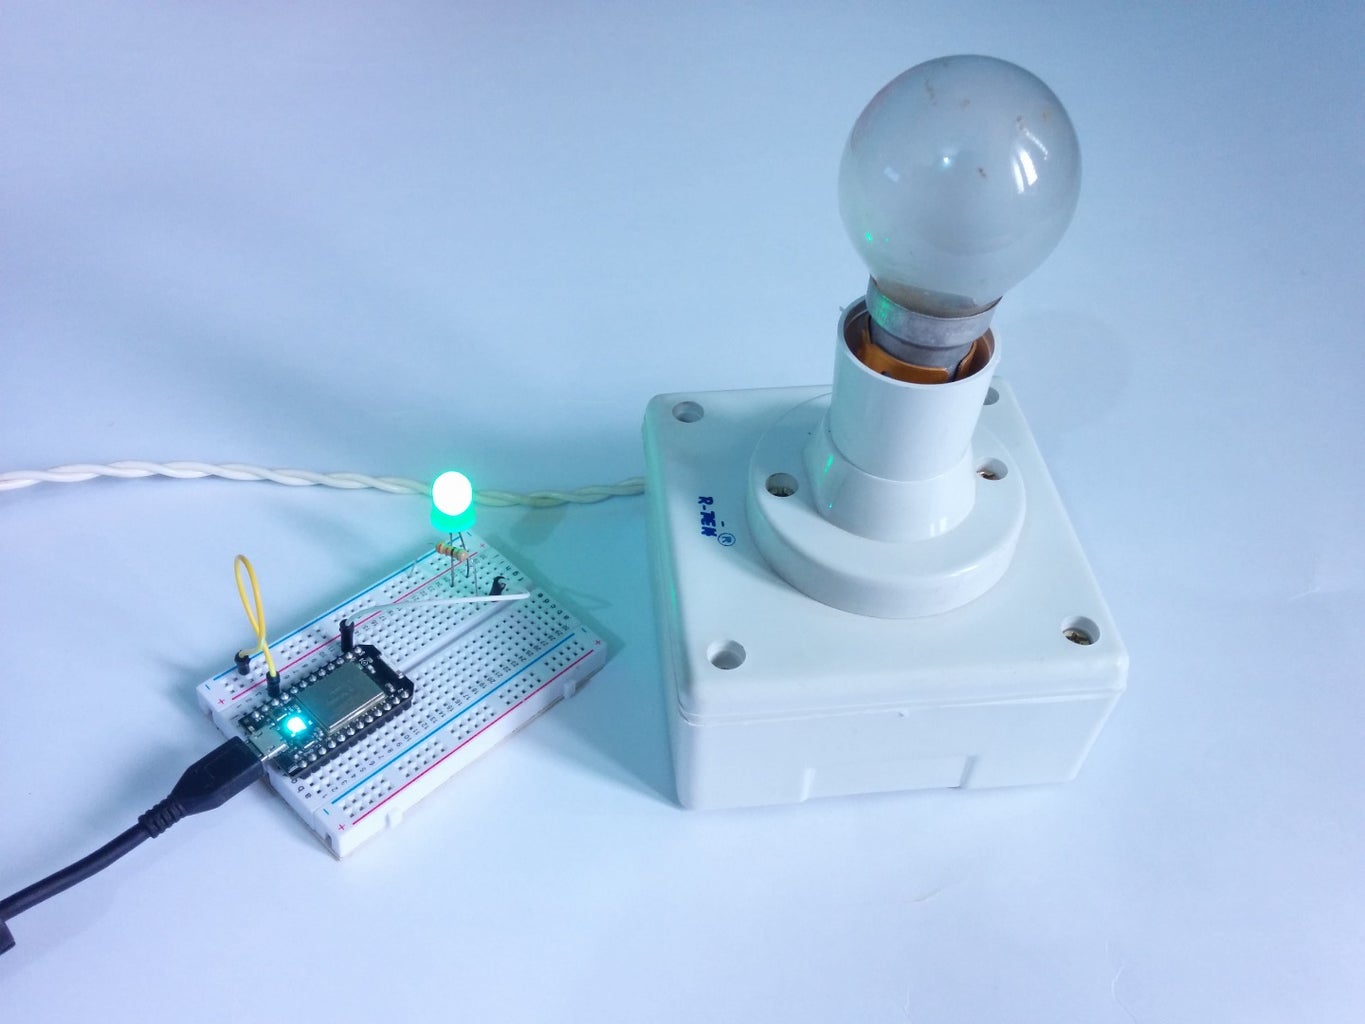
In this instructable all I'm going to show you is how to setup the spark core and end up with connecting an LED to the internet. So here is a list of things required to get started -
- Spark Core
- LEDs
- Breadboard
- Jumper Wires
No soldering skills are required to get started, but it will help if you know soldering for the future instructables in this series. You can get an Arduino and a WIFI module to get started, but that's a lot more costlier and bigger in size compared to the Spark Core (or particle core as they now call it).
Note- You can also get a photon form the particle store for $19 all the code and the setup of this series will remain unchanged.
Step 2: Getting Started

Now that you have your core lets get it connected to the internet or the Spark Cloud API. First get the core out of the box and connect the spark core to the computer via the micro USB cable. Now you should get the spark core blinking blue color.
Time to set up your android or Iphone to configure your core -
- First download and install the respective app - Android or IPhone
- Next sign up for a free account using valid details
Time to Connect the Core to the Cloud -
Make sure your phone is connected to the WiFi you want to use (it'll show up in the SSID blank on the app), then enter your password and click CONNECT!
The core would start blinking the following colors -
- Blinking blue: Listening for Wi-Fi credentials
- Solid blue: Getting Wi-Fi info from app
- Blinking green: Connecting to the Wi-Fi network
- Blinking cyan: Connecting to the Particle Cloud
- Blinking magenta: Updating to the newest firmware
- Breathing cyan: Connected!
Once you got the core Breathing cyan everything went fine and it's time to proceed to the next step.
Step 3: Blink


Once you got the core setup, it's time to upload the first program to it, the default program is tinker and it listens to commands from your android phone. The uploading process is wireless, go the Particle Build IDE and have a look at the interface this is where we type and upload the programs to the core.
Create a new app and paste this program in the editor
int led1 = D0; // Instead of writing D0 over and over again, we'll write led1
// You'll need to wire an LED to this one to see it blink.int led2 = D7; // Instead of writing D7 over and over again, we'll write led2 // This one is the little blue LED on your board. On the Photon it is next to D7, and on the Core it is next to the USB jack.
// Having declared these variables, let's move on to the setup function. // The setup function is a standard part of any microcontroller program. // It runs only once when the device boots up or is reset.
void setup() {
// We are going to tell our device that D0 and D7 (which we named led1 and led2 respectively) are going to be output // (That means that we will be sending voltage to them, rather than monitoring voltage that comes from them)
// It's important you do this here, inside the setup() function rather than outside it or in the loop function.
pinMode(led1, OUTPUT); pinMode(led2, OUTPUT);
}
// Next we have the loop function, the other essential part of a microcontroller program. // This routine gets repeated over and over, as quickly as possible and as many times as possible, after the setup function is called. // Note: Code that blocks for too long (like more than 5 seconds), can make weird things happen (like dropping the network connection). The built-in delay function shown below safely interleaves required background activity, so arbitrarily long delays can safely be done if you need them.
void loop() { // To blink the LED, first we'll turn it on... digitalWrite(led1, HIGH); digitalWrite(led2, HIGH);
// We'll leave it on for 1 second... delay(1000);
// Then we'll turn it off... digitalWrite(led1, LOW); digitalWrite(led2, LOW);
// Wait 1 second... delay(1000);
// And repeat! }
Then upload the program by clicking the flash button on the top left of the screen.
The core will blink magenta and then turn cyan indicating a successful flash. Now you should see the LED at digital pin 7 blinking.
Step 4: Controlling Via Internet


Now its time control the led via a web browser, the web browser connects to the Spark Cloud API, the the spark cloud connects to the core and the data transferred is encrypted (128bit) so all the data shared is safe.
Let's start with uploading the program to the core -
<p>int led1 = D0;</p><p>void setup()
{</p><p>   pinMode(led1, OUTPUT);</p><p>   Spark.function("led",ledToggle);</p><p>   digitalWrite(led1, LOW);</p><p>}</p><p>void loop()
{
   // Nothing to do here
}</p><p>int ledToggle(String command) {</p><p>    if (command=="on") {
        digitalWrite(led1,HIGH);
        return 1;
    }
    else if (command=="off") {
        digitalWrite(led1,LOW);
        return 0;
    }
    else {
        return -1;
    }
}</p>
Then upload the program by clicking the flash button on the top left of the screen.
The core will blink magenta and then turn cyan indicating a successful flash. Now you should see the LED at digital pin 7 blinking.
Step 5: Webpage


You can control the core using your browser and this step shows you just how to do that. All you have to do is download the file, add your access token and core ID in the places where it says "your-access-token-goes-here" and "your-device-ID-goes-here". And that's all that you have to do now open the file using an web browser, click on to turn on the led and off to turn it off.
The second html file "spark_core2.html" is a cleaner interface and you don't have to edit any code and directly run it in your browser and enter the access token and core ID in the webpage.
On the success of the script you would get a return message with 1 or 0, if anything went wrong on the hardware side you would get a -1.
If you encounter any error feel free to leave a comment below.

Step 6: Whats Next

Hope you had fun with controlling the LED form the internet or via a web browser. This tutorial serves as a basics of controlling your house lights via the internet which I will demonstrate in a future instructable.
The next instructable will take things a little further and show how to monitor sensor values on a webpage and how to control a servo via the internet.


