

Introduction: TfCD - 3D Motion Tracking
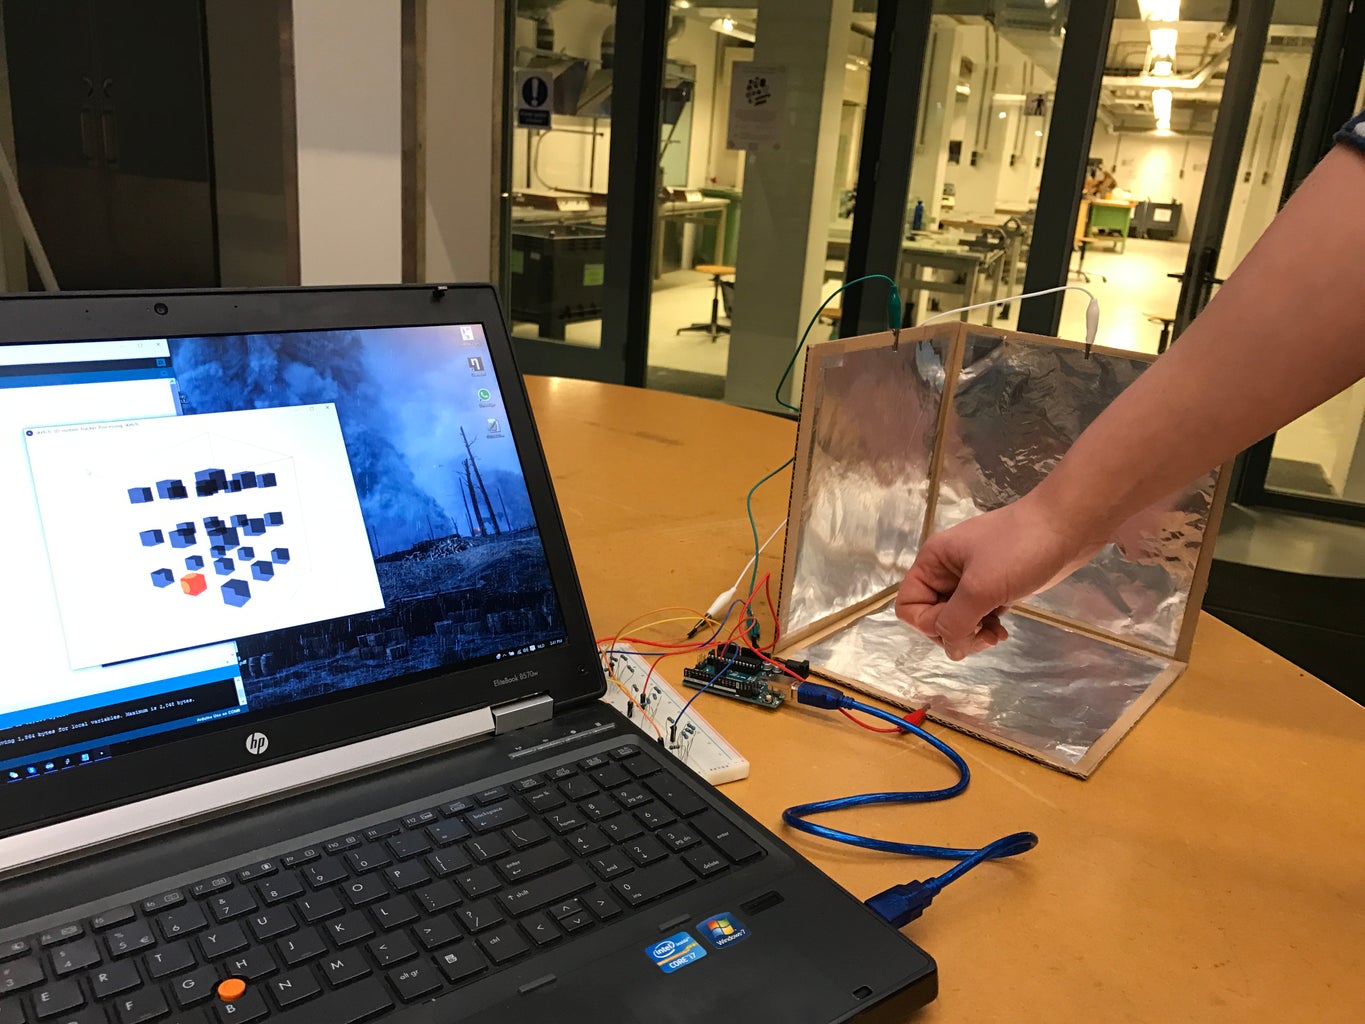
This is an instructable on how to track 3D motion by using Arduino. The device can tell you where your hand is placed within 3 sides of a cube, by displaying it within a 3x3x3 cube on your laptop.
Curious how it works? Then read on!
Step 1: Tools & Materials


For this project you will need the following tools and materials:
- Arduino UNO with cable connected to computer
- Breadboard
- Wires
- 3x 220 KOhm resistor
- 3x 10 KOhm resistor
- 3x Wire with 2 alligator clips
- Scissors
- Pliers
- Tape
- Utility knife
- Ruler
- Aluminium foil
- 3x Cardboard square (20x20 cm)
Tip! For this project, we have used some normal wires. However, for even better results you could use shielded wires between the aluminium foil and breadboard.
Step 2: Making the Cube


Now we are going to make the 3 sides of the cube.
First cut the aluminium foil into squares. These squares need to be smaller than the cardboard (<20x20 cm) to make sure the foils don't touch each other when assembling the cube.
Second, put the foil onto the cardboard. This can be done with spray glue or, like we did, with translucent tape.
Last, you will need to tape the sides together forming the cube.
Step 3: Prepare the Wires


First connect a cable from the 5V of the Arduino to the positive row of the breadboard.
Then repeat this step 3 times.
Connect a wire from port 8 to the breadboard. In serie connect 1 10K ohm to this wire. Then in the same row connect one 220K ohm (or in our case we put 2x 100K en 2x 10K ohm in serie to get the same resistor) and one wire that connects to the X plate.
Then repeat for a wire from port 9 to the Y plate, and port 10 to the Z plate.
Step 4: Upload to Arduino
Upload the Arduino code to your arduino program, then upload the processing sketches to the Processing program. That is downloadable from their website. Then upload first upload the Arduino code to your Arduino. Make sure your laptop is plugged into the charger. Then run the processing sketches and the 3x3x3 cube should appear on your screen.
Now you only have to calibrate the software. Have your hand (fist) in the upper corner, farthest away from the cube, and while holding the left mouse button, slowly move towards the point where the 3 carboard sides meet. Then release the mouse button and the software should be calibrated. You can repeat this step any time you want if you feel it is not working properly.

Step 5: The Result!
The final result should look like this video.
Hope you enjoyed making this instructable :)


