

Introduction: [TfCD] Beer Scale
![[TfCD] Beer Scale](https://content.instructables.com/FPL/2JGT/IXUQGYU1/FPL2JGTIXUQGYU1.jpg?auto=webp&fit=bounds&frame=1&height=1024&width=1024auto=webp&frame=1&height=300)
This beer scale utilises a wifi shield and Arduino board measuring the time that one takes to finish a cup of beer. This is a simple demonstration of "Internet of Things" technology that a beer glass is capable of communicating with smartphones or other devices equipped with wifi module.
To realise this scale, the following skill is needed:
1. Arduino coding
2. 3D printing or other basic fabrication skills
3. Electrical soldering
Step 1: Step 1: Preparing the Following Components:


1. Arduino UNO x1
2. Sparkfun Wifi Shield ESP8266 x1
3. BreadBoard x1
4. Strain gauge load cell x2
5. IC LM741 x1
6. Resistance 1 kohm x1
7. Resistance 1 Mohm x1
8. Leads ~10
Step 2: Step 2: Build the Circuit

Built the circuit as illustrated. You might need to solder some contact points. Note that the two strain gauges have to be placed in an opposite order. This can be determined by the colour of the leads as shown in the figure.
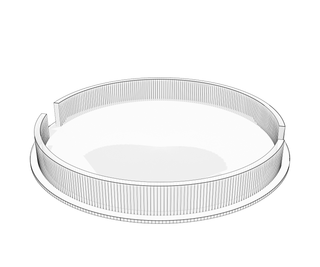
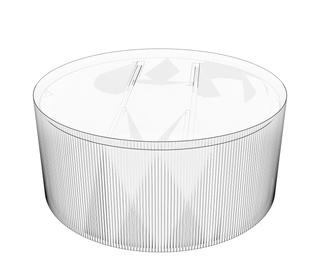
Step 3: Step 3: Make the Scale Base


You may print out the base from the attached .stl file with a 3D printer or make it by your own way according to the charts. The dimension is not optimised for the demonstrated glass. In fact, it was meant to be integrated with a cylinder glass.
Once the components are ready, place in the strain gauges. You may use some glue to fix them.
Step 4: Step 4: Upload the Arduino Code
You can download the Arduino code and upload it to you Arduino board. Note that you also need to install the Sparkfun ESP8266 Library to make the code work.
Once you download it as a ZIP file, do the following:
1. Open Arduino IDE
2. In the menubar, find Sketch > Include Library > Add .ZIP Library
3. Choose the ZIP file you just download and it will install by itself
The other thing before you upload the code is setting up the SSID and password of the available WiFi. You may find them at the 6th and 7th lines in the code.

Step 5: Step 5: Calibrate the Scale


With different weight of the sum of the empty glass and scale base, the scale needs to be calibrate to give you the accurate indication of the beer. It is also crucial for the scale to determine the status of the beer, whether it is full, half way or empty.
Here's what you have to do:
1. Get the whole scale set ready in an empty status. Open up the Arduino IDE serial monitor and check the Reading number. This number is the low bar of the scale. Add a number of 2 to 4 as the low margin then replace the value of "beerLow" at line 11 with it (it's 278 in the provided code).
2. Pour a full glass of beer. You should have a larger number of the Reading; if not, swap the 2 pins from strain gauge to pin 2 & 3. Check the new Reading and minus 2 to 4 as the high margin, replace the value of "beerHigh" at line 10 (it's 330 in the provided code).
3. Check the beerVolume at line 12 which should depict the volume in ml of a full glass. It's provided in 330 ml.
Step 6: Step 6: Now See How Long It Takes You Finish a Glass of Beer


Once everything is ready, pour a glass of beer for yourself to celebrate your hard work. Open the serial monitor from Arduino IDE to check the IP address of WiFi shield, then use your internet browser to check the amount of the beer as well as the time passed. The time only updates when you finished the beer. There is a 10-second threshold for the scale to judge if you have really finished the glass or just pick it up for a sip.
